
My sister is expecting her second baby boy next month, and now that the due date is drawing near I have been a baby-clothes-making machine! I have the honor of making my new nephew’s very first outfit — the one he’ll come home from the hospital in! And since it will be November in New England, I knew that a warm baby hat would be a necessity!
With the guidance of a tutorial by Emma Jeffery of Hello Beautiful, I got to work.
Materials:
- At least one fat quarter of knit fabric. Ideal fabrics to use are knits that have either a two or a four way stretch. I used Modern Jersey, which has a cozy, snuggly texture that will be soft against a baby’s delicate skin. The fabric designs used in this tutorial are: Flowers and Black Stripes by MintPeony, and Geo Girls Pinks and Girl Chevron by Natitys.
- Hat pattern
- Ballpoint needles
- Scissors
- Fabric scissors
- Straight edge
- Rotary knife
- Iron (optional)
- Needle and thread
How to Make the Jersey Baby Hat:
NOTE: This newborn hat pattern is designed to fit a newborn with an average head circumference of about 13.5 inches.
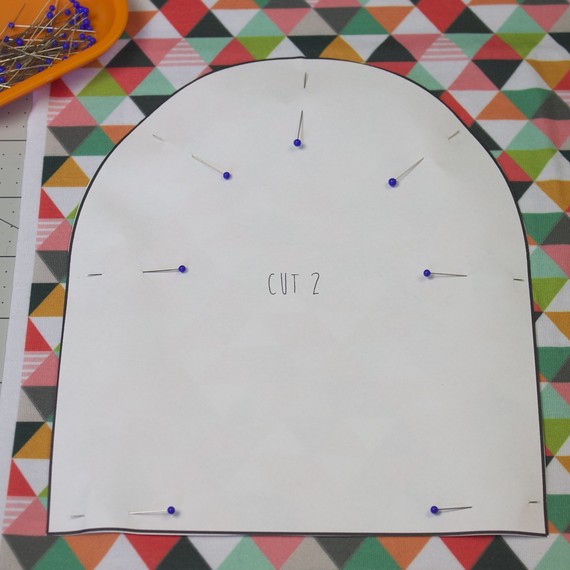
1. Print the hat pattern. Make sure to print the pattern at 100%. Check that the 1-inch square on the pattern measures 1 inch by 1 inch after printing. Once your pattern is printed, cut it out, tape it together, and pin it to your fabric.
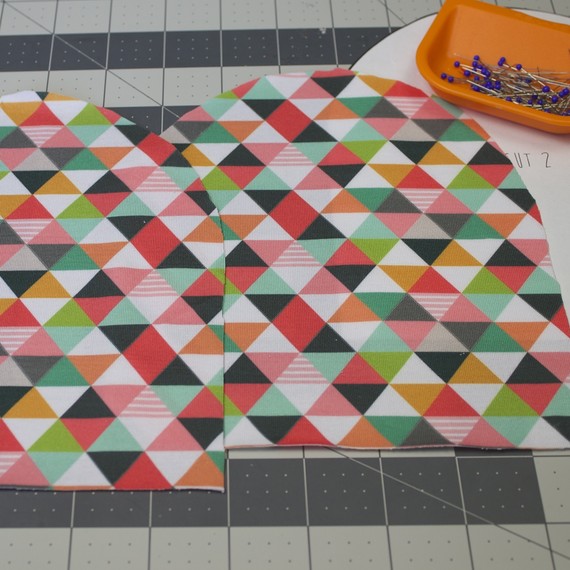
2. Cut two pieces. I like to fold the fabric in half along the width (matching selvage to selvage) and cut both pieces out at the same time, but you can also cut them out one at a time. Pin the two pieces of fabric together, with right sides facing and head to your machine of choice. The easiest, neatest, and most efficient way to sew knits is with a serger. You can also use loose zigzag stitch (length 3, width 1.5) on a sewing machine fitted with a ballpoint needle.
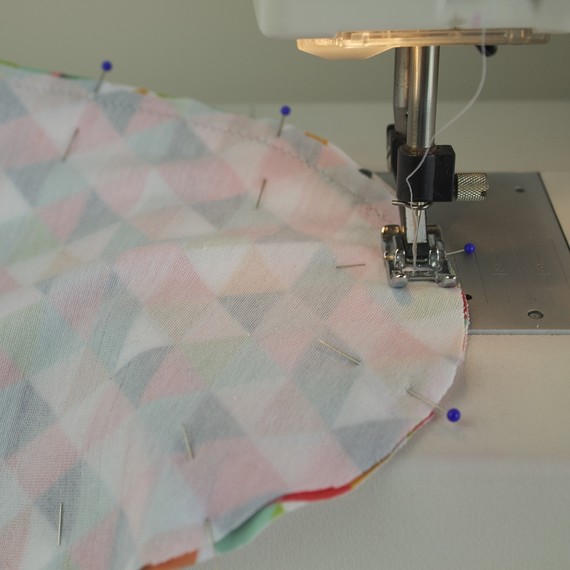
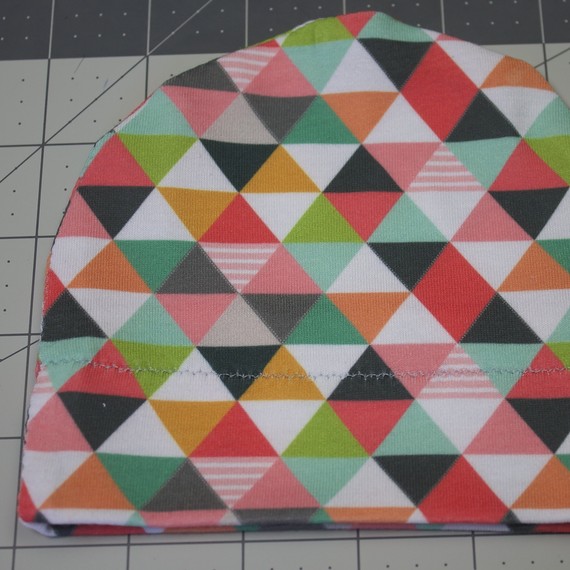
3. With a 1/4-inch seam allowance, sew or serge the two pattern pieces together along the curved top edge, leaving the straight bottom opening unsewn.
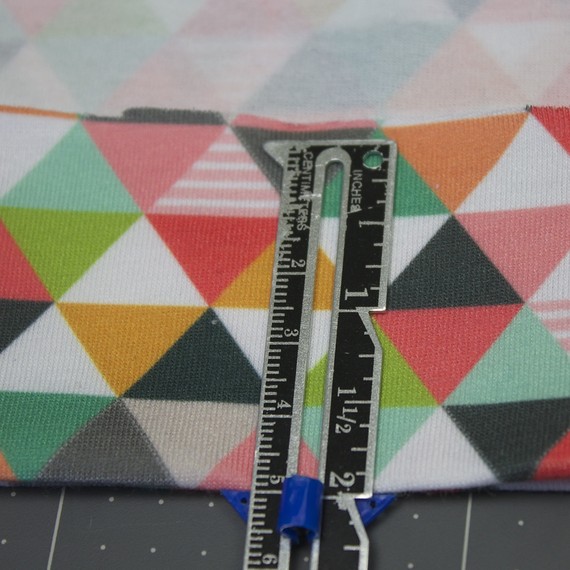
4. Turn up the bottom opening of the hat 2 inches to the wrong side. Press with an iron if desired.
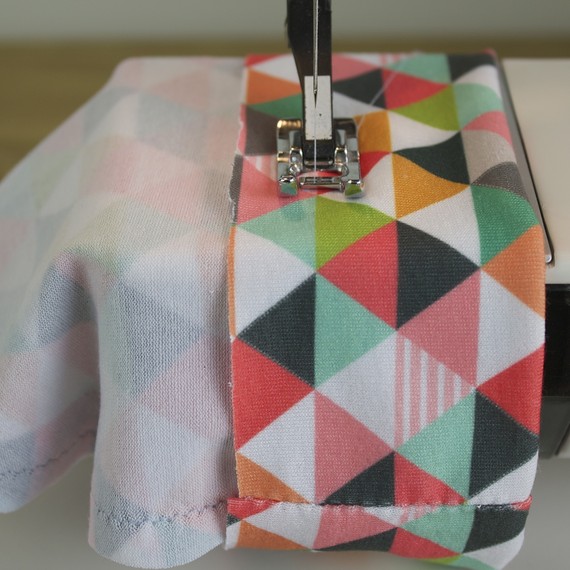
5. Sew the turn-up all the way around the hat, about ¾ inch away from the raw edge.
6. Turn the hat to the right side and gently press the seams if desired. You’re almost done!

7. Fold up the bottom edge about 1 inch to the right side to create a neat band around the opening of the hat.
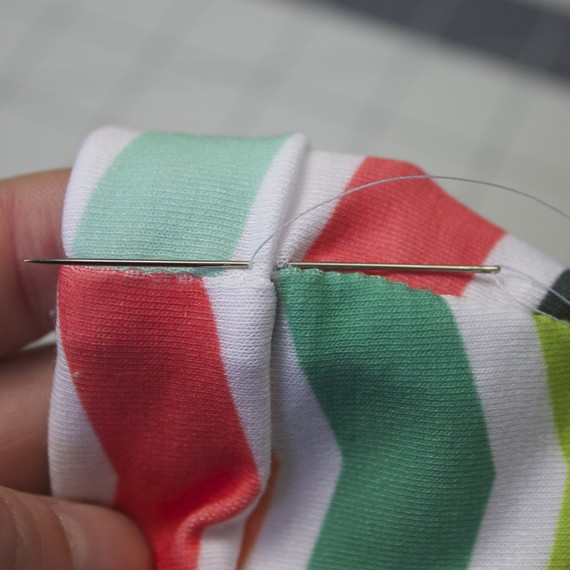
8. With a needle and thread, tack the turn-up in place along the side seams to secure.
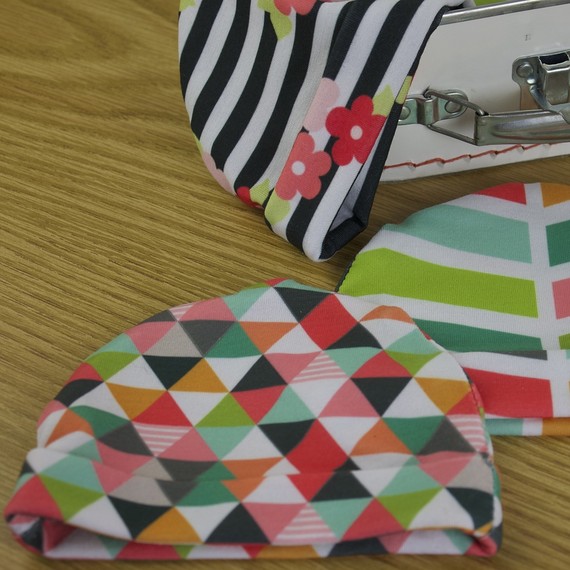
Voila! That’s all it takes and now you have an adorable little cap to keep your new bundle of joy warm. Now that you know how easy it is, don’t you just want to make more? Go ahead and make as many baby hats as you want. It’s going to be a long winter.
All photos are courtesy of Emma Jeffery of HelloBeautiful
SOURCE:http://www.marthastewart.com/1500812/snuggly-jersey-baby-hats-you-can-make-jiffy