

Photography by: Jena Carlin
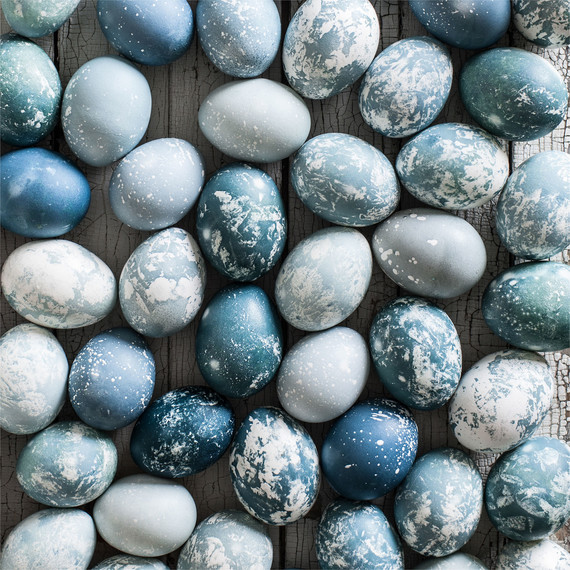
There are times when I instinctively combine glasses, bowls, plates and linens together with no particular purpose, and then beg Jim to create a recipe around them. Perfectly paired robin’s egg blue enamelware and tarnished silver sat on my prepping table for months, just hoping I would use them all winter long. While staring at this stack of dishes, and not wanting to put the lovely pieces away, inspiration hit me. The speckled and marbled patterns of enamelware were perfect for dyeing this spring’s Easter eggs!
Photography by: Jena Carlin
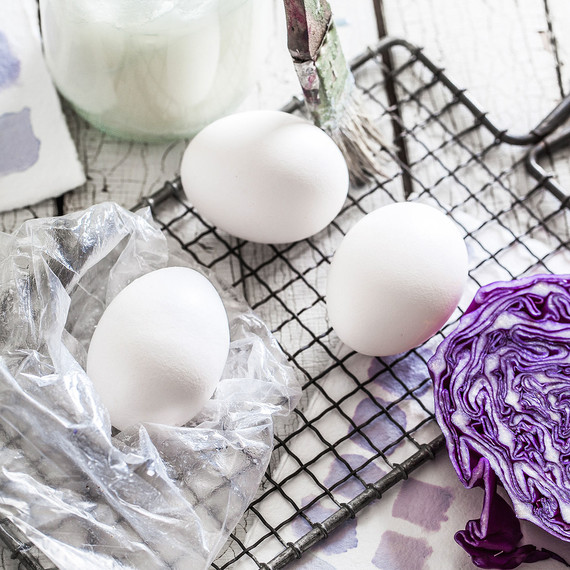
Coming up with the true blue look took a little research. Jim and I knew we wanted to use natural dyes, and after many attempts, we landed on red cabbage for just the right color. If you’re interested in learning more, we created a Pinterest board for natural dyes here.

Photography by: Jena Carlin
Creating the colorant: Boil chopped red cabbage with two quarts of water and a half cup of white vinegar for two hours. Pour into jars and refrigerate. This is also a great time to hard boil your eggs.
Photography by: Jena Carlin
Being a painter, I naturally thought of the masking technique used for watercolor painting. It will work as a resistant, preserving the white part of your egg. Staying true to using natural material for these eggs with coconut oil also worked wonderfully.
Photography by: Jena Carlin
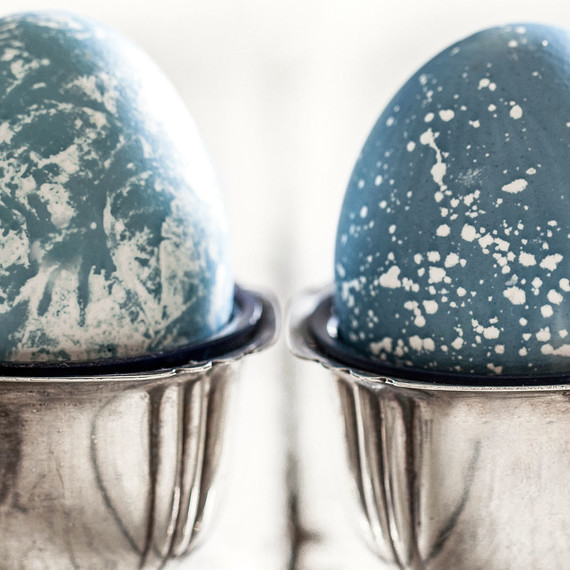
Creating the marbled look: Place two plastic sandwich bags on your hands like mittens, coat the bags with coconut oil, scrunch the plastic in your hands and gently touch the eggs, passing from one hand to the other one time.
Creating the speckled look: Melt a small amount of coconut oil in a microwave safe dish. Dip your brush and tap it against your finger in a direction towards the egg.
Photography by: Jena Carlin
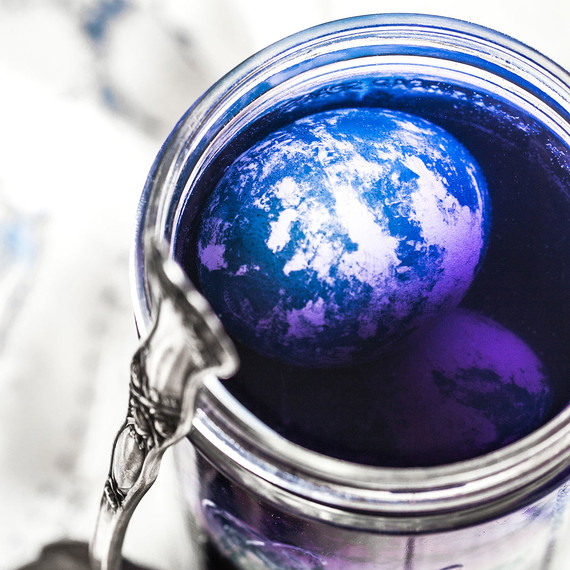
Dyeing the Eggs: Use a metal slotted spoon to transfer the egg to the jar of cold colorant. Let the egg sit for a period of 20 min to several hours, depending on the desired color. Use the spoon to transfer the egg out of the jar, then refrigerate. Once the egg has dried, rub in the oil with a paper towel to preserve the color and shine on the egg.
Photography by: Jena Carlin
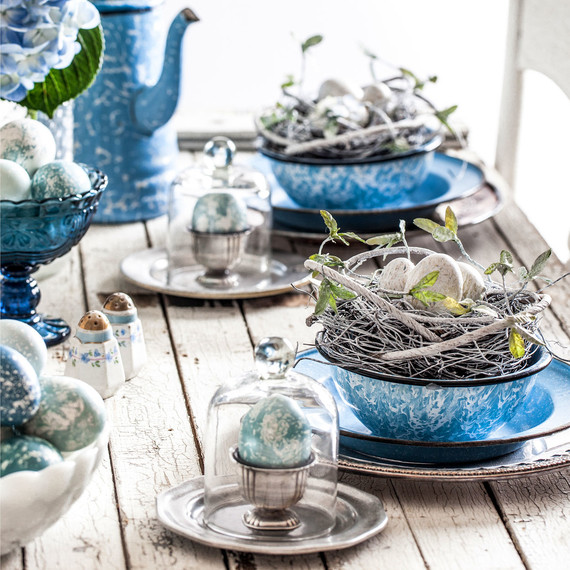
To me, nothing says springtime more than fresh flowers. While creating our eggs, I went to the market and picked up some blue hydrangeas to incorporate into our monochromatic place settings. I love to mix and match metal and glass with shades of a single color. In this case I did not have a lot of blue enamelware, so I added silver plates, glass serving dishes and blue salt and pepper shakers to round out the look. I liked the whimsical nature, but not the color of the nests, so I white washed them to match my setting, and plucked out the colorful satin flowers.
If you’re feeling really ambitious, you can try this natural dyeing technique with white linens or on watercolor paper for placemats. I have a lot of dye left over so I may give that a try next!
Learn How to Make Other Natural Dyes for Easter Eggs