
I found a great article on how to grow sprouts on a sponge. We thought it would be fun to try making our own Chia Pets for St. Patrick’s Day; however, you can use any color sponge and any shape to customize your project. It was so simple, and my kids loved their little shamrock sprout sponges.
Materials:
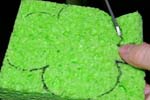
- sponge (we used green sponges)
- seed packet (we chose lettuce, spinach, and broccoli seeds)
- water mister
- shallow plate
- marker
- scissors
Instructions
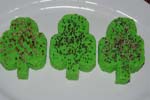
 Trace your shape (we chose shamrocks) onto the dry sponge with a marker.
- Cut out your shape from the sponge. We found the sponges were easier to cut when wet.
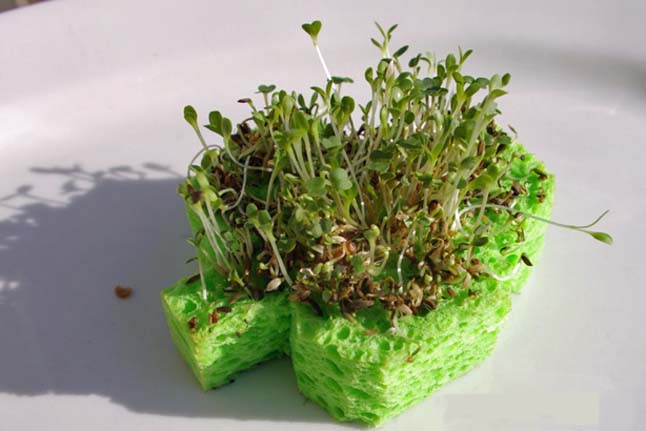
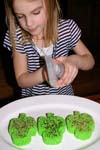
 Soak the sponge once again—you want it to be damp, but not dripping. Arrange your sponge(s) on the plate. Scatter the seeds (we used spinach, broccoli and lettuce seeds) across the top of the sponge, gently poking them into the holes.
- Keep the sponge moist by misting with water; it’s important not to let the seeds dry out. We found it helpful to turn a clear plastic container over the plate at night to keep the moisture in. During the day the kids wanted to check on the progress, so we left the plastic off.
- Mist often with the water mister.
Soon you should have your very own sprout garden. The kids loved watching their sprouts, and they thought it was interesting that seeds could grow without soil.
SOURCE:http://www.pbs.org/parents/crafts-for-kids/sponge-sprouts/