
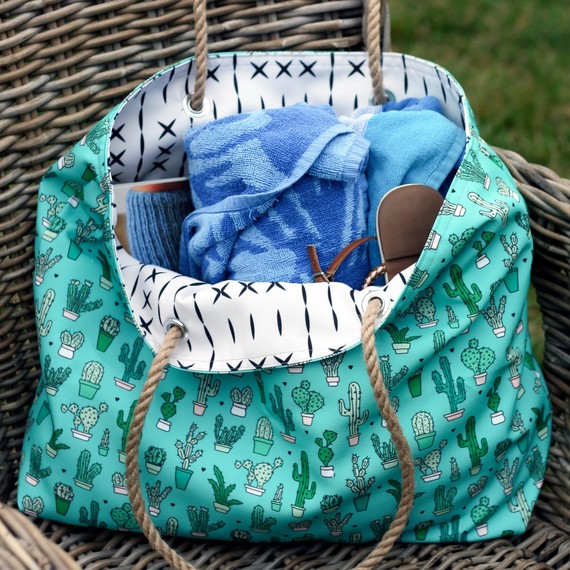
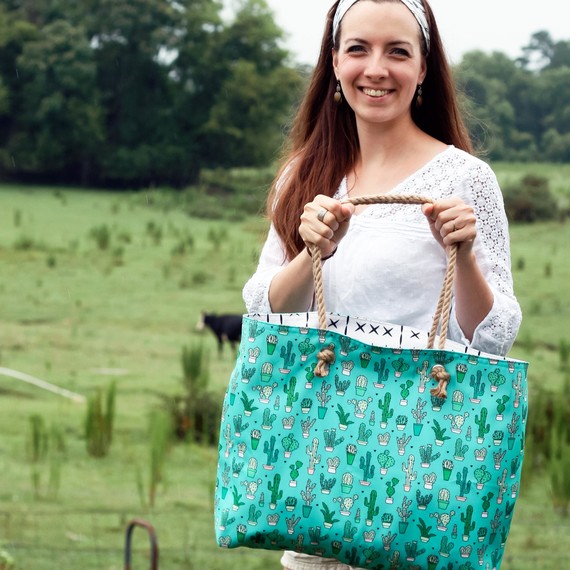
Our friend Sara — who designs and sells bag-sewing patterns, shares craft and sewing tutorials, and explores printing and surface design on her blog Radiant Home Studio — has crafted a beach tote for all your summer beach adventures!
To begin, you must first choose your fabric. Try using something a little thicker than cotton or linen. Spoonflower has a durable, eco-friendly canvas fabric called Eco Canvas that is an excellent choice for a bag like this. It’s also great for backpacks, durable pillows, pet toys, and jackets. Read on to learn how to sew this versatile carryall!
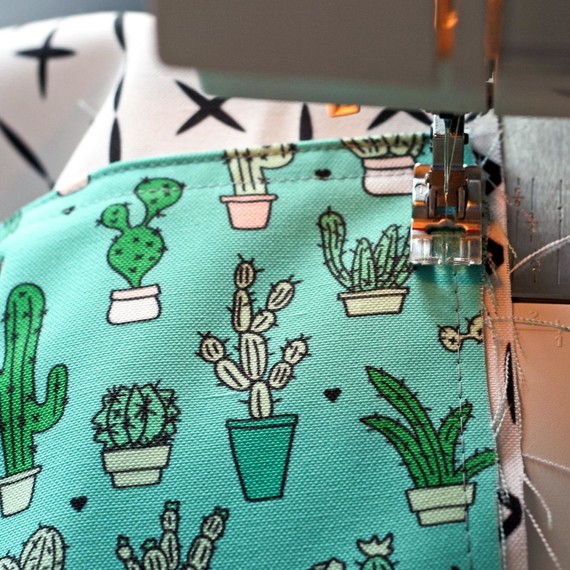
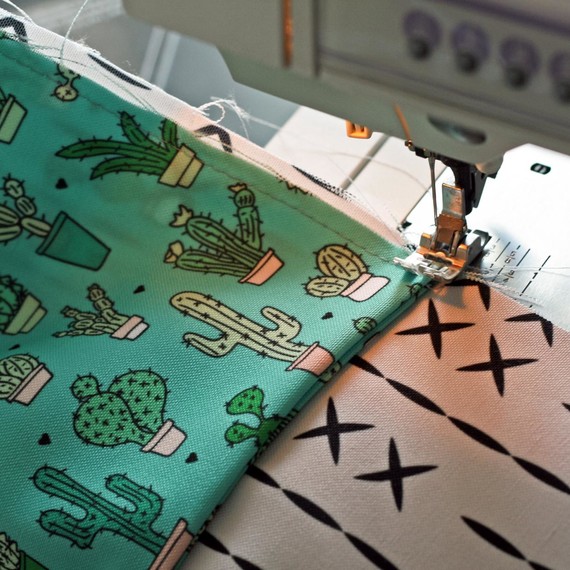
Eco Canvas fabric is durable, sturdy, custom printed, and eco-friendly! Bonus — the fabric is water resistant and easy to wipe clean. Though it has a bit of sheen, the texture keeps it from sliding around while you are sewing. It’s also thick enough to make a durable bag, but not so thick that you’ll have trouble sewing through multiple layers of fabric. In order to produce straight topstitching, you’ll need to stitch slowly, pinching the fabric into place if the pressed creases are not holding. The topstitching will hold everything into place and keep the edges looking neat and professional.
Now, let’s get started!
Materials
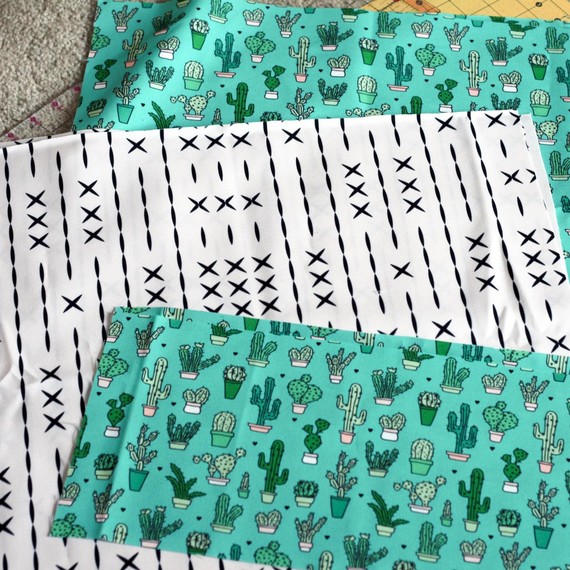
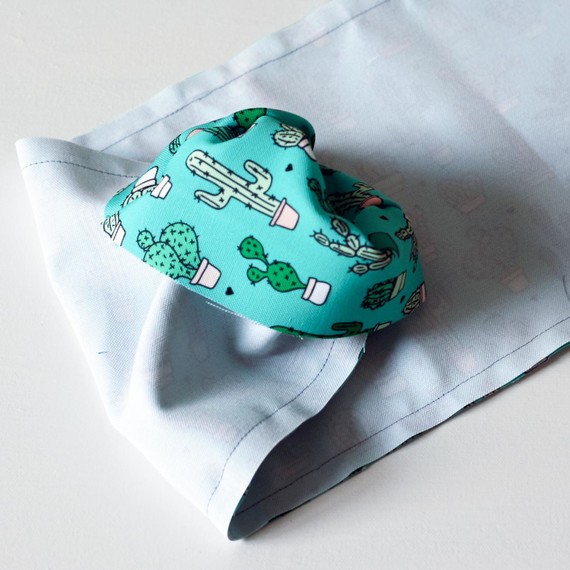
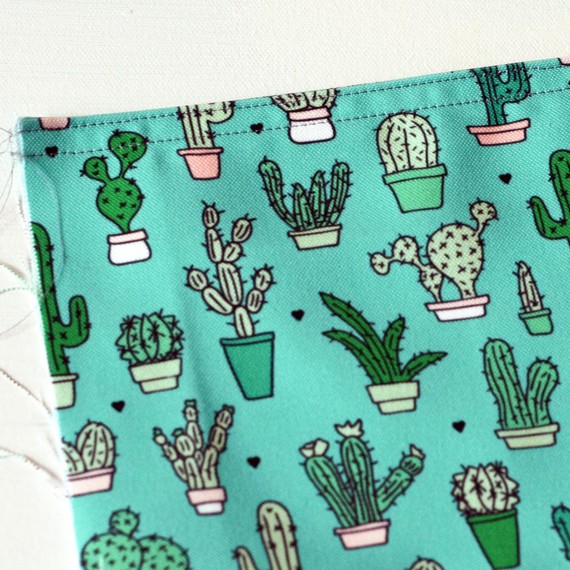
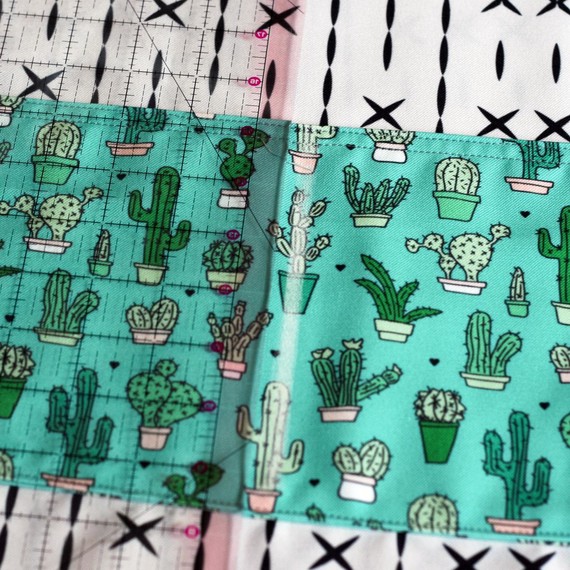
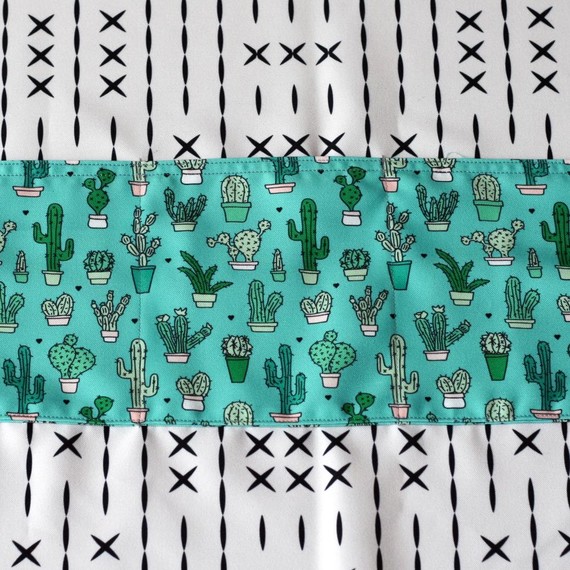
– 2 yards thick fabric (I used Cactus Cacti Garden for the exterior, and Cross Line Mudcloth for the lining)
– 2 yards of 1/4-inch rope
– coordinating thread
– grommets — size 7/16-inch (optional, use a buttonhole in place of grommets if you choose)
– hammer to set the grommets
Cutting measurements:
– Exterior – cut 2 pieces, 22 x 18 inches
– Lining – cut 2 pieces, 22 x 18 inches
– Pocket – cut 2 pieces, 22 x 8 inches
Notes:
– All seam allowances are 1/2 inch and included in the given measurements.
– Press all seams with your iron temperature set for synthetic fabric.
– Finished size will be about an 18-inch square, with 12-inch handles.
– Cut out your pattern pieces using the measurements provided above. You may find it helpful to use a rotary cutter and mat to produce straight lines and right angles.
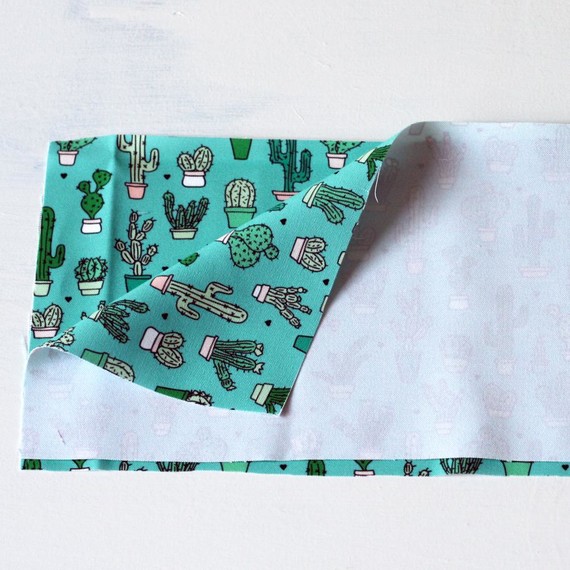
To start, locate the pocket pieces. Place them right sides together and stitch across the long edges of the fabric, leaving the short ends open.
This bag has one full-width pocket, which is divided into 3 sections. If you want more pockets, just repeat the pocket directions for the other side of the bag!
Turn the pocket right side out and press.
Topstitch along the folded side at 1/8 inch and 3/8 inch from the edge. This is the top of the pocket.

Place the slip pocket across the right side of one of the lining pieces. The top edge of the pocket should be 6 inches below the top edge of the lining piece.
Baste the pocket sides to the lining sides in the seam allowances (about 1/4 inch from the edges).
Topstitch the bottom pocket edge to the right side of the lining.
Mark two vertical lines on the pocket, dividing the pocket into 3 sections. Then, stitch along the lines, from the bottom of the pocket to the top of the pocket to avoid puckering, backstitching at the top edges to secure the stitching.
One side of your lining should now look like this…
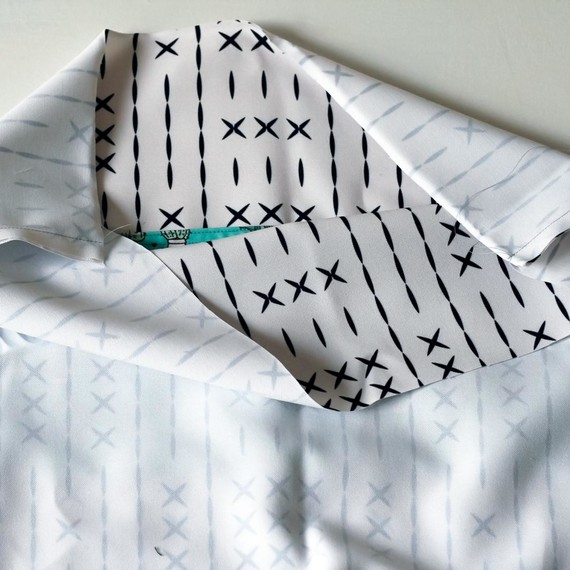
Place the lining pieces right sides together. Check your pocket orientation to locate the top of the bag. Stitch along the other 3 sides leaving a 3″ gap at the bottom center of the bag.
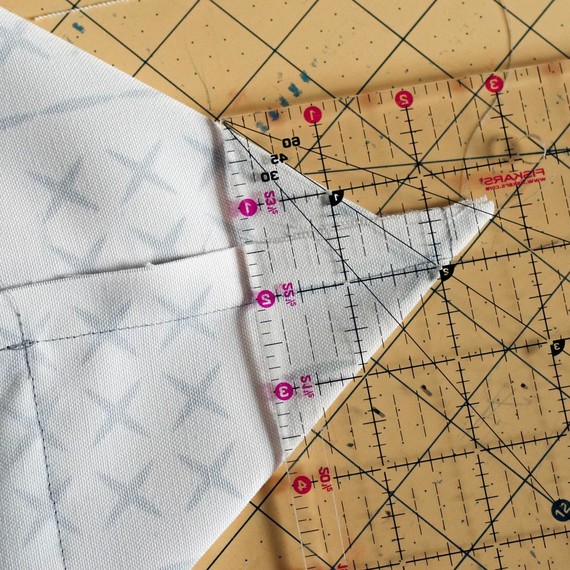
Flatten the bag so that the side seam and bottom seam are aligned. On the corner, measure in 2 inches and draw a line. Repeat on the other corner. Stitch along the lines in the corner of each bag, backstitch at each end, and trim the excess.
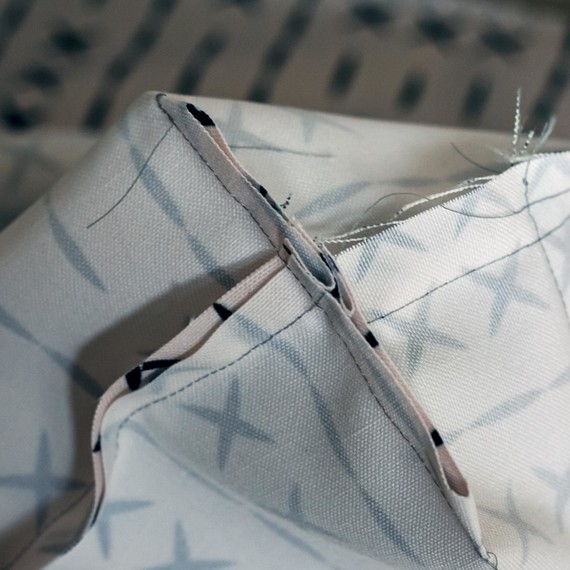
That seam will make a square bottom on your bag, and it should look like this when you open it up.
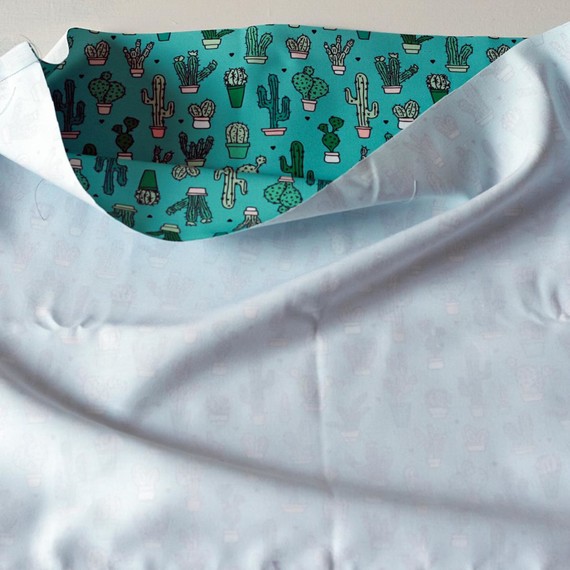
Place the exterior pieces right sides together and stitch along 3 sides, leaving one of the 22-inch edges open.
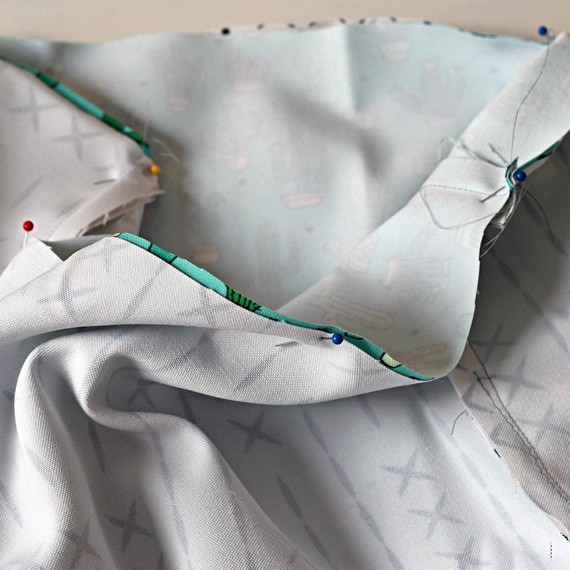
Square the corners of the exterior as you did for the lining. Place the exterior inside the lining with right sides together. Match the side seams and stitch around the top edge. Then, turn the bag right side out through the small opening in the bag lining.
Topstitch around the top edge of the bag at 1/8 inch and 3/8 inch.
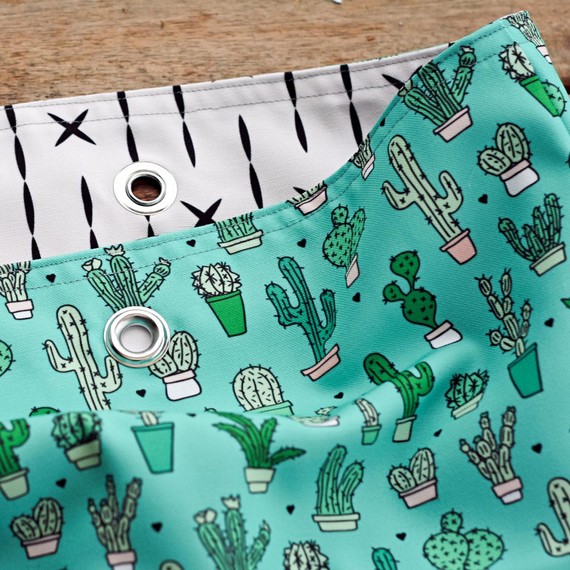
Now, it’s grommet time! Use chalk to mark grommet placement. Holes should be centered 6 inches apart, and 1 1/2 inches below the top edge. Mark your measurements with a small dash and snip a small line across your measurement, then snip again perpendicular to the first cut, forming a small plus sign. Then trim the area in the center. Repeat for all 4 holes. A perfect circle is not necessary. And remember that it is always better to make the hole too small than too big!
Next, insert and set your grommets. Not sure what to do? Follow these instructions.
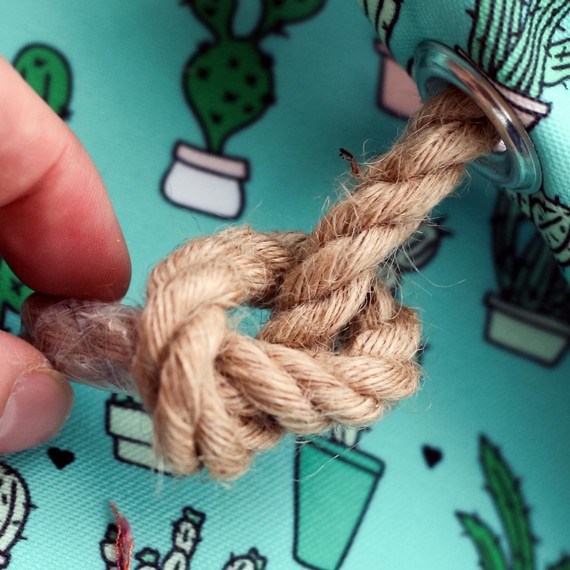
Decide how long you want to make your handles. I used 30 inches of rope for each handle, but you can make them longer or shorter depending on your taste. Insert one end of your rope through one grommet from the inside, tie a knot and pull it tight. Repeat on the other sides, but before you tie the last knot, make sure your handle lengths are even! You don’t want to be carrying around a lopsided bag after all of that hard work!
And, last but not least, don’t forget to hand stitch that little hole in the lining closed! That’s it! Pack it up and head out on your next adventure!
Learn how to make a denim tech sleeve to protect your electronics!
SOURCE:http://www.marthastewart.com/1123721/sew-large-rope-handled-tote-bag