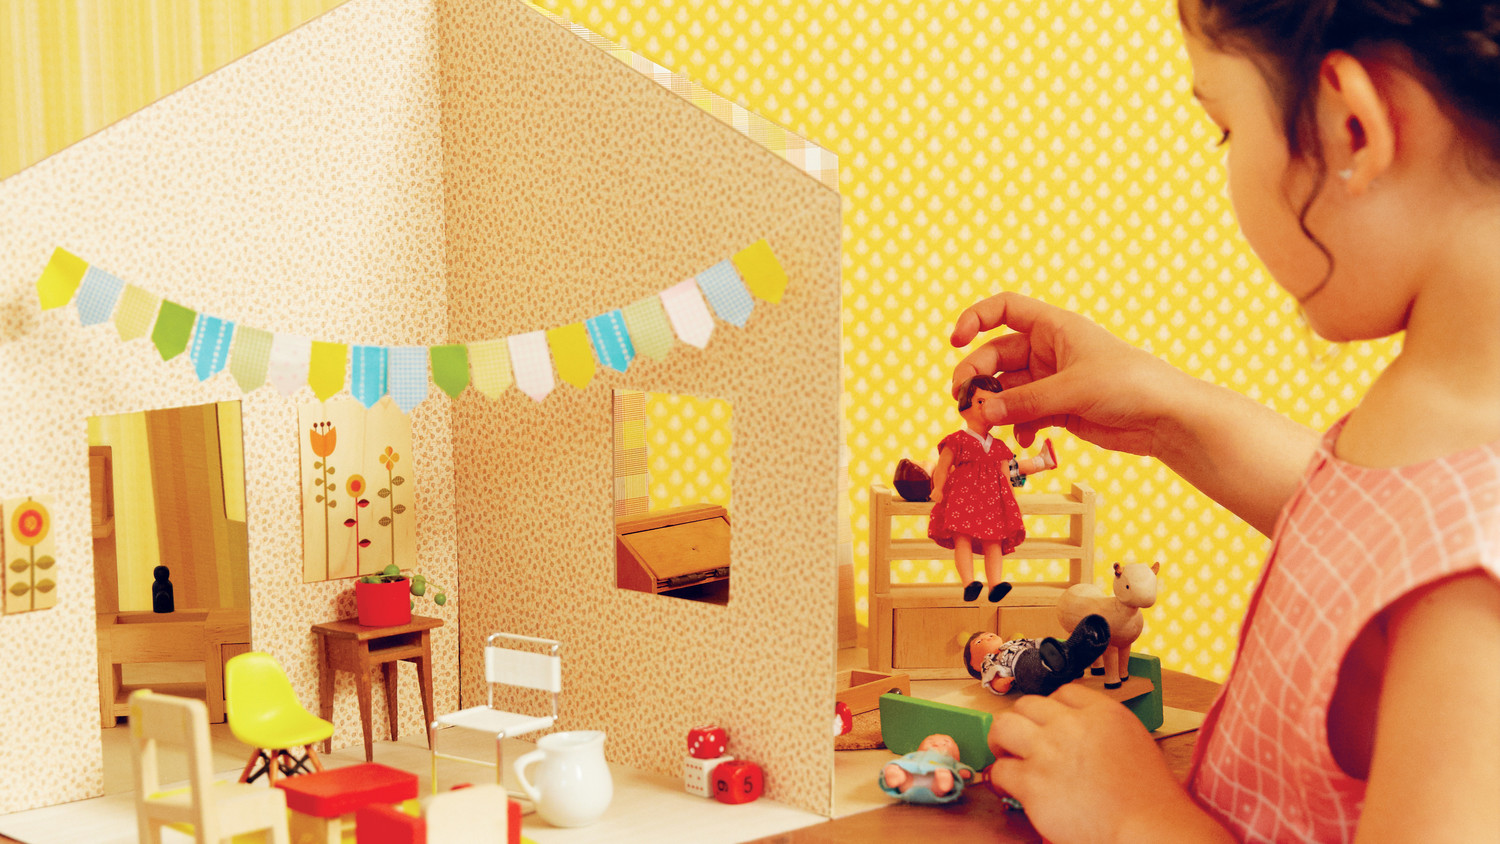
I used spools for tables, my sneakers became cars, and for a while I looked at everything for its potential of becoming dollhouse furnishings. If I had a nickle for every childhood hour I spent with dolls and my dollhouse…. Make some child very happy and help his or her imagination soar with this compact toy.
Materials
– 2 14″ x 20″ (35.5cm x 51cm) pieces of 14-ply chipboard birchwood veneer sheets
– 4 sheets assorted wallpapers
– mounting spray
– 2″- (5cm-) wide gummed paper
– tape
– scrap paper and cardboard
– ruler
– pencil
– utility knife
– cutting mat
– small brush
Directions
1. Frist take a look at this template. Then, cut two pieces of chipboard measuring 14″ x 20″ (35.5cm x 51cm). On each piece: Measure 10 inches (25.5cm) up on both sides. Mark with pencil. Find center on the top edge. Mark with pencil. Draw a line from each 10″ (25.5cm) mark up to the top center. These two lines will form the peak of the roof. Cut on the lines to create a peak.
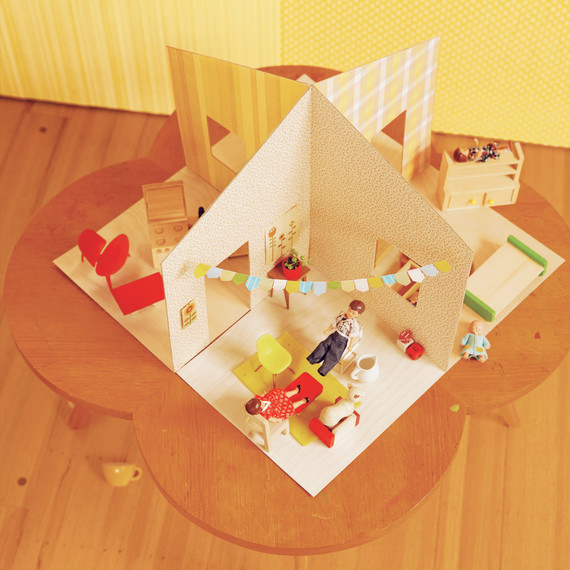
2. Draw a vertical line up the center of each piece of chipboard. Mark the center of each vertical line. These two pieces will be notched together. On one piece measure up from the bottom 7 inches (18cm). Mark with pencil. On the other piece measure down from the top 7 inches (18cm). Following these lines, cut out a narrow strip of chipboard roughly the width of the thickness of the chipboard.
3. Try out the notches. Deepen as necessary.
4. Cut four 10″ x 10″ (25.5cm x 25.5cm) pieces of thin birch plywood. Attach floor pieces to house pieces following this diagram. Make sure you apply the tape to the underside of the floor.
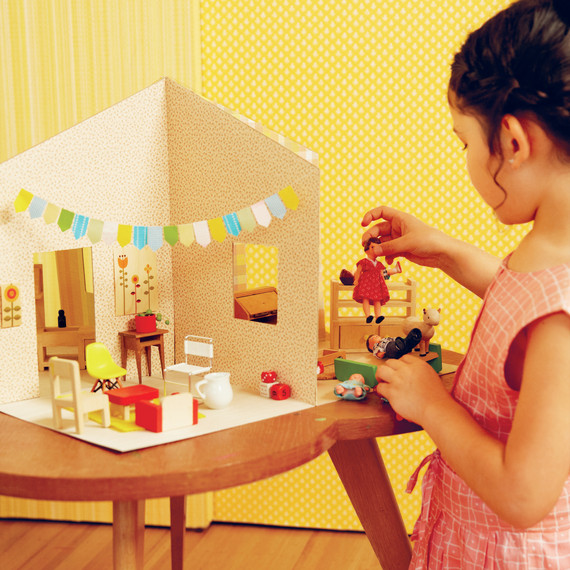
5. Once the floor pieces are attached, set up your house. Once assembled, determine which wallpapers you want for which rooms. Mark the names of these colors or patterns with pencil on both walls of each room. This will help you remember which wallpaper to adhere where once your house has been disassembled.
6. Cut out the wallpaper: Cut out eight pieces of four different paper types that measure 14″ x 10″ (35.5cm x 25.5cm). Pair up the four different paper styles. Determine the left and right side pieces and cut the roof peak, measuring down 4 inches (10cm) to create the angle.
7. Disassemble the house. Lay one house piece flat on a piece of scrap cardboard. Cover the floor pieces with additional scrap cardboard to block them from the mounting spray. Apply mounting spray over the wall section of the house and apply the wallpaper pieces according to your notes. Set aside and allow to dry. Repeat with the other house piece. Trim off any excess paper that extends beyond the chipboard. Flip them over and repeat the process on the other sides.
8. Cutting doors and windows: Cut the windows in one piece of the house, and cut doors in the other piece so that when they interlock, each room will have one door and one window.
9. Create a window template by cutting out scrap paper or board that measures 3½” x 3″ (9cm x 7.5cm).
10. Take the piece of the house you’ve chosen for the windows. Measure 2½ inches (6.5cm) in from the outer edge of the house, and 3 inches (7.5cm) up from the floor of the house. Place the corner of your window template here. Trace your template with a pencil and then cut along these lines with a utility knife. Use a ruler or a straightedge to guide your blade. Repeat for the other side of the house piece.
Tips:
You can use leftover wallpaper and make an envelope to keep the house flat, for storage or on the go. The house was made for dolls approximately 3 to 4 inches (7.5cm to 10cm) high, but you can resize the templates as necessary for bigger or smaller dolls.
SOURCE:http://www.marthastewart.com/1114814/diy-chic-paper-dollhouse