This project is a collaboration with my friend and fellow maker Madeline Trait. We love teaming up to create fun DIY projects, and after spending the beginning of spring cleaning out our studios, we amassed quite a collection of odds and ends that were destined for the nearby second hand shop. Rather than giving them away, we used this as the perfect excuse to break out some glitter! Adding glitter is a great way to give unwanted pieces a quick face-lift and a fun repurpose. Madeline and I settled on a handful of items that would add some useful sparkle and shine to our studios as revamped storage containers, bud vases, and decorative decor.
Materials
– Collection of household items and greenery
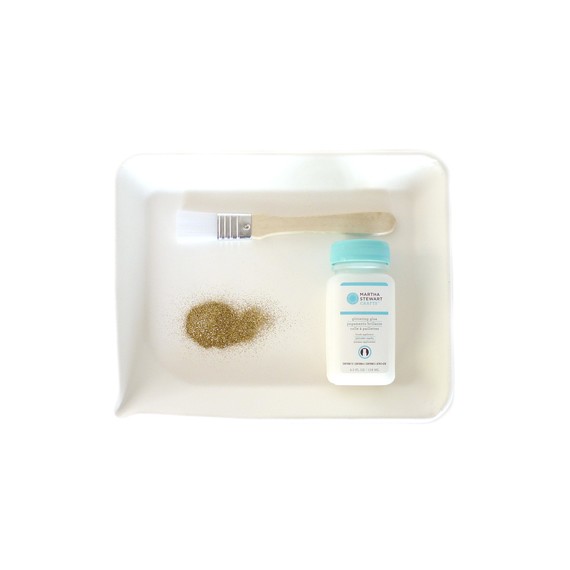
– Martha Stewart Crafts Gold Glitter
– 2 glitter trays
– Martha Stewart Crafts Glitter Glue
– Paintbrushes (medium and small for detail)
Step 1:
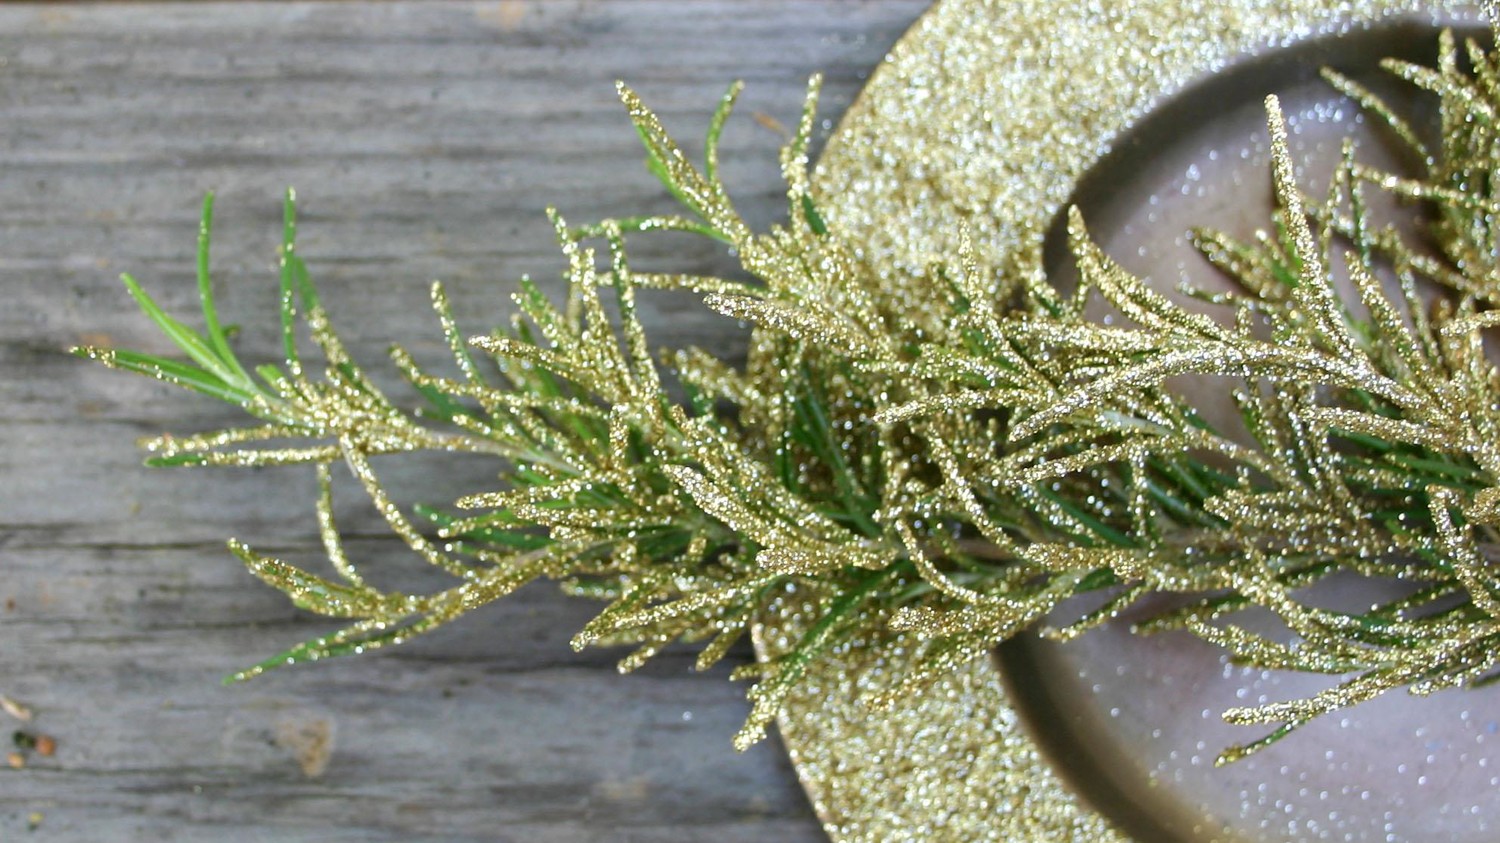
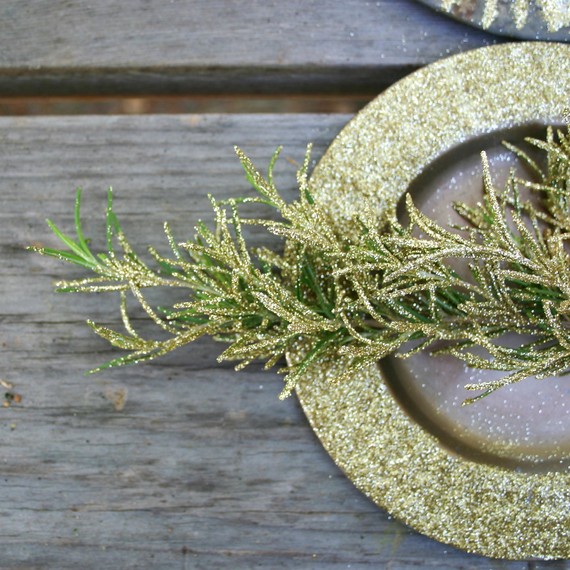
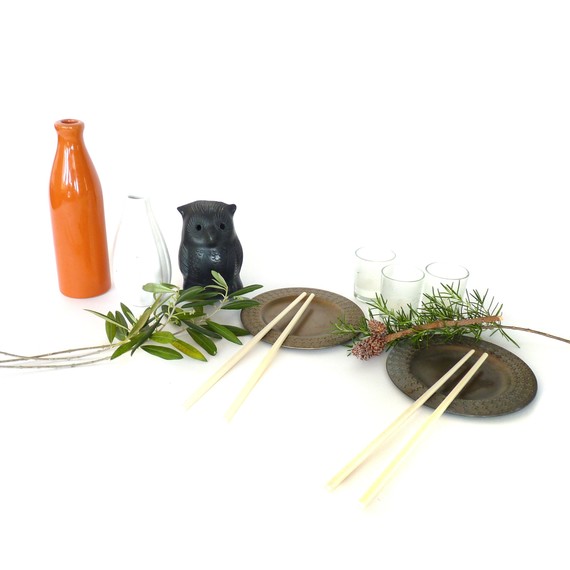
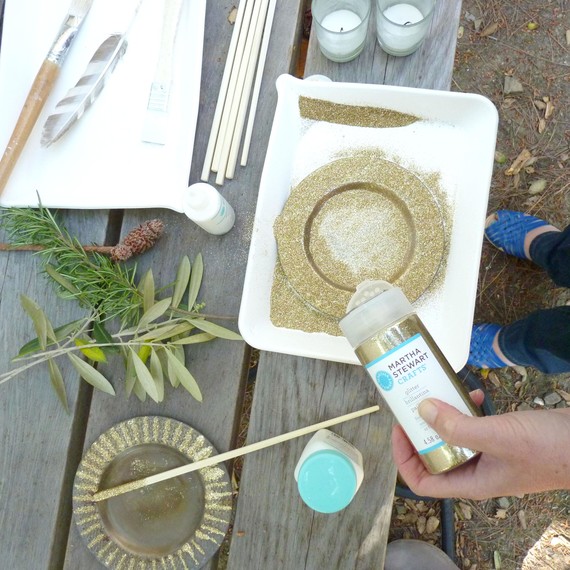
Gather a small collection of household items from your own home or a secondhand shop. We used 2 cracked vases, a set of takeout chopsticks, an old owl incense burner, empty candle votives, and a set of decorative metal plates, along with some greenery gathered from my yard.
Step 2:
Decide on a single location for this project and lay out your supplies. Glitter can be a bit messy for indoors, so this is the perfect project to start as the weather begins to warm. We set up on a picnic table in my backyard with adequate protection from the wind.
Step 3:
Apply glue with brush or by bottle to either entire object or parts of the object you wish to cover with glitter.
Step 4:
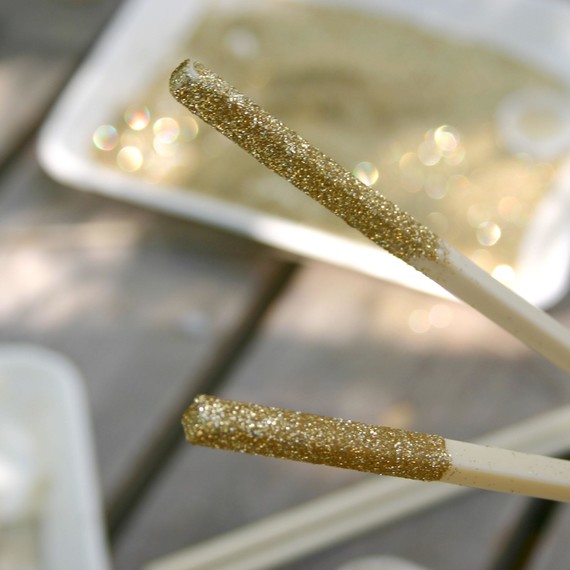
Place object in glitter tray and sprinkle with glitter to cover. Depending upon the object you might need to rotate the object in the tray while sprinkling the glitter.
Step 5:
Place freshly glittered object in your empty glitter tray to dry. Allow objects to dry overnight and then gently brush them with a dry, soft paintbrush or a dry paper towel to remove excess glitter.
Your new glitterfied goods are ready for their golden debut!
Looking for more inspiration? Check out the video below!
SOURCE:http://www.marthastewart.com/1111720/diy-glitter-craft-found-objects