
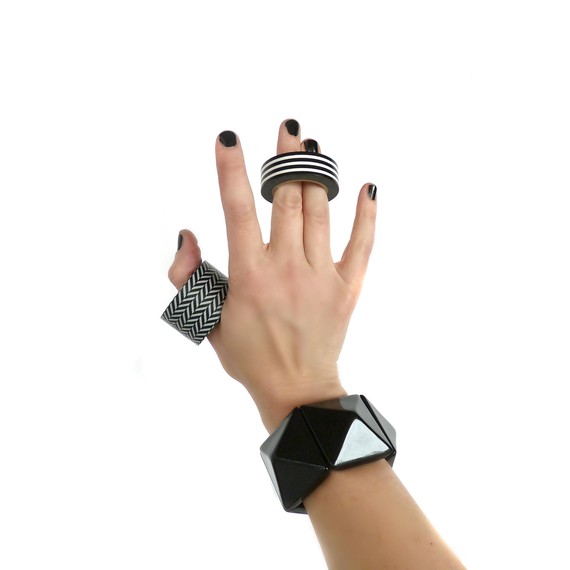
Available in every size imaginable and willing and able to solve numerous design and organization challenges, trays are one of my favorite go-to pieces for keeping my home in tip-top shape. To pay a small tribute to this hardworking household problem solver, I created a fun and easy DIY to turn a plain old serving tray into a home-decor stunner. All you need is a little bit of time, some basic supplies, and a few rolls of washi tape! If you are new to washi tape, welcome aboard! We use it for just about everything in our home, from hanging kids’ artwork to prettying up packages and creating indoor hopscotch boards on a rainy day. Washi tape is fun, easy to use and remove, and simply beautiful.
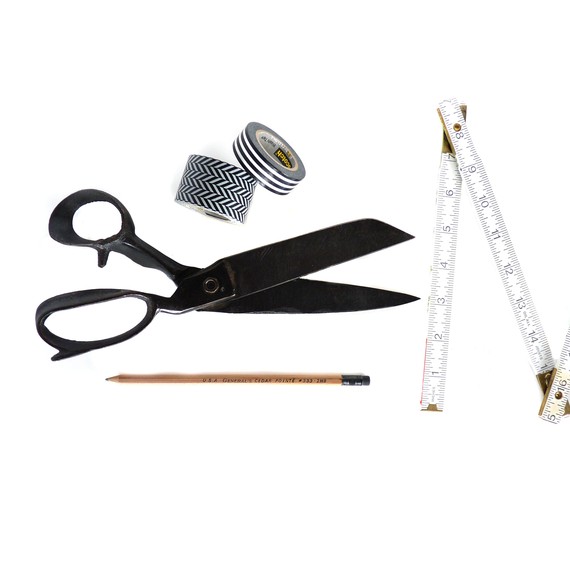
Materials:
– serving tray (I purchased a very basic plastic tray from a local home-goods store)
– two rolls of different patterned or colored washi tape (I used two different width tapes with different patterns).
– scissors
– ruler
– sharp pencil
– household cleaner and cloth wipe
Step 1:
Prepare your tray. Washi tape will stick well to most surfaces, but you will want to make sure your tray is clean before beginning this project. Spray your tray with a little household cleaner to remove any oils and wipe dry with a cloth towel.
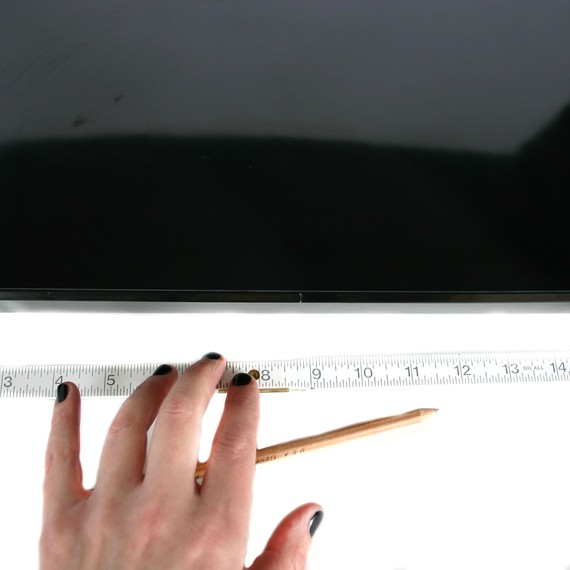
Step 2:
Measure your tray. To create the geometric shapes in this project I made several measurements across my tray. You can use pieces of washi tape like I did to mark your measurements. The spacing is what’s important. We are going to be measuring in half, then half again. First find the middle of your tray and mark the middle with a piece of tape. Next find the middle of each half of your tray and mark with tape again.
![]()
Step 3:
Make your first triangle! Cut a piece of tape that runs the entire length of your tray. Place the bottom of the tape along the leftmost marker on your tray. Angle the tape and bring it toward the center point at the top of the tray. Repeat on the other side, starting with the right-most marker.
Step 4:
Repeat step 3 with your other roll of washi tape, but this time make a smaller triangle inside the large. Don’t worry about the excess tape. I’ll show you how to get nice clean cuts in step 5!

Step 5:
It’s time to tidy up your tape. To get clean-cut and neat angles, take a sharp pencil and run it along the top of your tape to mark where you need to cut. Lift the edge of your tape off the tray and cut the tape along your pencil line.
![]()
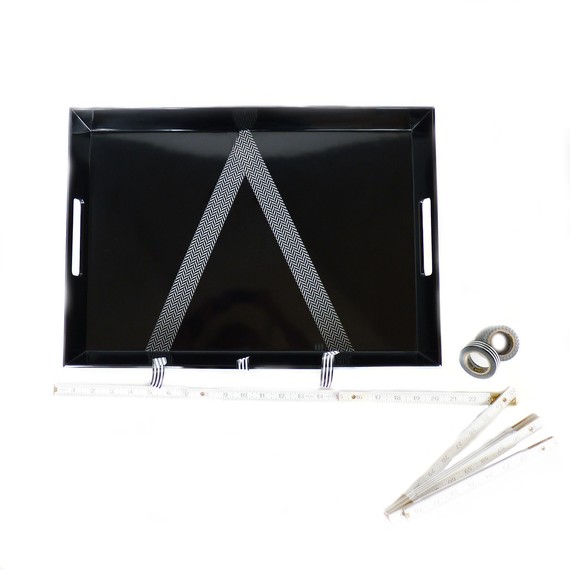
Step 6:
To place your final two triangles, turn your tray around and make fresh measurements, following step 2. Once you have your last two triangles taped and in place follow step 5 to tidy up your tape.
![]()
Your new tray is ready to rock breakfast in bed, your coffee table, and turn your junk mail from drab to fab!
SOURCE:http://www.marthastewart.com/1113111/fun-breakfast-washi-tape-tray