
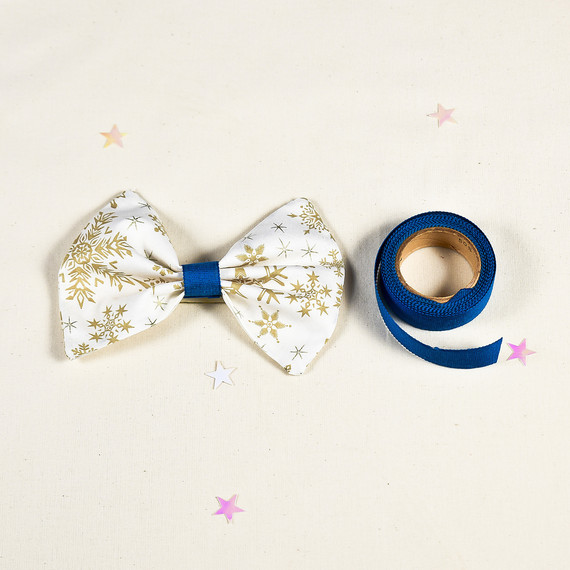
This project is from my book, “Sew Fab: Sewing and Style for Young Fashionistas.” I totally dig bows and the young fashionistas who take my sewing workshops love them too! I was inspired to include a bow in Sew Fab because this classic accessory can be worn with flair and used in many, many stylish ways. When in doubt you can always put a bow on it!
Materials
- Sewing basket (your usual tools and supplies)
- Small pieces or scraps of fabric
- Iron and ironing board
- Needle and thread
- Hair clip, bobby pin, or safety pin
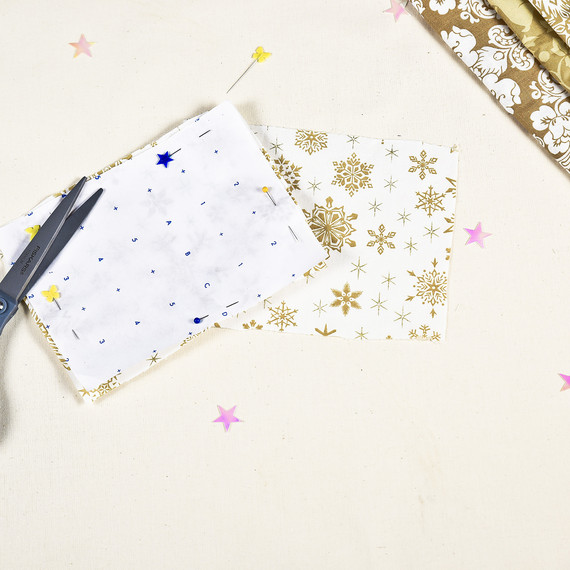
Step 1:
Cut your fabric. Use your ruler and chalk to draw to rectangle onto a piece of fabric and cut it out. For the bow above I used two 5-by-7-inch pieces of fabric. I like to measure and mark the dimensions on paper to create a pattern and use that pattern to cut out each piece, but you can also measure directly onto the fabric. After I cut the fabric, I pinned the pieces with the right sides facing each other.
Once you have your fabric set, you can double thread your needle and knot it.
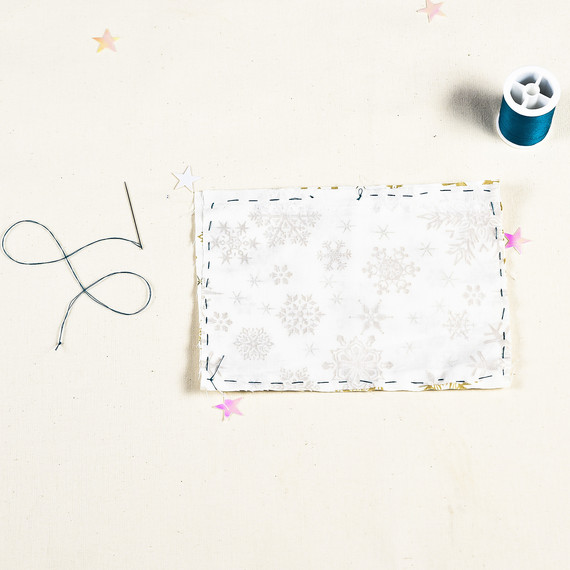
Step 2:
Start stitching. Use a tight running stitch to sew around the sides. Leave a small hole about 3/4 inches on one side. Tie off the thread to secure the stitches, then cut.
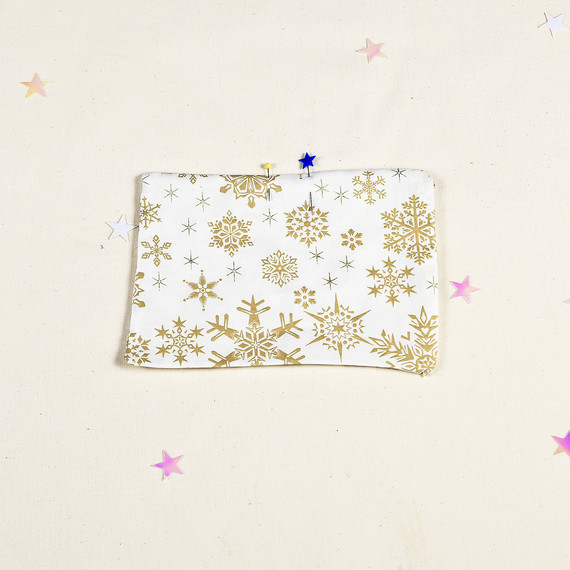
Step 3:
Carefully turn the fabric rectangle inside out. Use your point turner, or a chopstick, to shape the corners by placing it inside the rectangle, and wiggling it about. Whip or invisible-stitch the hole closed. Once it’s closed, tie off the thread to secure the stitches, and then cut. As an alternative, you could also use double-sided tape to close the hole too.
Press your rectangle flat with your iron.

Step 4:
Add a knot to make your bow! Cut a small piece of fabric or simply add a ribbon (like I did). If you are using fabric, cut a rectangle about 1 by 2 inches. Fold the long edges toward the center to make a strip. Fold your bow like a fan and wrap the fabric, or ribbon, around the center. Pull tightly and secure by stitching the strip in place on the back of the bow, leaving a little room to slide your hair accessory or pin through.
Once you add a hair clip or safety pin to your bow, you may want to place a few stitches or a dab of fabric glue to hold it in place. This will make your bow reusable beyond the holidays and oh sew fab!
Step 5:
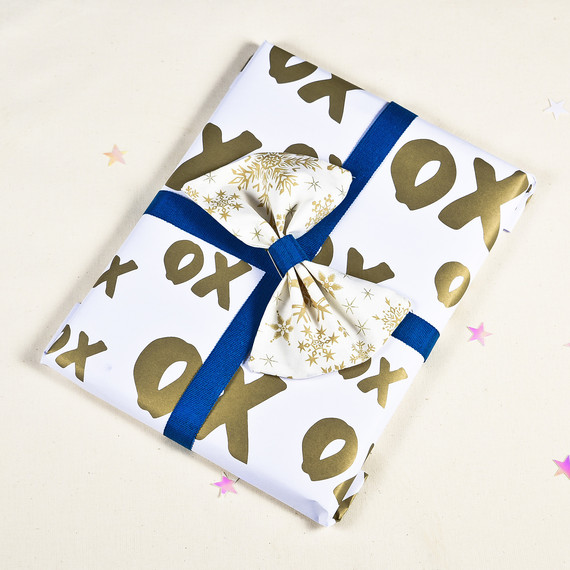
Make your presents POP with your gorgeous DIY bows! Best thing is that the topper is a gift in and of itself.
SOURCE:http://www.marthastewart.com/1501348/how-make-bow-thats-great-hair-presents-everything