
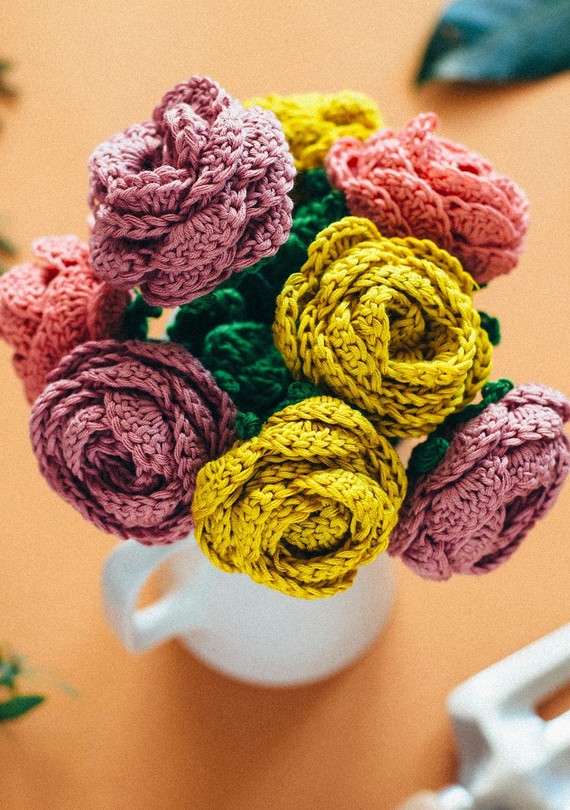
What’s better than a freshly-cut bouquet of blooms? How about one that never wilts, never needs watering, and stays in bloom all year long? Follow this easy pattern for crochet flowers to create a few buds, enough to fill a vase, or a whole garden’s worth. From there, the possibilities are limitless: use them as a decorative centerpiece, table place setting, party favor; or to embellish a hat, jacket lapel, or tote bag. Not to mention, they’re utterly Insta-worthy!
Learn How to Crochet
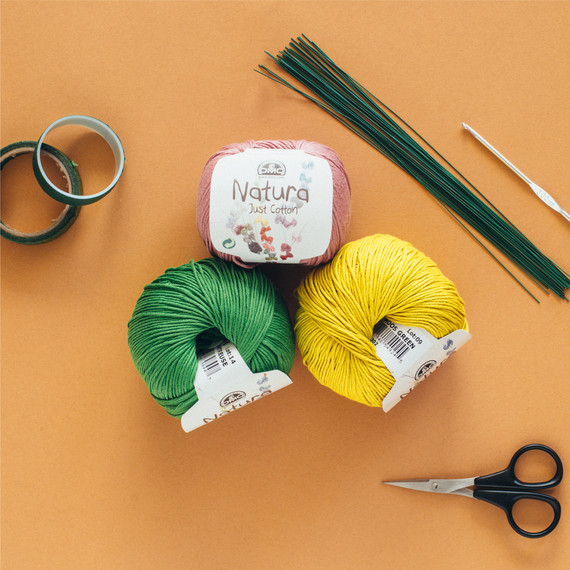
The yarn featured in the bouquet shown here is from DMC’s Natura Just Cotton line. The colors are Spring Rose (n07), Chartreuse (n48), Topaze (n19), and Moss Green (n75), but you can always switch them out to reflect your favorite hues.
Materials
- US D (3.25) crochet hook
- Scissors
- Green floral wire
- Green floral tape
- DMC tapestry needle or hot glue gun
To achieve the look of a full bouquet, you will need to crochet about seven or eight flowers. Each one will take you about an hour and a half to complete. With a beginner level of difficulty, even the crochet newbies should consider trying this project.
Abbreviations
ch = chain
sl st = slip stitch
st = stitch
sc = single crochet
dc = double crochet
hdc = half double crochet
tr = treble (triple) crochet
rnd = round
V-stitch = [skip 2 chs, (1 dc, ch 2, 1dc in the 3rd stitch)]
Step 1
Row 1: Work a dc in the 6th ch from the hook. *Skip the next 2 chs. In the 3rd chain, work (dc, ch 2, 1 dc) in the same st.* (V-stitch) Repeat from * to * to the end of the row. Ch 3 and turn.
Row 2: Dc in the ch2-space of the first V-stitch. Ch 3 and 2dc in the same space. (2dc, ch 3, 2dc) in the next and all following V-stitch ch2-spaces. At the end, ch 1 and turn.
Row 3: Work *7dc in the ch3-space of the first V-stitch and sc in the next ch3-space.* Repeat from * to * to the end of the row. Fasten off. Cut enough yarn to leave an 8-inch tail.
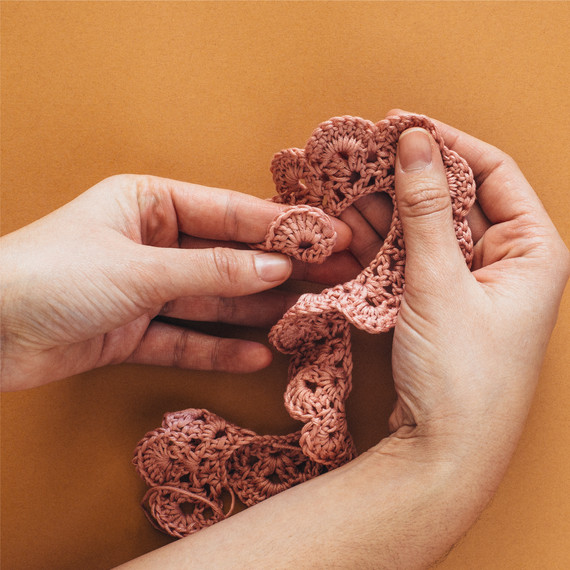
Step 2
Wrap the crocheted fabric around your finger to form a single flowering bud. Using the same color as your blossom, thread the tapestry needle and insert through the center base of the flower a few times in alternating directions to hold it in place; secure with a knot. Cut enough yarn to leave a 6-inch tail and weave the ends.
Step 3
Follow these instructions to make the green sepal of the flower.
Make magic ring, ch 1.
Rnd 1: Work 5 hdc into the ring. Pull the ring closed and join with sl st.
Rnd 2: Sc in the same space as the sl st. *Ch 6. Skip first ch from the hook and sc in the next 5 chs. Sc into the top of the next hdc.* Repeat from * to * 4 more times, ending by joining with a sl st into the sc at the base of the last tendril.
Cut enough yarn to leave a 6-inch tail and weave the ends.
Step 4
Follow these instructions to make the leaves of the flower.
Ch 12
Row 1: Skip the first ch from the hook. Sc in the next two chs, hdc in the next two chs, dc in the next ch, tr in the next ch, dc in the next ch, hdc in the next two chs, sc in the last two chs.
Row 2: Work the other side of the leaf on the opposite side of the foundation chain. Sc in the same space you made the last st of Row 1. Sc in the next ch. hdc in the next two chs, dc in the next ch, tr in the next ch, dc in the next ch, hdc in the next two chs, sc in the last two chs.
Cut enough yarn to leave a 6-inch tail and weave the ends.
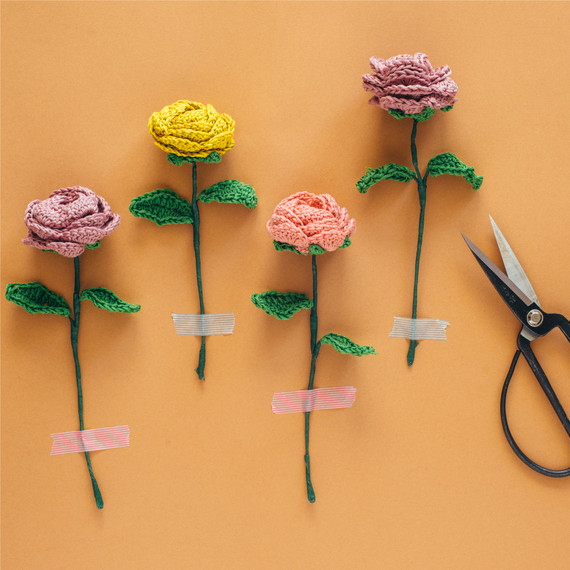
Step 5
To assemble the flowers, measure and cut 10 inches of green floral wire. Bend and fold 2 inches on one side. Insert the 2 pointed ends into the middle of the flower bud, then insert the sepal and wrap floral tape around the wire from top to bottom. Pause at the middle of the stem to add your pre-made leaves.
Cut another piece of floral wire, approximately 7-8 inches in length. Fold the floral wire in half and insert one end in the middle of the leaf; twist it on the bottom. Start wrapping floral tape around the leaf wire, adding leaves as desired. Continue covering the stem with floral tape. At the bottom of the stem, bend the wire up an inch or so and cover it with floral tape. Attach the five sections of sepals to the flower with a hot glue gun or sew them in place.
What’s most satisfying about this crochet project is that can be featured in your home for years to come. Simply add a striking vase to complete the look! And when someone looks at the bouquet with wonder you can just shrug it off and say, “Oh, they’re just easy crochet flowers.”
SOURCE:http://www.marthastewart.com/1502819/beautiful-crocheted-flowers-last-all-year