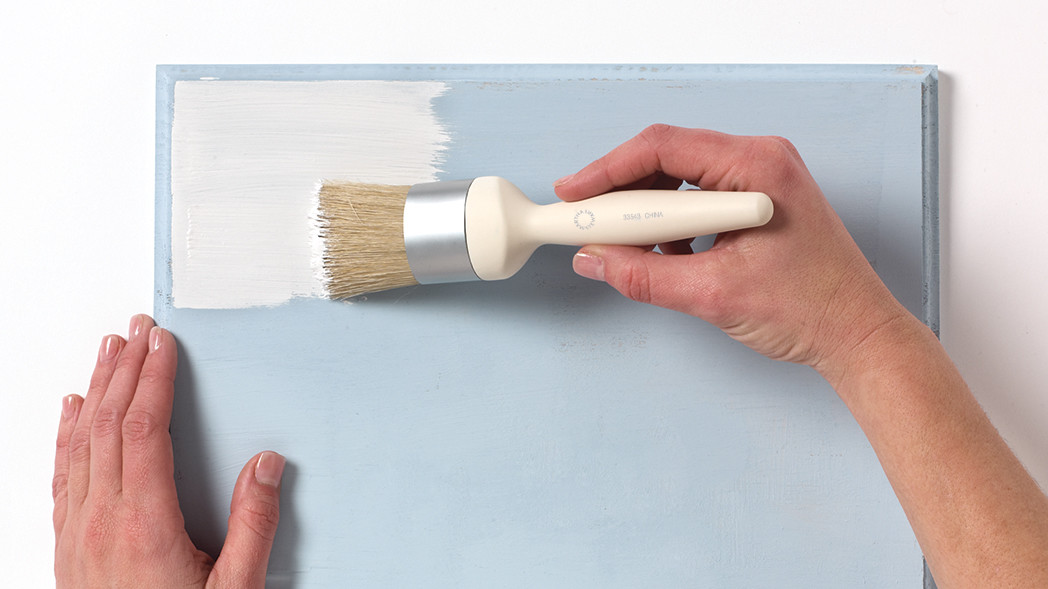
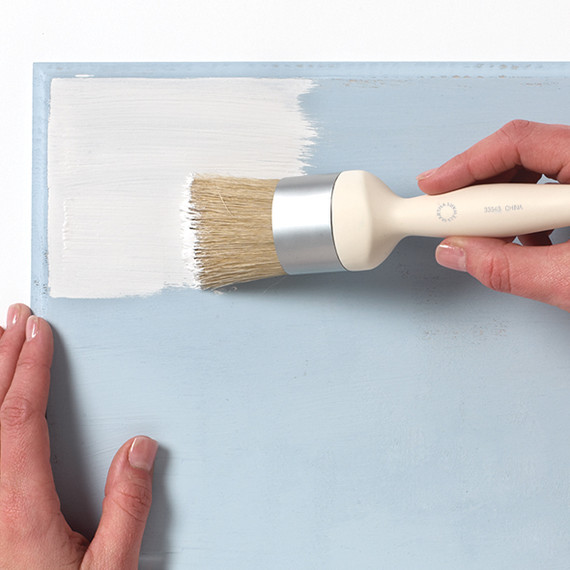
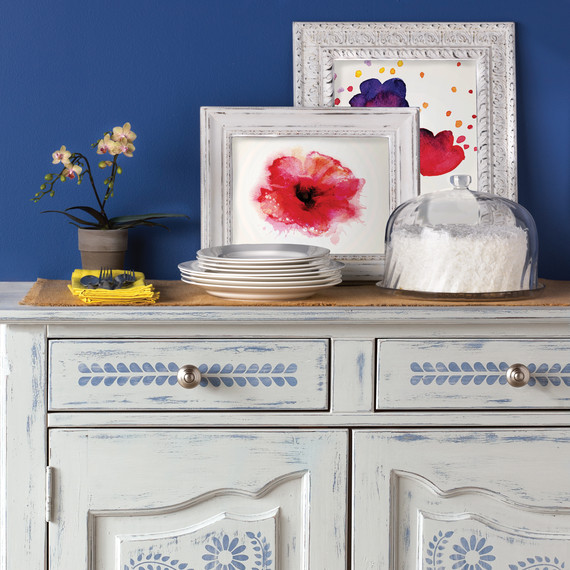
First, be sure to wipe clean the surface area of whatever you’re painting, to allow for quick adhesion and easy distressing. Stir the paint well before applying it to your surface in even strokes. Let your paint dry for 24 hours, and then apply Martha Stewart Crafts Vintage Decor wax for a matte chalk finish and added protection. You can leave your piece one solid color for a clean and modern look, or you can distress your paint for a vintage-inspired finish. If you like the vintage look and choose to just have the original surface of your project show through, just skip painting a base coat of paint. If you’d like for another color to show through, paint your base coat in the Vintage Decor Paint color you would like underneath.
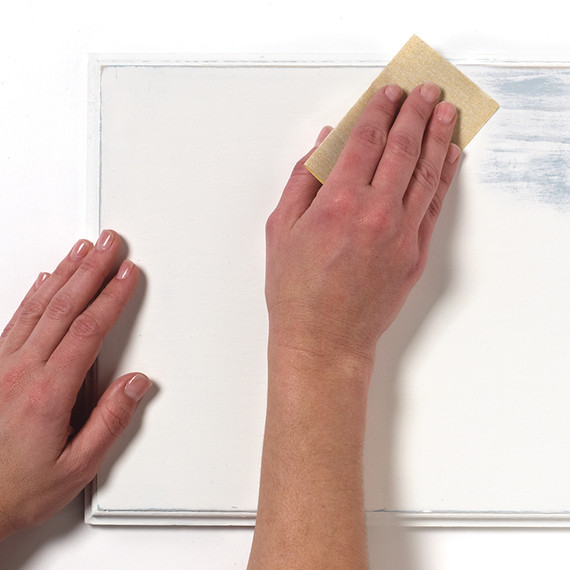
Let your base coat dry for two hours before applying your topcoat in the Vintage Decor Paint color of your choice. Apply one or two coats based on your preference. Next, allow your topcoat to dry for two hours, and then choose the areas you would like to distress and start sanding lightly using 200 grit sandpaper.
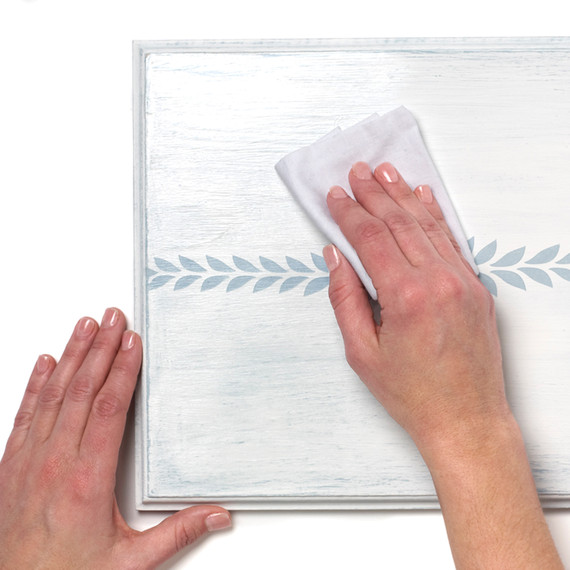
Apply Martha Stewart Crafts Vintage Decor wax and allow to cure for 24 hours to fully protect your beautiful new piece.
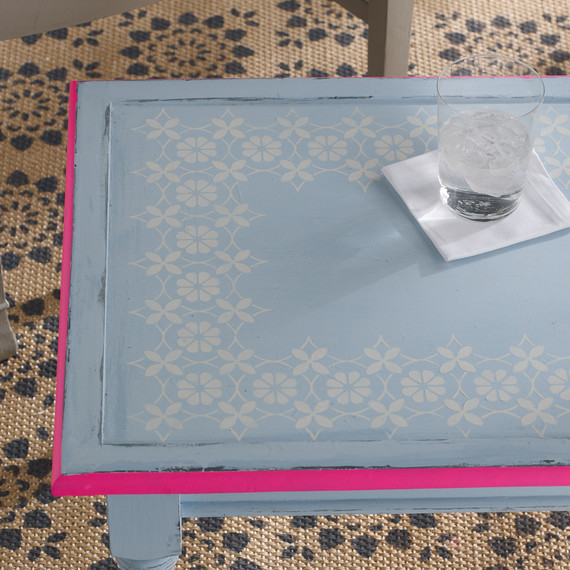
TIP-TOP TABLETOP
Make over a plain wooden table with a striking geometric floral pattern. An even more striking neon pink stripe around the perimeter keeps things modern and youthful.
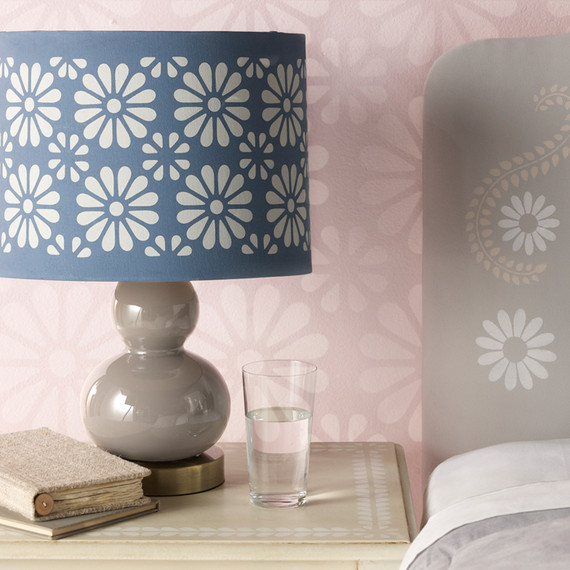
SWEET DREAMS
The vintage look doesn’t have to be relegated to just one piece of furniture. Here, we tied together the walls, lampshade, and headboard with a simple blooming motif.
For more detailed instructions, be sure to watch the video below!
SOURCE:http://www.marthastewart.com/1082366/latest-martha-stewart-crafts-vintage