For this craft we use “wet felting.” This is the process of taking pure raw wool fibers and shrinking it down to make a solid piece of felt fabric. This is actually how felt is made! This simplified project is fun, relatively quick and easy for kids to do.
Materials:
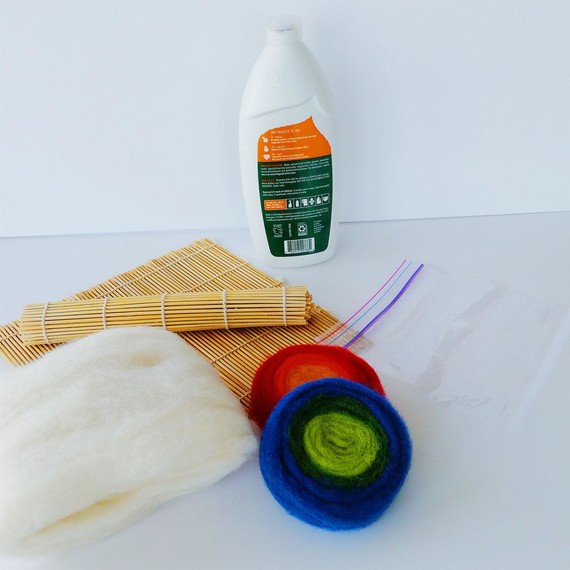
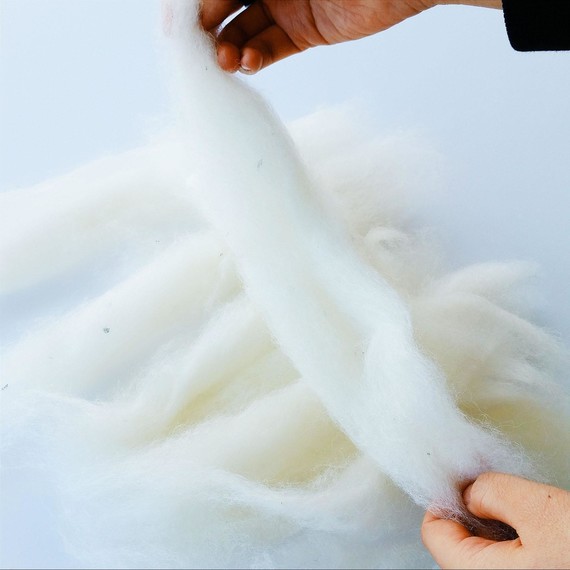
- Wool roving (raw wool fibers — available online or at craft stores)
- Plastic Ziploc bag
- Dish soap
- Hot water
- Teddy bear eyes (optional)
- Embroidery thread (optional)
Step 1:
Lay out some of the wool in strips side-by-side to make a square about the same size as your Ziploc bag. Place another layer of wool strips on top of your square running across the bottom layer (at a 90-degree angle). Make sure your square is quite thick with a lot of wool. Make a round shape on top of these layers with another color of wool. To make the egg yolk, use either orange or a bit of yellow.
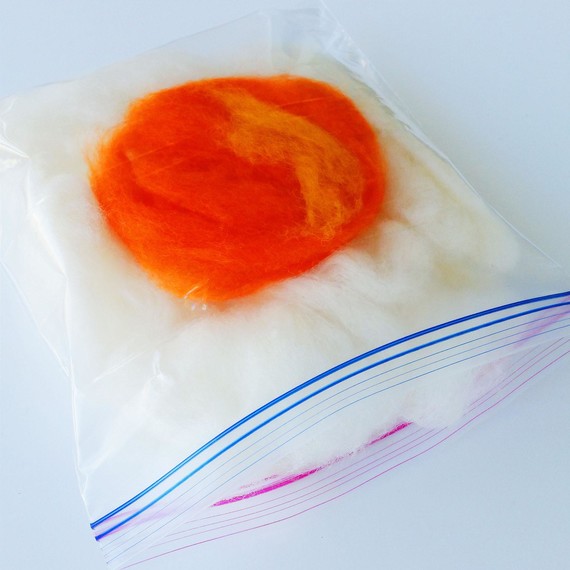
Step 2:
Carefully place the whole square of wool, without disturbing your design, into the Ziploc bag.
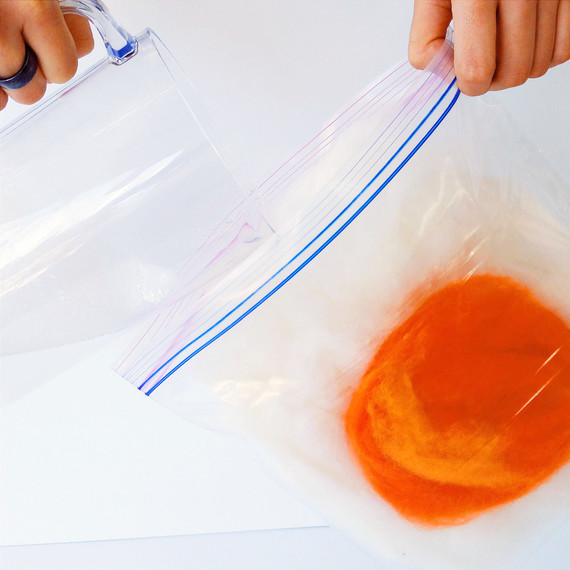
Step 3:
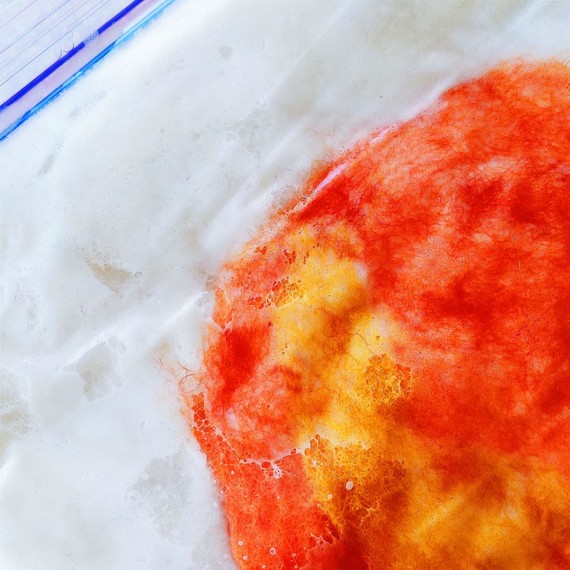
Mix up some hot soapy liquid, combining one cup of hot water and about one tablespoon of liquid dish soap. Pour enough water into the bag to fully saturate the wool.
Step 4:
Place the bag on top of a towel. Squeeze the air out of the Ziploc bag while you close it up.
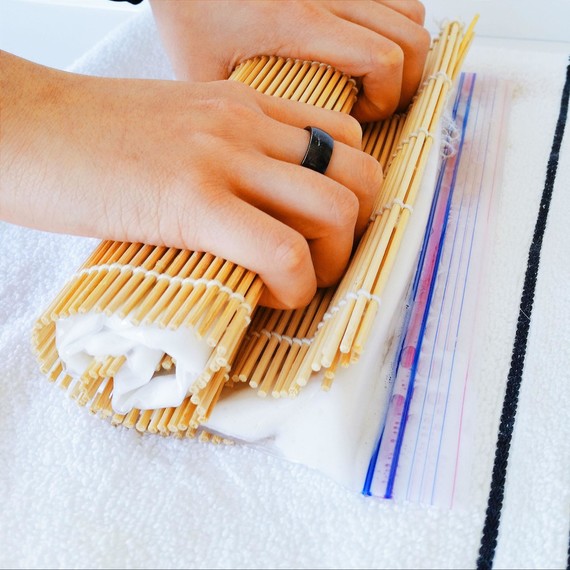
Step 5:
Agitate the wool inside the bag for at least 15 minutes while trying not to upset the design. Fifteen minutes is the minimum, but the more you agitate it the stronger your piece of felt will be. You can do this any way you choose — you can pound the bag with your hands, roll it up into a tube and roll it back and forth, or you can squish and unsquish it. The kids really enjoy this part! I like to use these bamboo mats that are normally used in making sushi. The bumpy surface is great!
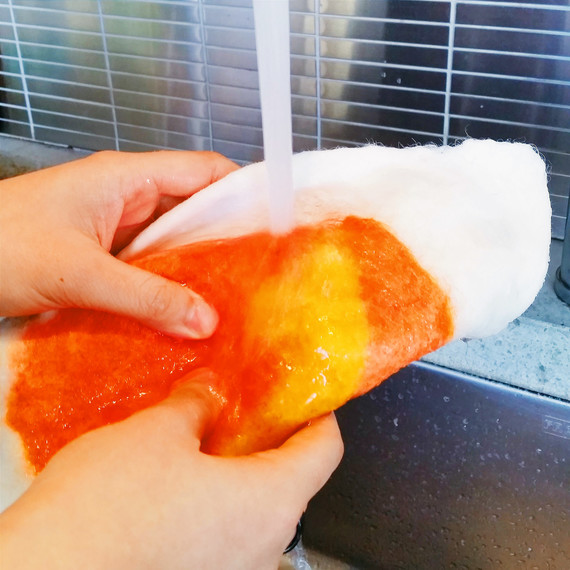
Step 6:
When you think the wool is sufficiently felted, take it out of the bag and rinse it under the tap — alternate between very hot water and very cold water. Repeat rinse about 3 to 5 times, until you get all of the soap out.
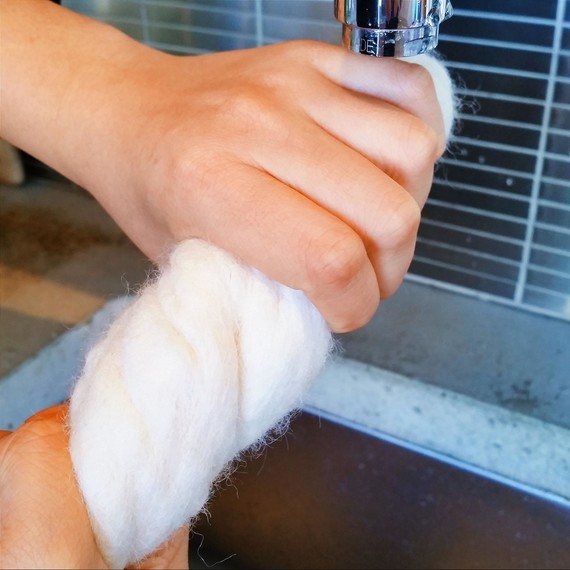
Step 7:
Wring out as much water as you can and place your felt flat on a towel to dry.
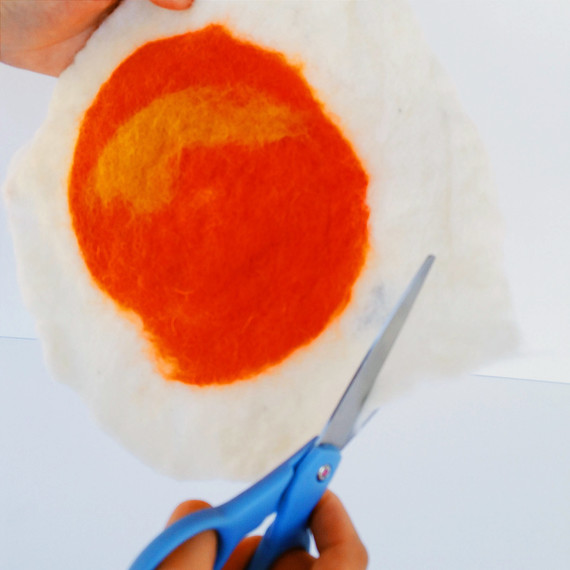
Step 8:
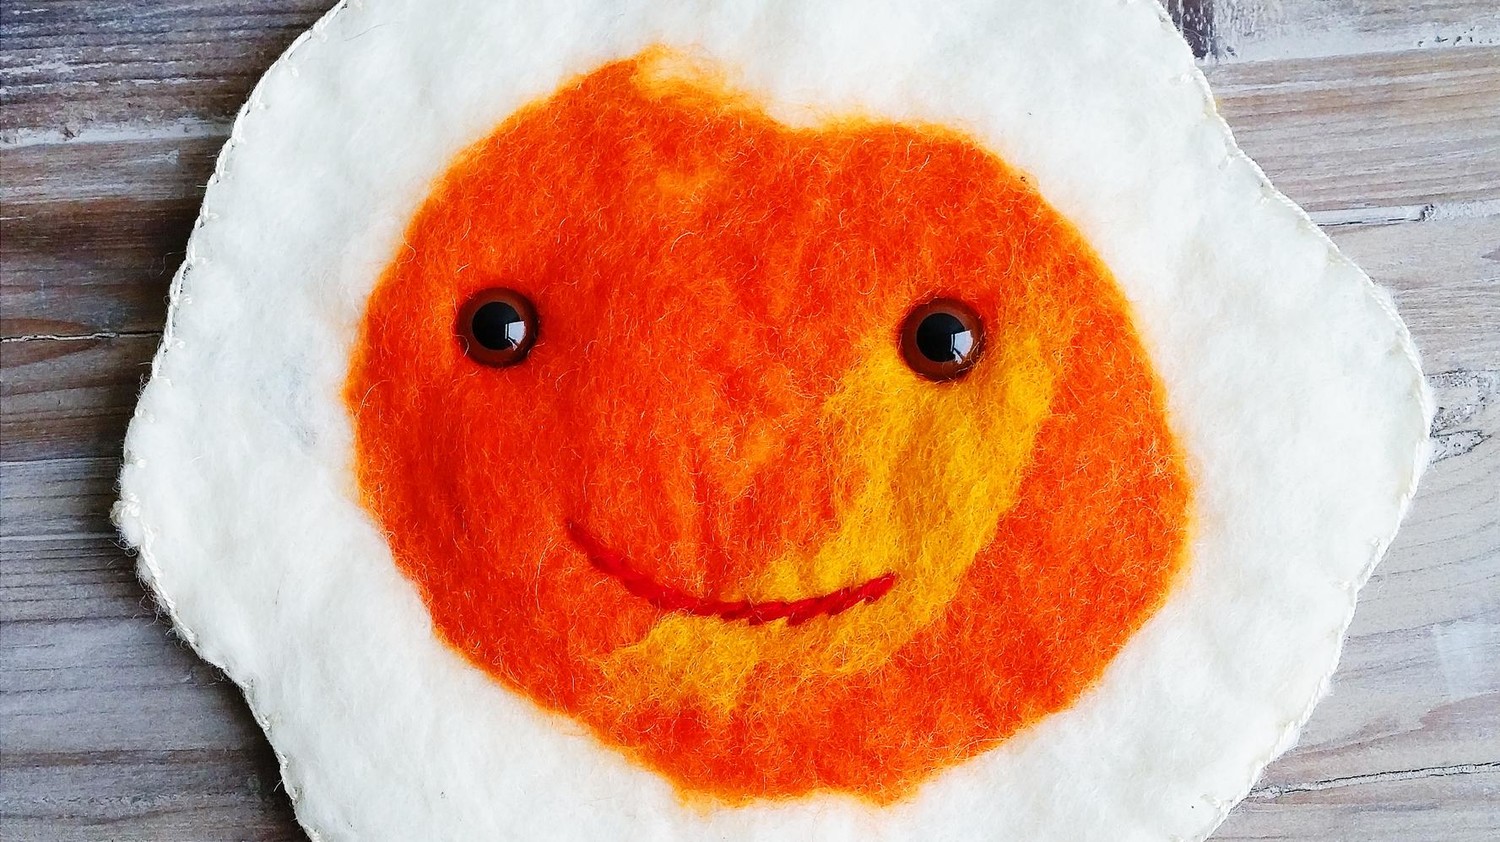
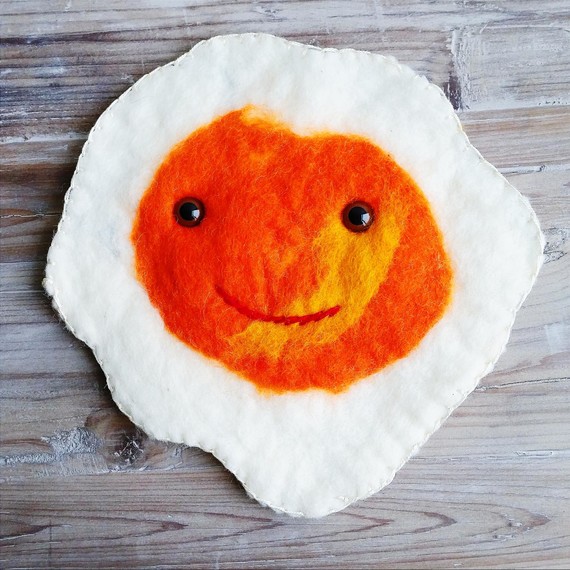
When your felt is dry, cut around the edge to give it a more rounded fried-egg look. At this point, if you’re a minimalist, you can be done. But if you prefer to anthropomorphize, like I do, you can add teddy bear eyes and embroider a mouth. I also like to give it a more finished look by going around the edge with a blanket stitch.
I certainly like my eggs sunny-side up. How about you?
Check out how to make felt mittens here!
SOURCE:http://www.marthastewart.com/1102834/kids-diy-felt-egg-craft