
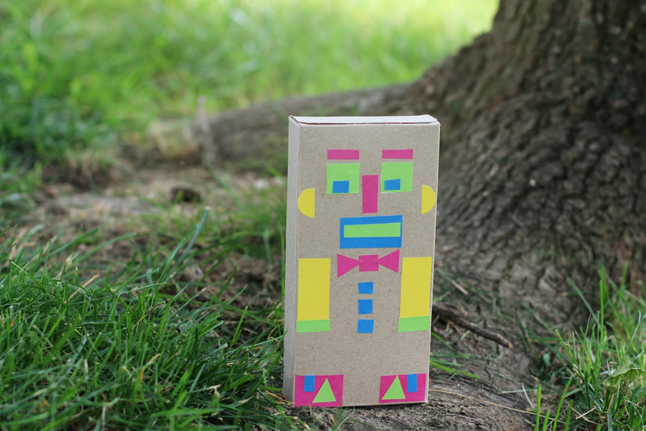
My son is obsessed with all things robot, so it wasn’t a surprise that this robot-themed craft was a big hit with him. He’s also really interested in shapes right now, so we combined his two favorite things for this craft project and made a “shapes robot.”
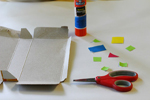
Materials:
- an empty, rectangular cardboard box (we used a macaroni box)
- different colors of paper
- a glue stick or other school glue
- hot glue gun and glue sticks or strong glue
- tape (optional)
- scissors
Instructions
 Break your box at the seams and open it inside out. It’s best to use a box with no writing on the inside, but you can always cover the writing with construction paper or paint the box if needed. Then flatten it.
- Cut out an assortment of shapes from the different colored paper. For smaller children, show them how they can arrange the shapes to form a robot. Older children can design their own robot. Use this part of the activity to
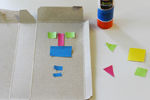 point out the names of the shapes for smaller children, like “What does the triangle look like?” and “What part of the robot should the square be used to make?”
 - As you begin to see the design of your robot coming together, start gluing shapes to the cardboard.
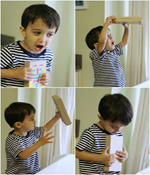 Glue (with strong glue or hot glue) or tape (if that’s easier) the seams of the box back together. Make sure the box is inside out, with your robot design showing.
SOURCE:http://www.pbs.org/parents/crafts-for-kids/shapes-robot/