
Photography by: Ryan Liebe
The Piece
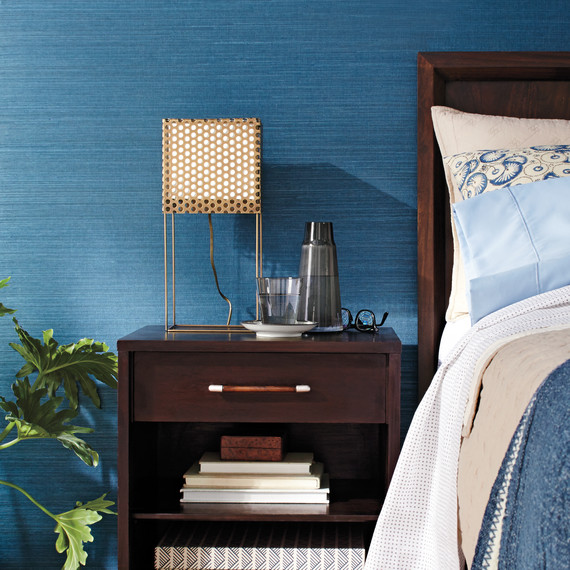
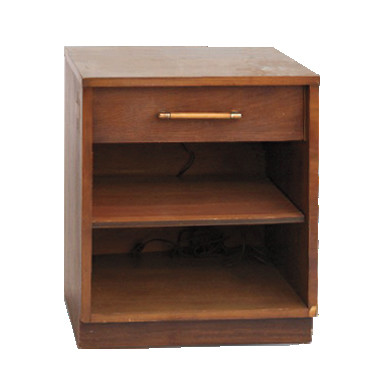
This midcentury-modern nightstand, bought at a consignment shop by MSL executive video producer Lisa Wagner, was a disaster—broken parts, missing veneer, unsightly cracks. It also provided the perfect opportunity for a dark stain.
The Fix
Such a problematic piece leaves you little choice but to go dark. Pourny didn’t want to color it black, though, and so instead opted for an espresso hue.
Serail table lamp, atelierdetroupe.com
Shag rug, by Martha Stewart for Safavieh, in Champagne, wayfair.com
Dot sheet set, in Gray, schoolhouseelectric.com
Hailey Indigo pillow, lesindiennes.com
Cotton-sateen sheet set, 300 thread count, in Sky and White; and basket-stitch quilt and sham, in Tan, by Martha Stewart Collection, macys.com
Tweed box, smockpaper.com
Photography by: JAMES MARCUS-WADE
The Technique
Light ebonizing
The Process
Although ebonizing is frequently used to create a black-like hue, a lighter-handed version of the technique is just as lovely and easier to accomplish.
The Prep
After removing the hardware, Pourny stripped and sanded the piece. Then he fixed the veneer and ptched it with wood filler.
The Materials
+ Latex or nitrile gloves
+ 100 percent–cotton rags
+ Inexpensive natural-bristle brushes
+ Alcohol-based stain
+ One-pint containers (to hold stain and oil)
+ Linseed or tung oil
+ Superfine steel wool (0000)
+ Black or dark-colored wax
TIP
You generally use black pigment when ebonizing. But to get this oh-so-slightly lighter hue, mix equal parts black and Vandyke Brown (a very dark brown that gets its name from old-master painter Anthony van Dyck).
Photography by: JAMES MARCUS-WADE
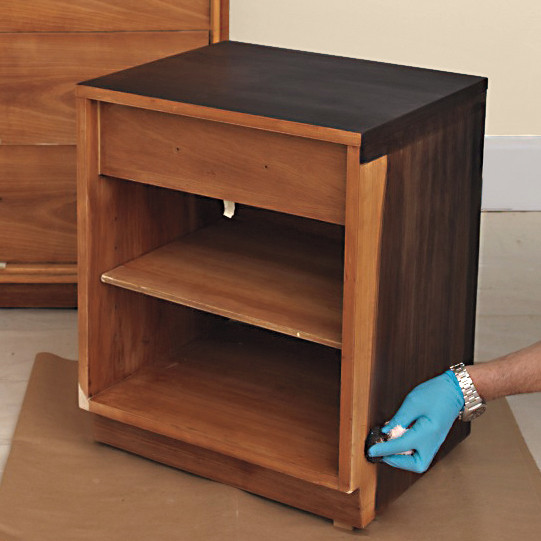
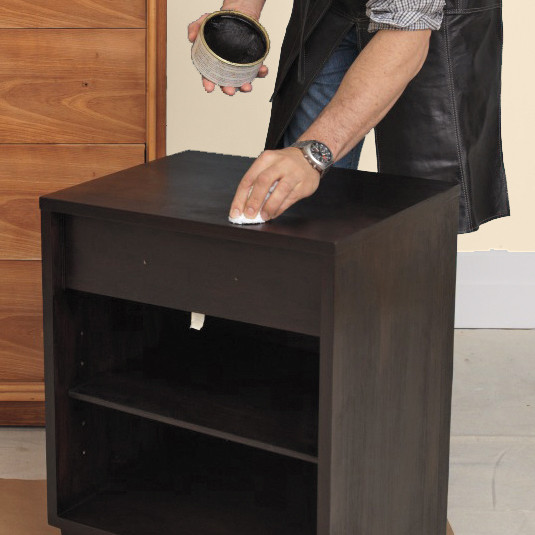
1. Start with dark stain. Wearing protective gloves and using a rag or a brush, apply a single coat of dark alcohol-based stain to every exterior surface. (Oil-based stain would be fine here, too; just avoid water-based stain.) Use just enough to make the surface look uniform—you don’t want to obscure too much of the wood.
Photography by: JAMES MARCUS-WADE
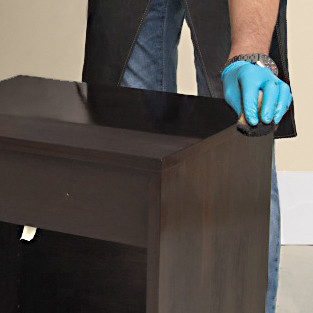
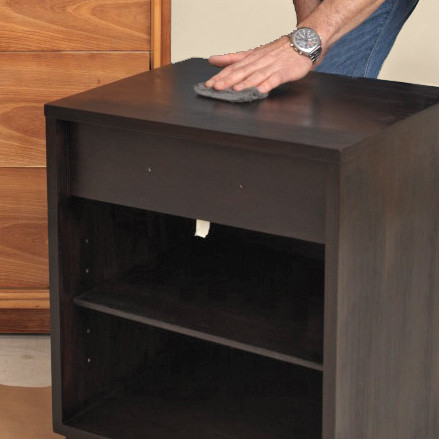
2. Seal with a coat of oil. Depending on how much protection you want, you can re-apply the oil a few times, waiting overnight to let it dry between coats. The oil darkens the wood a touch and imbues it with an aqueous sheen.
Photography by: JAMES MARCUS-WADE
3. Scuff-sand. Using the steel wool, lightly sand the piece to even the finish.
Photography by: JAMES MARCUS-WADE
4. Wax and shine. Finish with a light coat of dark wax. Not too much: just enough to lend uniformity and create a satin shine without obscuring the grain. Wait an hour, then buff to a shine. Or wait overnight, re-apply a light coat, wait an hour, and then buff to a richer satin shine.
5. Reattach the hardware.
Why Stain?
A good paint job requires just as much prep work—sanding, patching, filling, etc.—as a nice finish does. In contrast, not only will staining wood draw out its natural beauty, but the process is often more forgiving and will better disguise any damage.
On Stripping:
Creating an even base requires fully removing whatever product is already coating the wood. With the right tools and protection, the job will be fast and clean.
Here’s what you’ll need:
• A gel stripper (unlike liquid versions, the product stays put and doesn’t run off).
• A plastic scraper or an old credit card (avoid metal tools, which can scratch fragile, wet wood).
• A container for catching the gunk you scrape off (plastic takeout containers are great for this purpose).
• Two pairs of gloves, one latex and a heavier, chemical-resistant pair on top (that way, you can remove the heavy pair for detail work and still have protection).
On Sanding:
This creates a clean, level canvas in anticipation of a new treatment. Sandpapers come numbered according to their degree of roughness: The lower the grit number, the coarser the abrasive and the more wood it removes. A few tips: Always sand by hand; for large, flat surfaces like tabletops, wrap the sandpaper around a wood block or flexible sponge to ensure consistent abrasion; and use long, continuous strokes (don’t scrub).
Excerpted from The Furniture Bible (Artisan, 2014) by Christophe Pourny.
SOURCE:http://www.marthastewart.com/1110258/reviving-midcentury-modern-wooden-nightstand