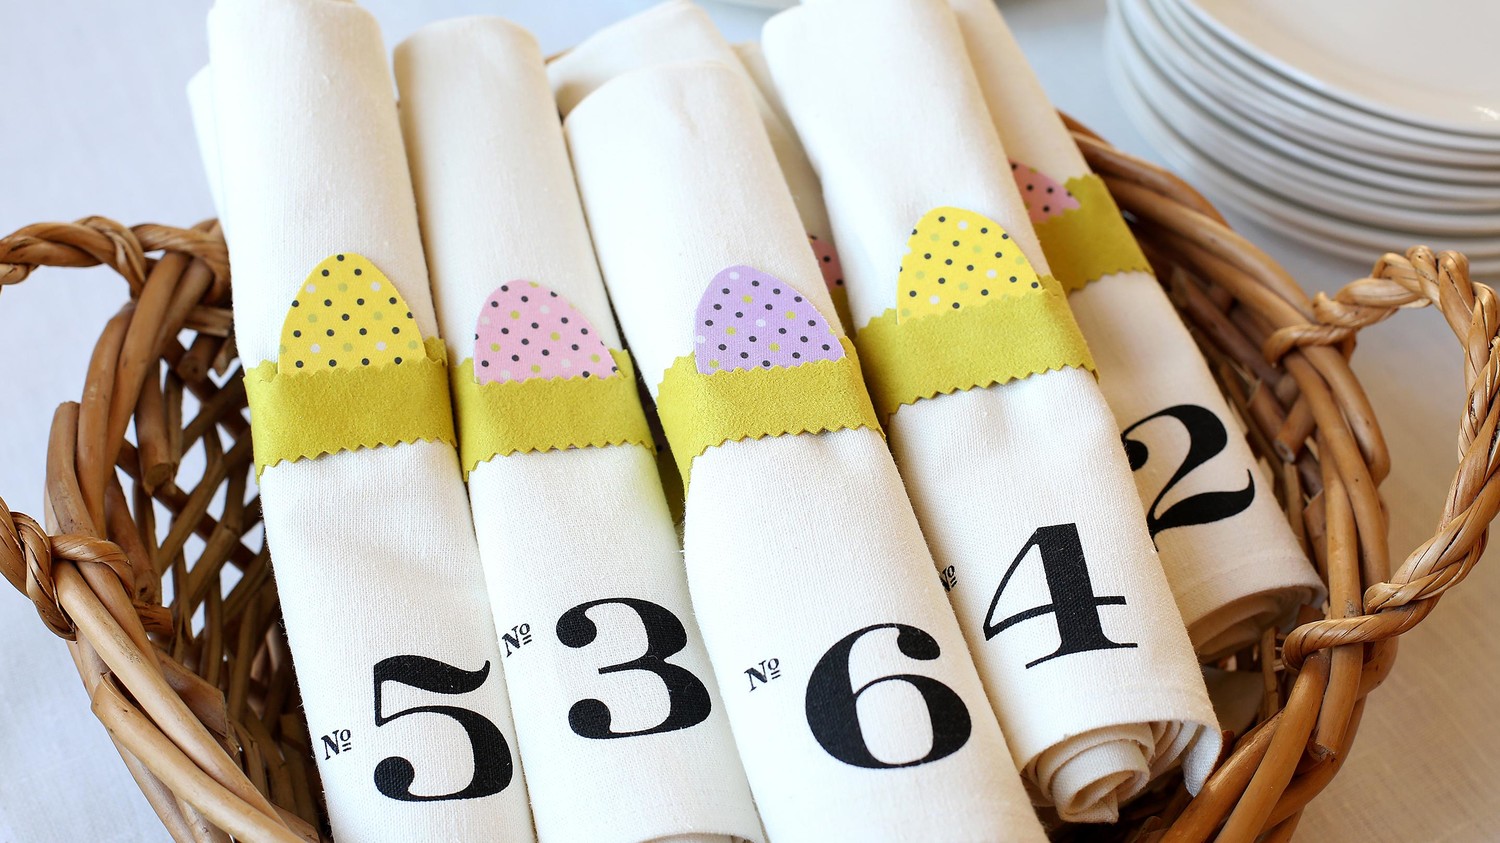
Here is a great way to use fabric scraps from a sewing or quilting project — just be sure you stick to related or matching patterns so your table will look pulled together.
For this project I used Sensuede: a faux suede made from recycled plastic bottles. It comes in bright colors and doesn’t fray when you cut it. It’s easy to work with and eco-friendly. Though Sensuede is expensive to buy by the yard, sampler packs are available online. I used a color named Margarita. If fake suede isn’t available, you can substitute with felt or any other no-fray fabric.
Materials:
– Green Sensuede or other no-fray fabric such as Ultrasuede or felt
– Pinking shears
– Tailor’s chalk
– Ruler
– Card stock or chipboard
– Pencil
– Fabric scraps
– Scissors
– Wonder-Under or other paper-backed fusible web
– Iron
– Craft glue
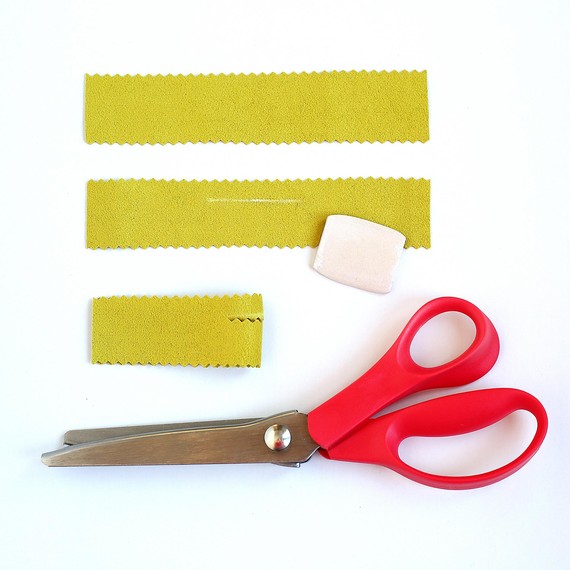
Step 1:
For each napkin ring, cut a 6.25-x-1.25-inch strip of green no-fray fabric using pinking shears. Then mark a 1.5-inch offset line using tailor’s chalk and ruler. Fold the strip in half (with the chalk line on the outside) and cut a slit with your pinking shears using the chalk line as a guide — this is where you will place the “egg.” Brush the tailor’s chalk away when done.
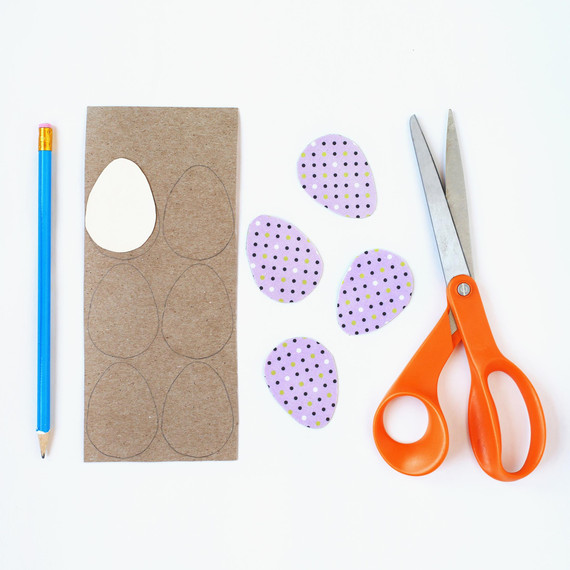
Step 2:
Download an egg template and print it onto card stock — you can also draw your own egg shape. I used an egg shape that was 2 inches tall and 1.5 inches wide. Draw (or trace) eggs onto the chipboard using a pencil, making sure there is one egg for each place setting.
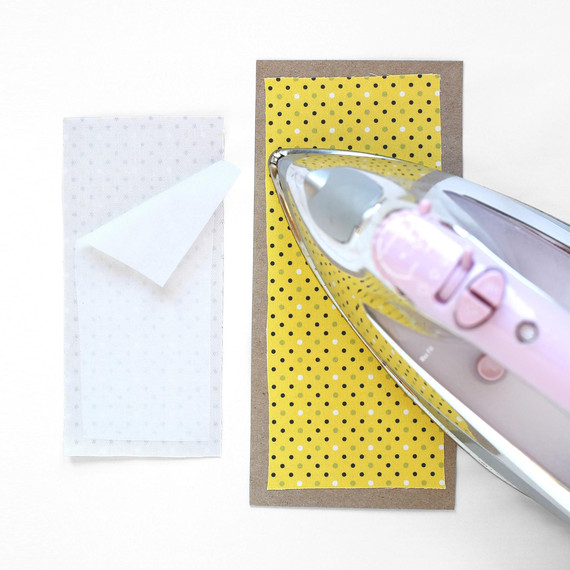
Step 3:
Fusible web is easy to use and does a great job of adhering fabric to chipboard. Cut a piece of fabric that will cover all the eggs you drew on the chipboard. You can also cut a different piece of fabric for each egg. Then, cut a slightly smaller piece of fusible web for every piece of fabric. Iron the rough side of the fusible web to the wrong side of the fabric. Remove the paper backing from the fusible web. Place the fabric on the chipboard, right side up. Iron the fabric to adhere to the chipboard.

Step 4:
Nestle each egg into the slit you cut in each strip. Using your craft glue, glue the egg into place and allow it to dry.
Step 5:
Before gluing your napkin ring into a loop, do a test fit on a napkin. Once you have your size correct, glue the two ends together. Let the glue dry for a minimum of 24 hours.
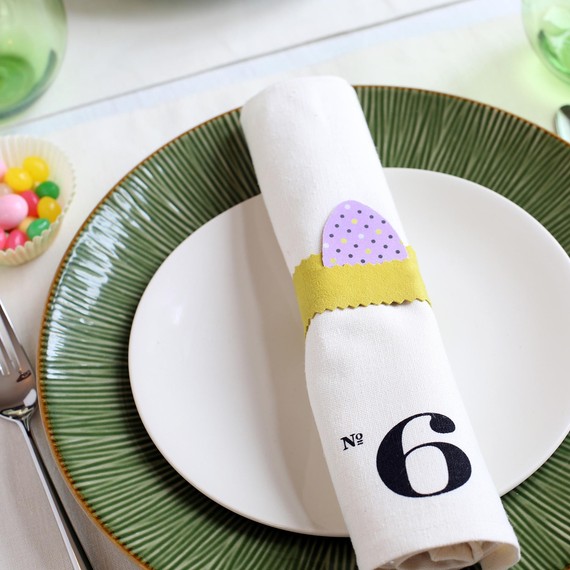
Now you’re ready to roll your napkins and set the table! My mother loves to set a pretty table, and I’m no different. For Easter, she uses her mother’s china, serving dishes she’s gathered over the years, and vintage linens. Most items have a story and are meaningful to her. For my Easter table, I chose to encorporate some items of my own, such as the numbered napkins. How do you set your table for Easter?
SOURCE:http://www.marthastewart.com/1107197/no-sew-easter-egg-napkin-rings