
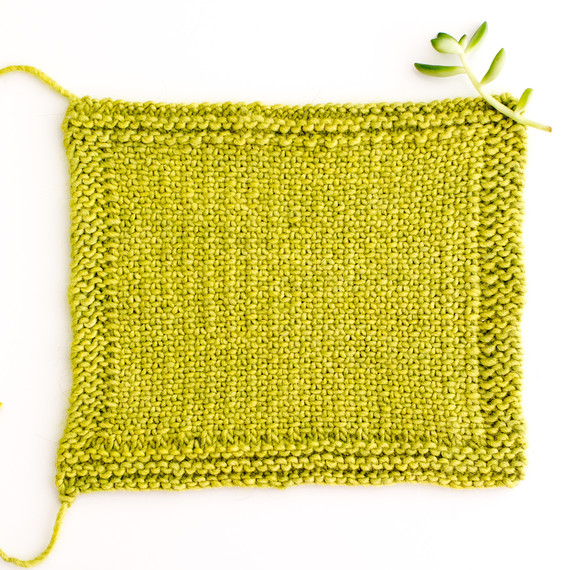
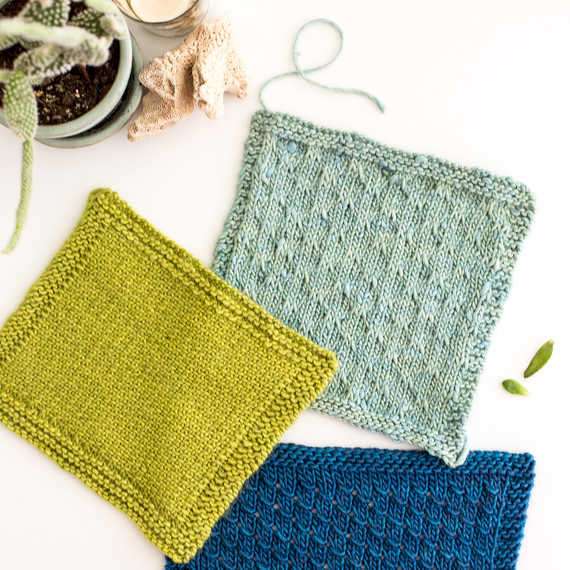
I love playing with different stitches in knitting, and the linen stitch is one of my favorites. It is solid and beautiful to look at. The linen stitch is great for warmth or a stiffer fabric. If you’re looking for some simple, free linen stitch patterns, I’ve included links to some of my favorites at the end of this post.
Once you start trying different stitch patterns, you’ll be addicted. My suggestion when trying any new stitch is to make a full swatch (6 x 6 inches) so you can really get a feel for the pattern, how it will hang, and understand its true gauge. If applying to a favorite knitting pattern, you may need to adjust the pattern accordingly. It’s so easy to follow these instructions, so don’t be scared. Dive in and try something new!
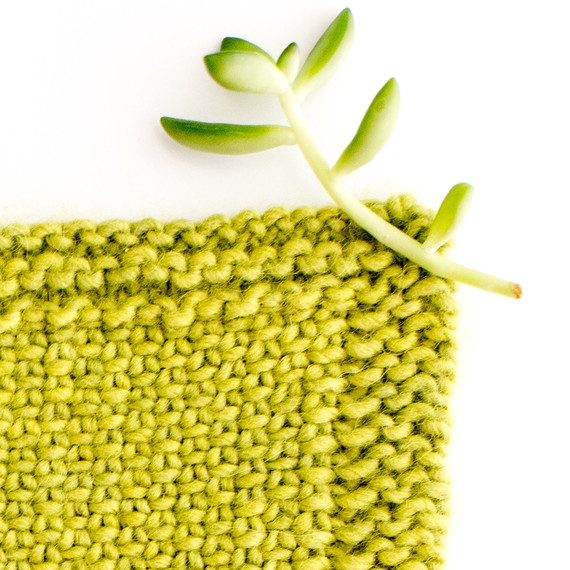
In the linen stitch, you slip every other stitch and knit (or purl) every other stitch. At the same time, you carry the yarn in front on the slipped knit stitch on the right side of the work or behind the slipped purl stitch on the wrong side of the work.
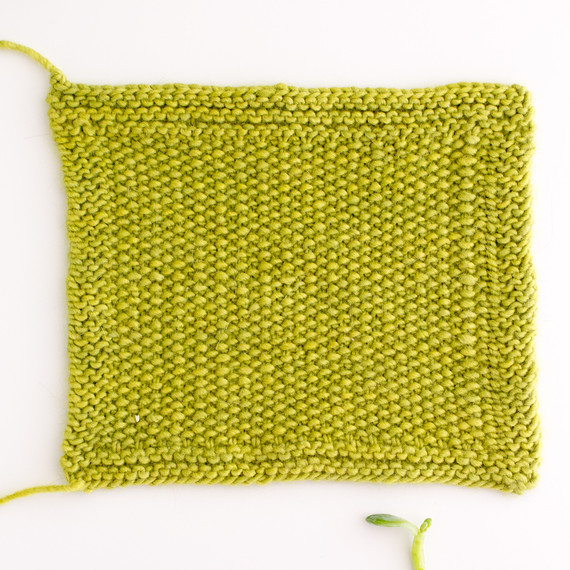
Above is the wrong side of the pattern. I think it still looks beautiful.
Linen Stitch Pattern
Note: Work this pattern over an even number of stitches. It is a two-row repeat.
When slipping stitches, slip purl-wise (with the needle in front of the slip stitch, not behind).
Row 1: knit 1, *slip 1 with yarn in front, knit 1; repeat from * to end.
Row 2: purl 1, *slip 1 with yarn in back, purl 1; repeat from * to end.
Repeat these two rows to form the pattern.
Below, I have included step-by-step photos with descriptive instructions so you can see exactly how the stitch works. These are not meant to replace the instructions above but to clarify specific aspects of it. The photos don’t show the very first row of the pattern. The actions of the steps will be the same in the very first row, but you wouldn’t see the slipped stitches from the row below, etc.
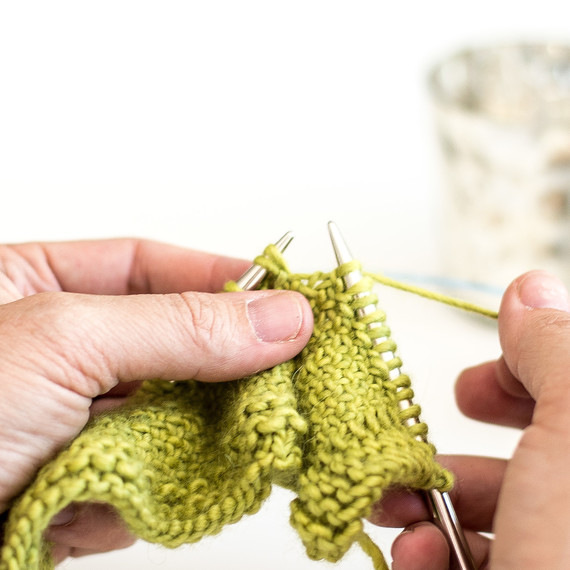
This is how the fabric will look from the right side. You can see the slipped stitch coming from the prior row. On this side of the work, these are the stitches you will be knitting.
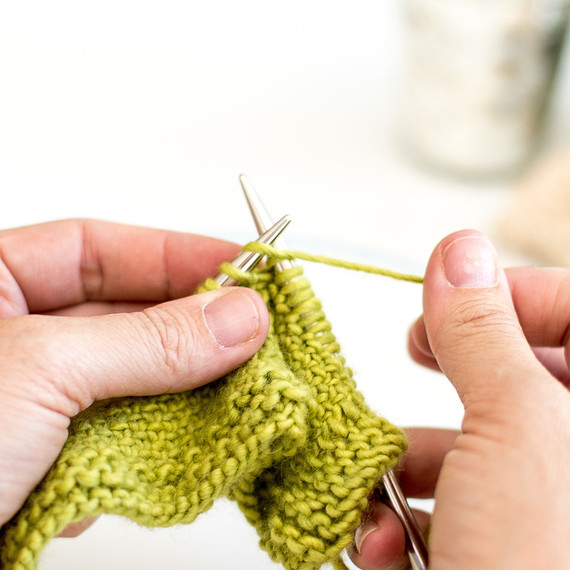
Knit one stitch.
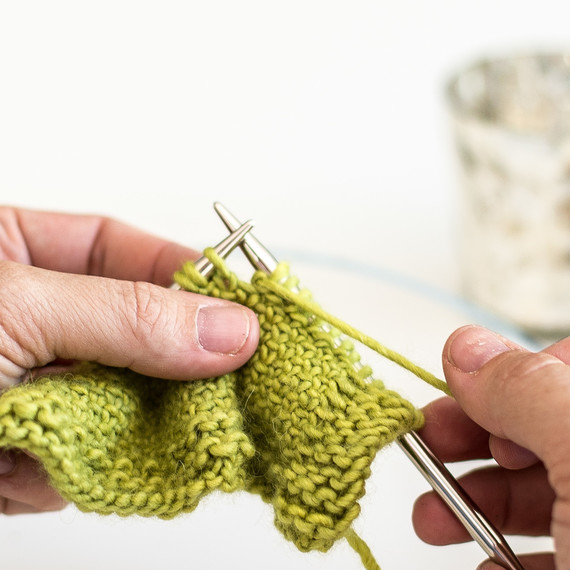
Bring the yarn to the front of the work.
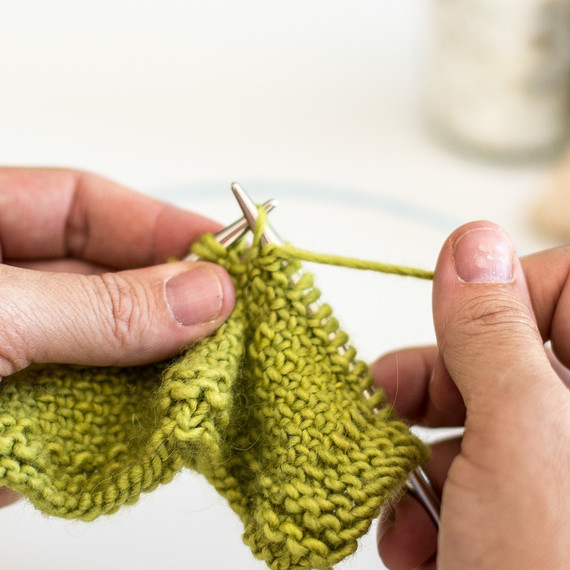
Slip the next stitch purl wise (bring the right hand needle to the front of the left hand needle, instead of behind).
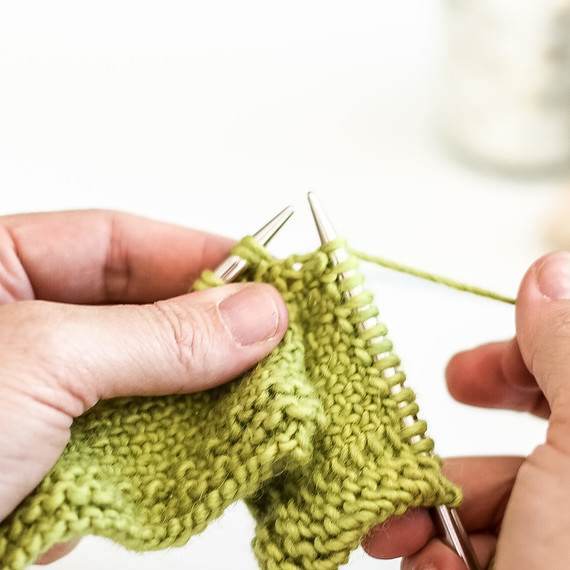
Bring the yarn to the back of the work.
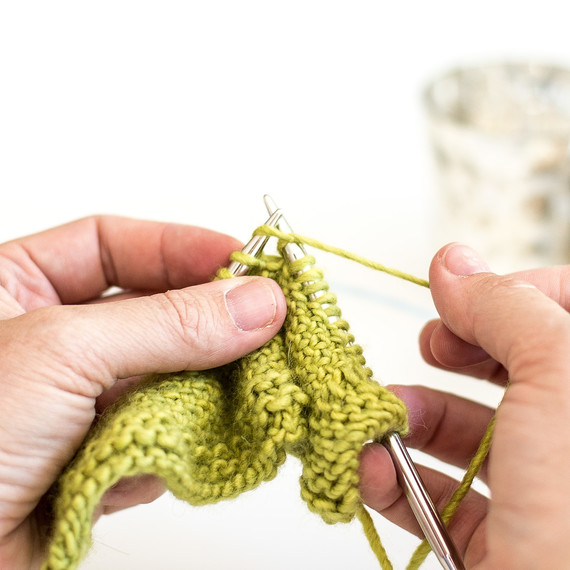
Knit the next stitch. Repeat this series of steps until the end. Turn the work.
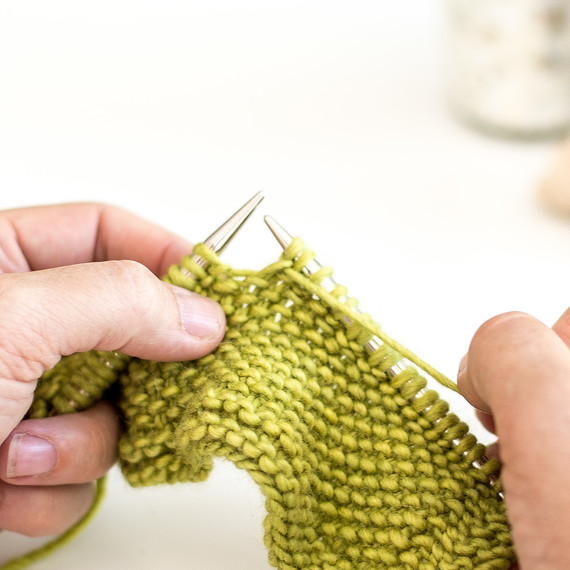
On the wrong side, you complete a similar set of stitches except you are purling the stitch that had been slipped on the opposite side and you carry the yarn on the back of the work. Purl 1 stitch.
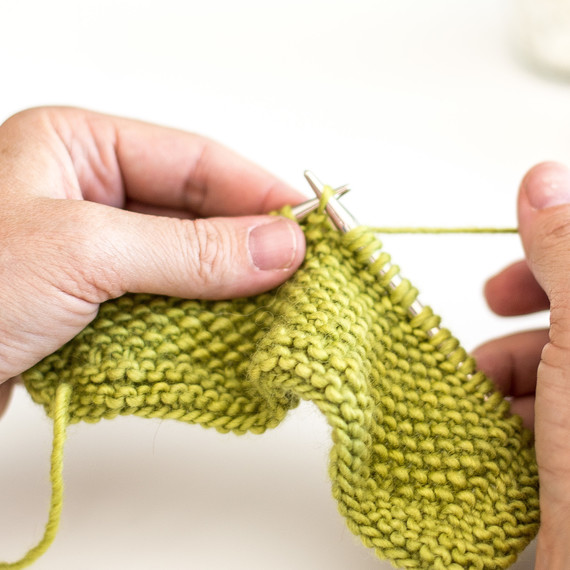
Bring the working yarn to the back of the work and slip the next stitch.
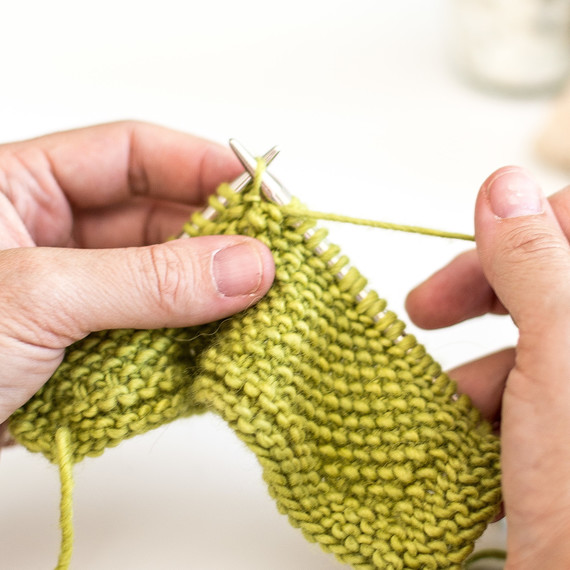
Bring the yarn back to the front of the work and purl the next stitch. Repeat until the end.
That’s it! I hope you find lots of new and lovely uses for your newly acquired stitch pattern! Are you looking for a gorgeous project to try your new stitch with? Try this stunning color block wrap or this simple linen stitch scarf.
To learn other beautiful stitch patterns, see Anne Weil’s profile.
SOURCE:http://www.marthastewart.com/1500405/how-to-knit-linen-stitch-perfect-pattern-winter-projects