
Everything in this slideshow
-

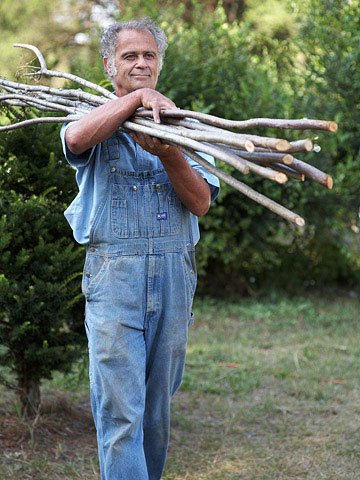
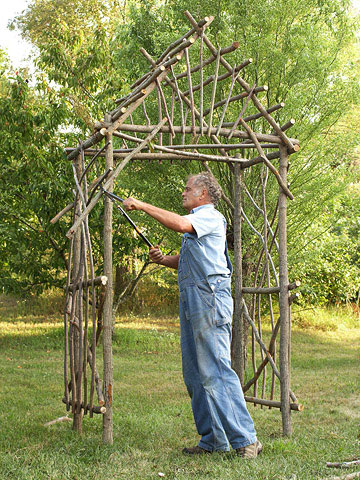
Rustic furniture made from twigs and logs has been popular for decades. The style still thrives for its resourcefulness and natural look. We asked Bim Willow of Willow Works in Grand Junction, Michigan, to demonstrate how to make a bentwood arbor. This simple arbor design can be easily personalized for your garden. After learning these simple twig-building techniques, you’ll likely want to prune more often, just so you can make trellises, planters, and more.
-
Step 1: Gather Your Materials
Use either dried wood or fresh, green wood to make twig furniture and structures. For dried wood, predrill holes before nailing twigs together. While sassafras and traditional willow are used here, many types of sturdy wood will work for this project.
Here’s what you’ll need to build an arbor:
— Four 7-foot-long sticks for poles (3 inches in diameter)
— Four 7-foot-long sticks for poles (3 inches in diameter)
— Four 60-inch-long diagonal sticks for support (1 1/2 inches in diameter)
— Ten 8-foot-long decorative branches for trim (1 inch in diameter)
— Six 4-foot-long sticks for top (2 inches in diameter)
— Two 60-inch-long sticks for top supports (2 inches in diameter)
— Nine 40-inch-long sticks for roof slats (1 1/2-inch-diameter)
— Four 18-inch-long sticks for corner braces (1 1/4-inch diameter)
— Four 3-foot-long metal stakes, utility wire
— Nails (4d, 6d, 8d, and 10d sizes)
— Hammer, loppers, pruning shears, diagonal cutters (for cutting off nail heads)
-
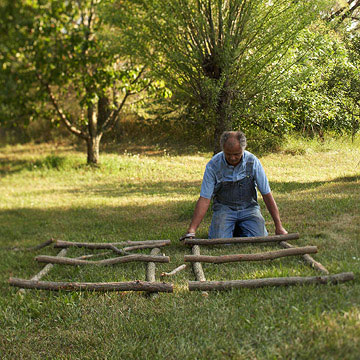
Step 2: Assemble Two Side Frames
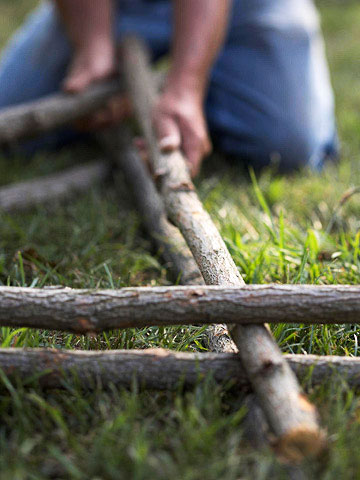
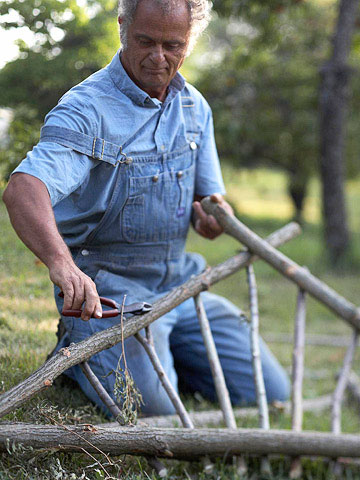
Create two rectangular frames, one for each side. For each frame, lay two 7-foot-long sticks parallel. Using 10d nails, attach one 40-inch-long stick 5 inches from the tops of the two poles, another 10 inches from the bottoms, and the third in the middle. Next, nail two 60-inch-long sticks in an X shape on the bottom half for stability.
Tip: Place nails at least three fingers width from the end of each stick to prevent splitting.
-
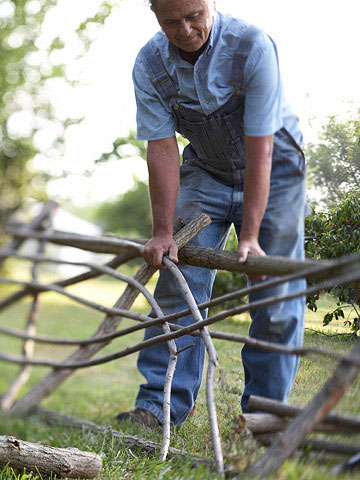
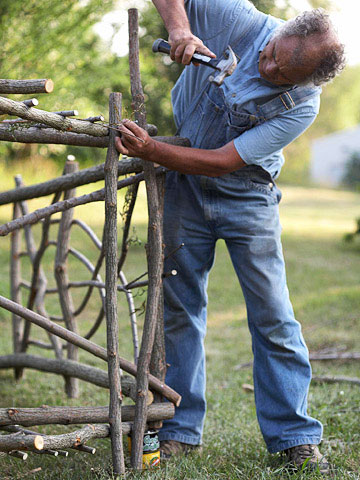
Step 3: Add Side Trim
Use some of the decorative branches to create an attractive pattern on each side frame. The branches add an aesthetic element and provide a trellis for vines to climb the arbor. Here, Willow creates a series of Gothic-style arches, fixes them in place with 6d and 4d nails, and trims excess branches with his loppers.
Tip: Select nail sizes based on the branch size (the thicker the wood, the larger the nail).
-
Step 4: Assemble the Top
To create one triangle gable for the top, use 10d nails to assemble two 4-foot-long sticks into a peak. Attach the remaining ends of the same two poles 5 inches from the ends of the third 4-foot-long pole — the base of the triangle. Assemble a second triangle gable atop the first one, making sure the two are aligned.
-
Step 5: Decorate the Top
Add decorative sticks to embellish the gables. Copy Willow’s pattern or try your own. Trim excess branches and bend any exposed nail tips.
Tip: You can use nail cutters to clip exposed nail tips.
-
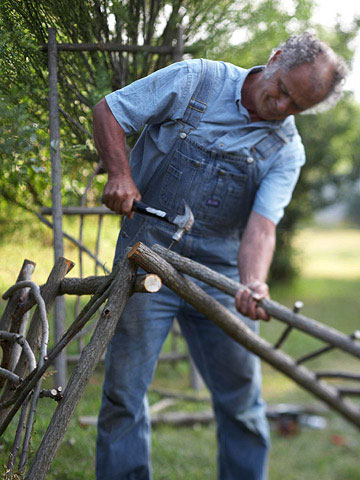
Step 6: Assemble the Arbor
Using 10d nails, fasten one side panel facing up to a gables with its decorative side facing out. Set the other side up and nail it to the other end of the top. Place the second gable in place and nail from the inside of the arbor. Use two 60-inch-long sticks to form an “X” between the two gable pieces; before nailing them in place, step back to judge whether the arbor is square.
Tip: Recruit a second set of hands to help with this step.
-
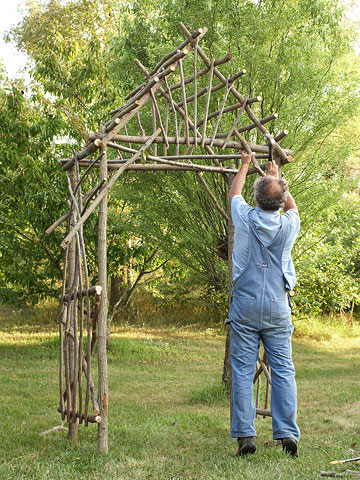
Step 7: Add Roof Slats
Prop up the bottom of the arbor with a block or coffee can. Using 8d nails, attach the first 40-inch-long roof slat in the middle of a top piece. Nail additional slats along one side, spacing slats 6 to 8 inches apart. Step back to check that both sides are parallel, then nail roof slats to the second gable. Add more slats on each side of the top. Cut off any excess.
-
Step 8: Install Corner Braces
Stand the arbor upright. Add 18-inch-long sticks for corner braces to the front and back, making sure the sides are parallel. Check for any nail tips that might be sticking out and cut or bend them.
-
Step 9: Add the Finishing Touches
For added support, drive four 3-foot-long metal stakes into the ground next to the legs of the arbor. Attach the legs to these stakes with utility wire.
Tip: Extend the life of the arbor by spraying it with a mixture of 2 parts linseed oil and 1 part turpentine. Use a pump sprayer and clean the tip when finished.
-

SOURCE:http://www.bhg.com/home-improvement/outdoor/pergola-arbor-trellis/make-your-own-arbor/