Everything in this slideshow
-

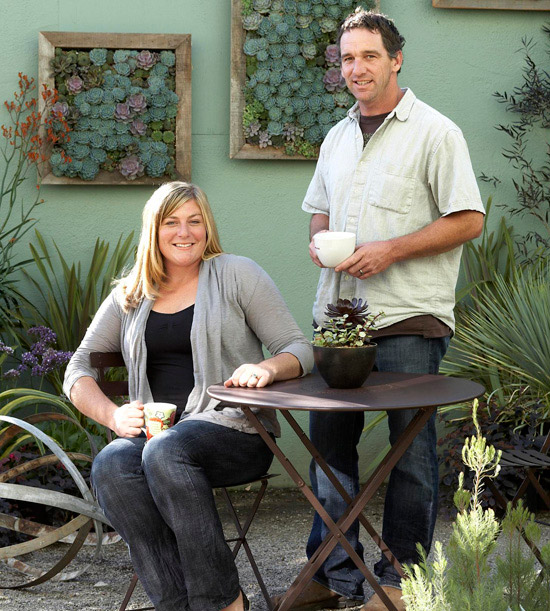
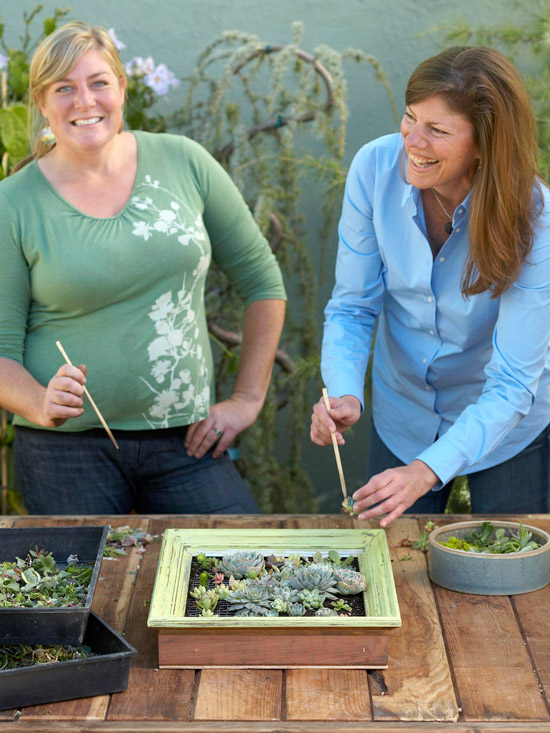
Cara and Will Meyers, owners of DIG Gardens in Santa Cruz, California, are on top of the vertical-gardening trend. “Vertical gardens are a great use of space, especially if you have a small terrace,” says Cara Meyers, who leads workshops on designing and assembling picture-frame planters in DIG’s urban courtyard. “Like hanging art in your home, living pictures can help define an outdoor room by becoming a focal point or a destination.”
Succulents are a natural choice for vertical gardens because they grow slowly and have low water requirements. “Our plant palette is chosen for texture and architectural appeal rather than flowers and instant color,” Meyers says. “Succulents have such rich hues and textures. Mixing them in beautiful patterns is quite impressive!”
-
Vertical Gardening 101
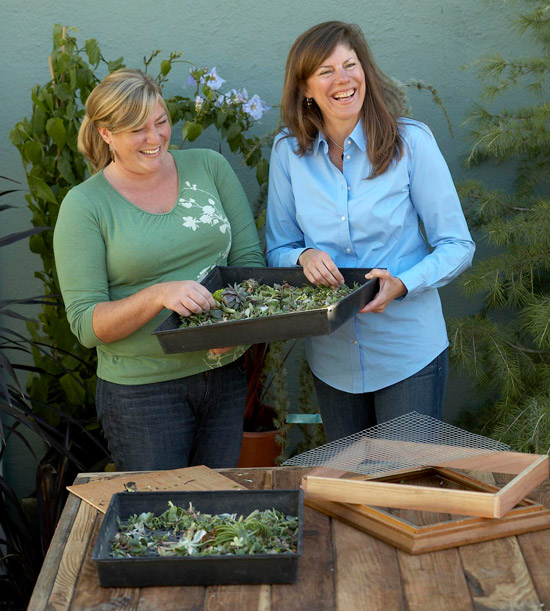
I attended one of Meyers’ workshops, held in DIG Garden’s urban courtyard, and learned how to create a living succulent picture.
Meyers offers these design tips to get your creative ideas growing:
— Keep the price down by using an inexpensive flea market picture frame and free cuttings of succulents from your garden.
— Choose varieties that stay small. “Many hens-and-chicks, Echeveria, and sedums are great for this purpose,” Meyers says. “You won’t have to worry about them overgrowing the small space.”
— Limit your palette to three or four colors. Select different varieties of succulents within that color scheme.
— Create a river of color through the picture. Form a diagonal swath of one color, either with one type of plant or different varieties in that color scheme.
— Give your picture a focal point, such as a cluster of succulents or a singular large specimen such as Aeonium. “It will eventually outgrow your picture,” Meyers says. “But you can always pull it out and add something else later on.”
-
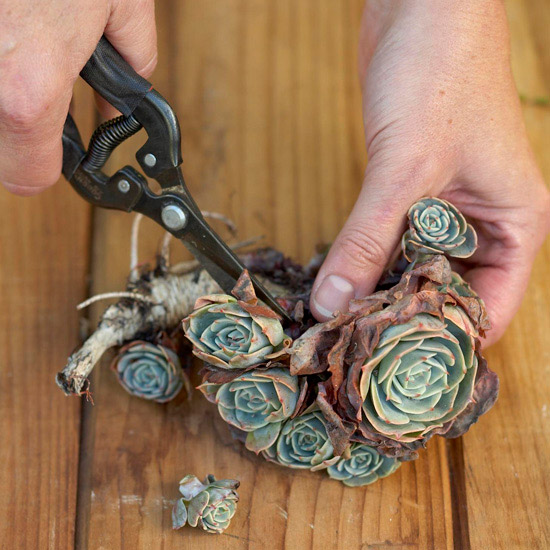
Step 1: Take Cuttings
It’s easy to take cuttings of established succulents growing in your garden. With small pruning snips, cut stem sections 1-2 inches long. Remove lower leaves. (Roots will sprout from these leaf nodes.) Let cuttings dry on a tray for a few days before you plant them. This curing process causes cut ends to callus (form a thin layer of cells). “It’s OK if the cuttings shrivel up a little bit,” Meyers says.
-
Step 2: Gather Materials
You can use any frame to create a living succulent picture. We chose an antique wood frame for a vintage look. “I scour thrift and antiques stores to find neat little frames in all shapes and sizes,” Meyers says.
Here’s what you’ll need to complete the project:
Picture frame with back and glass panel removed
Shadow box made of redwood or cedar 1x3s, cut to fit the back of the frame
Hammer
Nails
1/2-inch hardware cloth, cut to fit the inside dimensions of the frame
Staple gun
Staples
1/4-inch plywood backing, cut to fit the back of the shadow box
Paint
Clean cloth
All-purpose potting soil
Succulent cuttings
Chopstick -
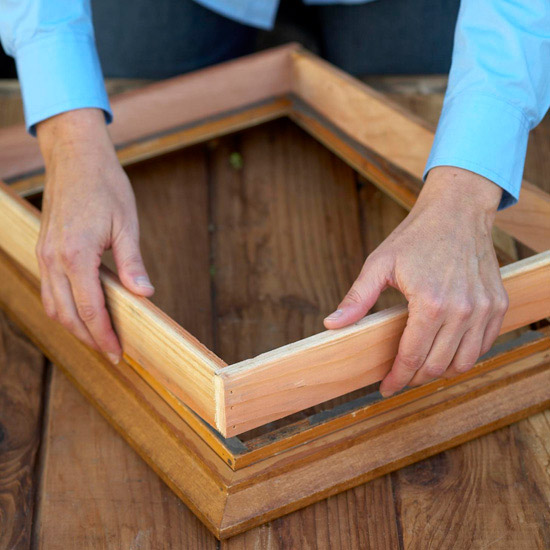
Step 3: Add a Shadow Box
A shadow box adds depth to the back of the picture frame, allowing space for soil and plants. Use naturally water-resistant redwood or cedar 1x3s, cut to the dimensions of the back of the frame. Nail or screw into place.
-
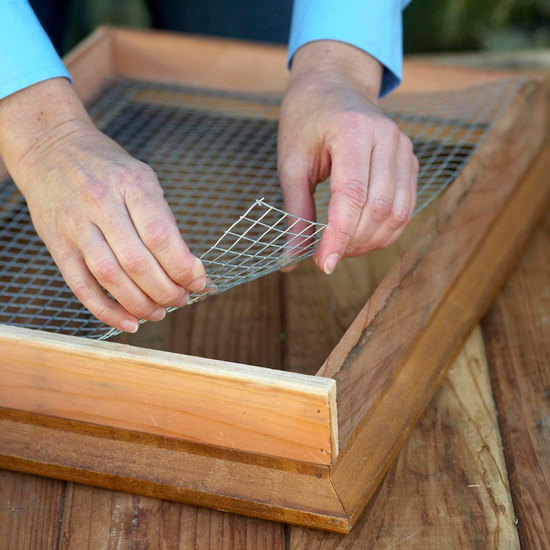
Step 4: Set Hardware Cloth Inside the Frame
With the frame still facedown, insert hardware cloth. The 1/2-inch grid is small enough to hold potting soil in, yet large enough to accommodate stems. Staple hardware cloth to the edges of the frame.
-
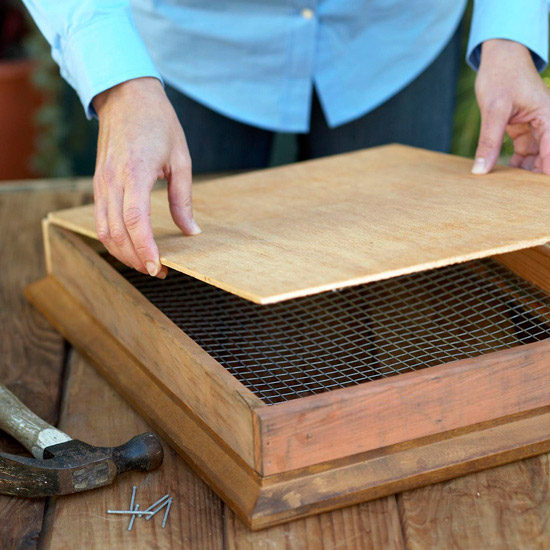
Step 5: Add a Backing
Lay 1/4-inch plywood backing on the back of the shadow box. Secure with nails.
-
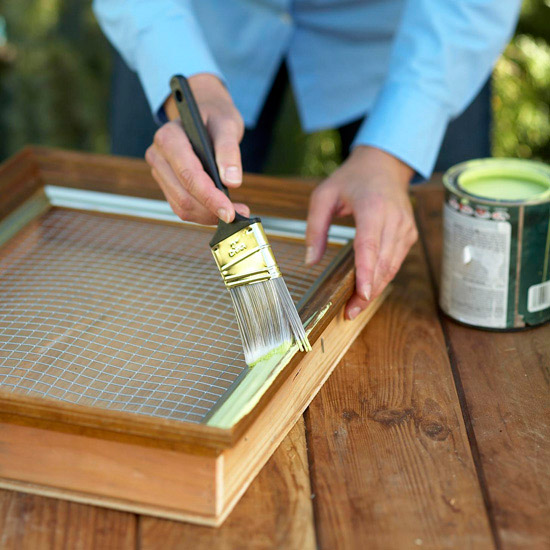
Step 6: Paint the Frame
Turn the frame face up. Brush on a coat of outdoor paint to change the color of the frame and offer some protection against the elements. For an antique effect, let the paint dry for a few minutes and then wipe the frame with a clean cloth. If desired, paint the underlying box, too.
-

Step 7: Add Soil
Allow the frame to dry completely before filling the box with potting soil. Pour soil on top of the hardware cloth, using your hands to push it through the openings. Shake the frame periodically to evenly disperse the soil. Add more soil until it reaches the bottom of the wire grid.
-
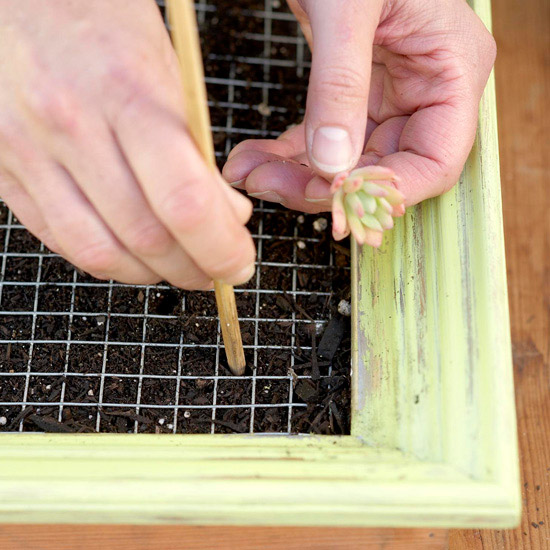
Step 8: Poke a Hole
On a flat surface, lay out succulent cuttings in the design you want in the frame. Push a chopstick or pencil through one square of the wire grid and into the soil. Meyers recommends starting near one corner of the frame. “I love to create a wave or river through the picture,” she says. “It gives the eyes somewhere to drift.”
-

Step 9: Fill In with Plants
Place the stem of a succulent cutting, such as this mother of pearl plant (Graptopetalum paraguayense), into the planting hole, allowing the leaf rosette to rest on top of the wire grid. It’s not necessary to dip cuttings in rooting hormone — succulents root easily in soil.
-
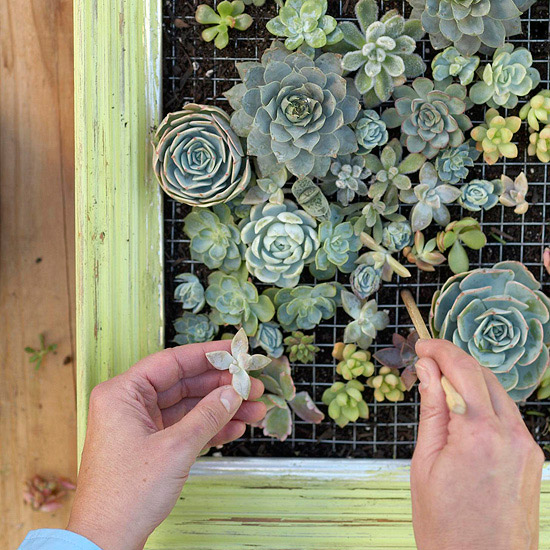
Step 10: Create a Design
Tuck in larger plants first, followed by smaller ones. Plant as close together as the grid allows. Depending on plant size, not every square will be planted. After planting, you may see hints of the wire, but as the succulents grow, they’ll close the gaps
-
Step 11: Let It Root
After planting, keep the living succulent picture flat and out of direct sunlight for a week or two to allow cuttings to form roots along the stems. (For additional security, support stems with floral pins or crafts clips.) Gradually increase light levels to full sun exposure. Do not water the first two weeks.
-

Step 12: Display Your Picture
Set the living succulent picture on a table or shelf where it can be propped up against a wall. Or hang the frame on a wall with sturdy picture hooks. Water succulents once a month — lay the frame on a flat surface and thoroughly moisten the soil. Make sure the frame is dry before you hang it up again. In hot areas, protect plants from midday sun. Indoors, set a living succulent picture near a south-facing window.
Succulent Tip: These plants also make great succulent wreaths!
-

SOURCE:http://www.bhg.com/gardening/container/plans-ideas/make-a-living-succulent-picture/