

People use ring markers to “mark” out pattern repeats, keep track of decrease or increase in sections, and alleviate the need to constantly count their knitting stitches.
If you have ever knit in the round, your pattern instructions probably say something like, “Cast on 96 stitches, place marker, and join for working in the round.” Markers are great, and they generally come in two forms: ring markers and split ring markers. The split rings are my preferred marker, as they are generally more versatile. They can be slipped between stitches on your needles, just like ring markers, or placed on a stitch to mark a certain point in the knitting. I often place one every ten rows on my work to avoid having to count how many rows I’ve worked!
If you are anything like me, you are forever searching for a marker. They are like bobby pins. You know? Those things that are everywhere when you don’t need one, then nowhere to be found when you do. When I can’t find one immediately, I loop and knot a bit of waste yarn and make my own marker. But I’ve also used safety pins, bobby pins I’ve bent out of shape, paper clips, and those little rubber bands for kid braids. What you use doesn’t really matter, as long as they are doing the job of keeping track of the stitches so you don’t have to.
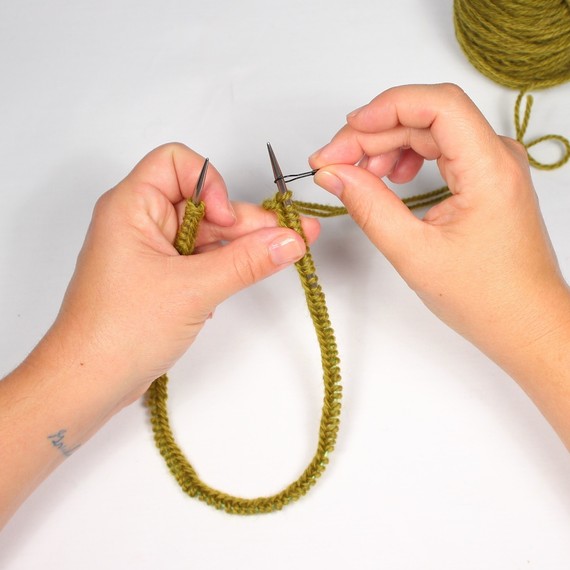
To use a marker to show the beginning of your round, simply place the marker onto the tip of the right hand needle, and then join your work as usual.
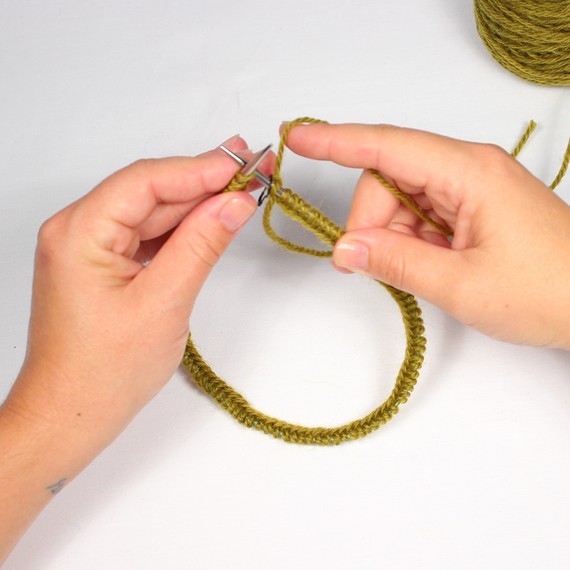
Once the work is joined for knitting in the round, the marker will travel around your needle between the first and last stitch of your knitting.

When you start to near the end of the round, you’ll notice your marker again. When you reach it, simply slip it from the left-hand needle to the right-hand needle and keep going. It just travels along as you knit. There’s no need to knit it into the work or do anything fancy. Just let it be there.
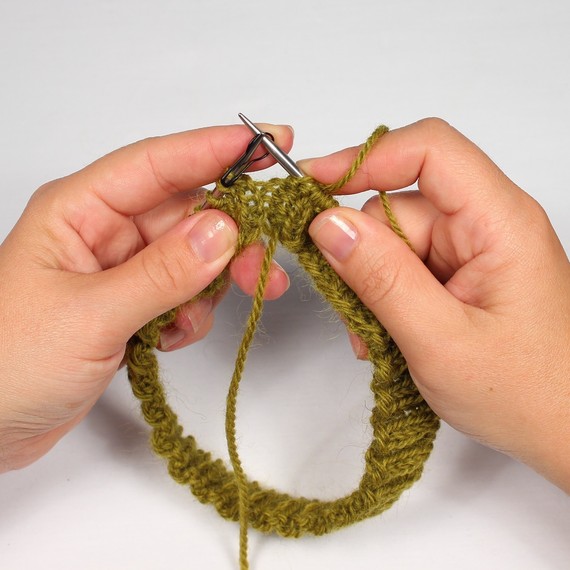
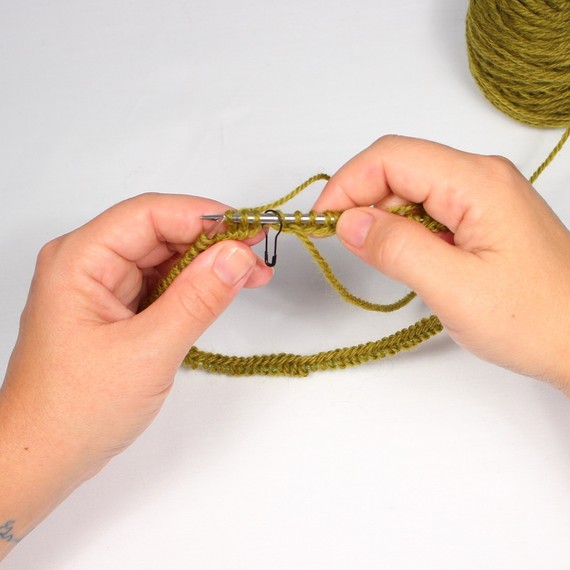
You can also use markers at other points in your work to denote different things you need to keep track of. I was recently knitting a simple hat and used a marker at each decrease point. I knew that on every round I would knit together the two stitches before each marker, and by using the markers to show me where my decreases should happen I didn’t have to count a single stitch!
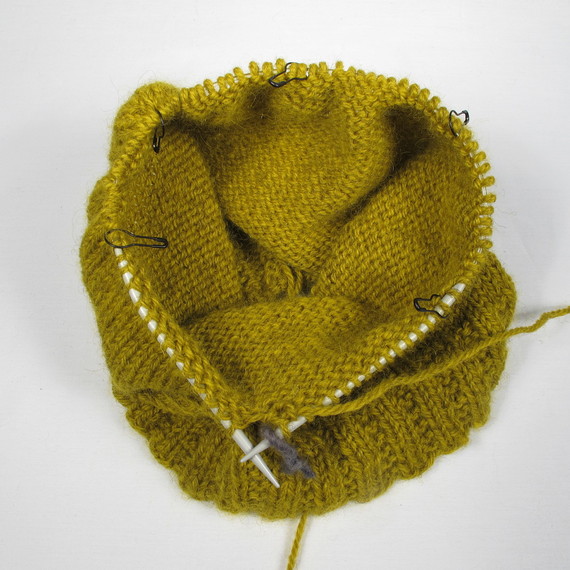
You’ll notice in the picture above, I used the “homemade” yarn marker to mark the beginning of the round. By using a contrasting marker, I still knew where the beginning of the round was. This contrast marker set the beginning apart from all the other marked points. The other markers are a style of coilless safety pin available from the online shop at Kelbourne Woolens.
You can find all kinds of interesting stitch markers at your local yarn shop, or visit a local beading or jewelry-making supply store to learn how to make your own!
SOURCE:http://www.marthastewart.com/1500191/how-use-markers-count-knitting-stitches