
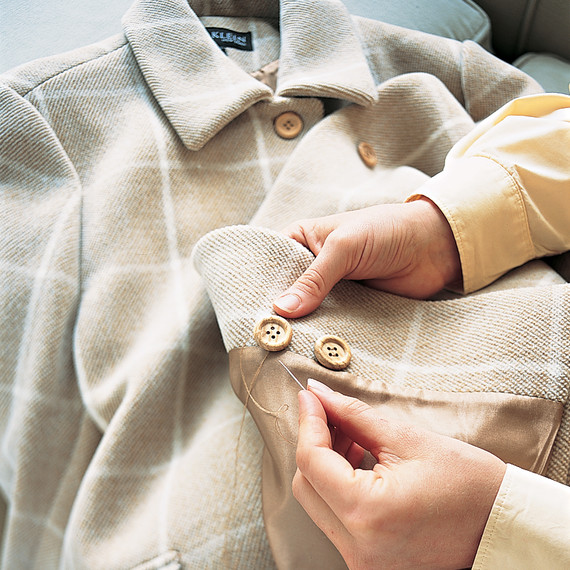
Shank Technique
A shank is a short length of thread that creates slack between the button and the fabric to make the button more movable. To attach a button using this method, first measure for accurate button placement. Thread the needle, knot the end of the thread, and push the needle through the button’s holes three times, matching the pattern of the other buttons — either stitching — and leaving 1/8 inch between the button and the fabric (wedge your finger between the button and the fabric to create space, or place a toothpick or wooden matchstick over the button, then stitch down over it). Then, lift up the button and wind the thread around the exposed threads between the button and the fabric six or seven times to create the shank. Push the needle through the shank two times, then tie off the thread. Cut off the excess close to the knot.
Flat Technique
Thread the needle, knot the end of the thread, and push the needle through the fabric from front to back so that the knot is between the button and the fabric’s exterior (this will help prevent bunching and won’t show through on the inside of the garment). Bring the needle through the front of the fabric and through one of the button’s holes. Continue as you would for the shank technique, but don’t wrap the thread around the underside of the button. Remember that you don’t need to pull tightly; keeping the sewing loose will help prevent pulling and wrinkling.
If you need visual help, watch Martha demonstrate a basic how-to below.
SOURCE:http://www.marthastewart.com/1115780/how-to-sew-a-button-different-ways