
Your Checklist for October

It’s hard to escape that moment we step into October and the tickle of fall reminds us it’s time to plan for spring. Spring-flowering bulbs need to go in, trees and shrubs need planted, perennials divided, and mulch applied to beds to protect and build soil. October is also a month to take pause — let it wrap around you like a great big hug. Soak up the fall colors and the changing sunlight, and put yourself into the mix.
October also reminds us that our gardens are a whole bunch bigger than the containers and raised beds we fill with plantings or the perennial borders we lovingly tend. We discover our communities and neighboring landscapes are our gardens too. Your nearest pumpkin patch may be overflowing with the many varieties of squash you don’t have room to grow, and surrounding hillsides are alive with the color and texture our inner clocks need to prepare for the change in season.
continue reading below
1. Sow Spring and Summer Wildflowers

There always seems to be more room for flowers. Casting seeds now and into winter, nature will do much of the work of growing them. In fact, some seeds like lupines need the weathering of winter to successfully grow, while others hold tight, remain dormant, and germinate at just the right time as winter melts into spring. Native wildflowers are often the perfect match for climate and pollinators alike. While many varieties are considered native, it’s always smart to double-check and make sure suggested varieties are the right fit for you. Other nonnatives like hollyhocks can prove to be valuable allies, while some popular varieties such as Sweet William can become your biggest problem depending on region.
12 Wildflowers to Consider:
- Lupine
- Gaillardia spp. or blanket flowers (like the ones in the photo above)
- California poppy
- Milkweed
- Aster
- Penstemon
- Rudbeckia or black-eyed Susan
- Ratibida
- Coneflower
- Delphinium
- Hollyhock
- Foxglove
2. Green Tomatoes or Bust
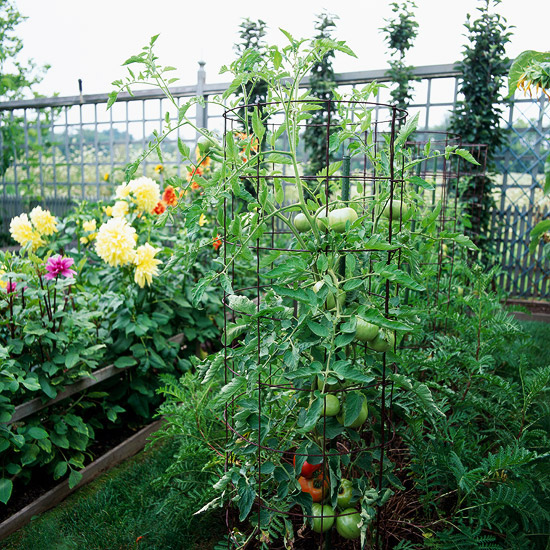
Harvest tomatoes before your first frost, even if they’re still green. Prepare using a recipe calling for green tomatoes, such as fried green tomatoes, green tomato relish, or salsa verde. Add them to soups, chili, or chutney. Experiment, have some fun, and savor — this is a flavor that will mark the season just as mush as tomatoes ripened on the vine.
If you have an abundance of green tomatoes, ripen what you don’t eat indoors. There’s more than one method for successful, forced ripening but the basic steps of the process are to keep them out of direct sunlight and in a warm, semi-humid environment. Temperatures should range between 55 and 75 degrees F; warmer temperatures will speed the ripening process and cooler temperatures will slow it down.
Clean and dry tomatoes and remove stems before storing. I sometimes simply place them on a cookie sheet in my laundry room and leave them for a week or two. If I have just a few, I’ll place them in a paper bag away in a corner in the kitchen or pantry. Speed up the ripening process by placing a banana in with tomatoes. The ethylene gas bananas produce when ripening will also help ripen tomatoes, especially if they’re enclosed in a container or breathable bag or box.
If you have a tomato plant that is loaded with an entire crop of tomatoes, try pulling the entire plant, roots and all. Shake the roots free of excess soil, turn it upside down, and suspend the plant as you might herbs when hanging them to dry. Let tomatoes ripen on the vine indoors as you would outdoors.
The best flavor comes from tomatoes that have had an opportunity to begin to ripen on the vine. Cook with the greenest of tomatoes and store others that are just beginning to develop a pinkish hue or are nearly ripe.
3. Divide Perennials
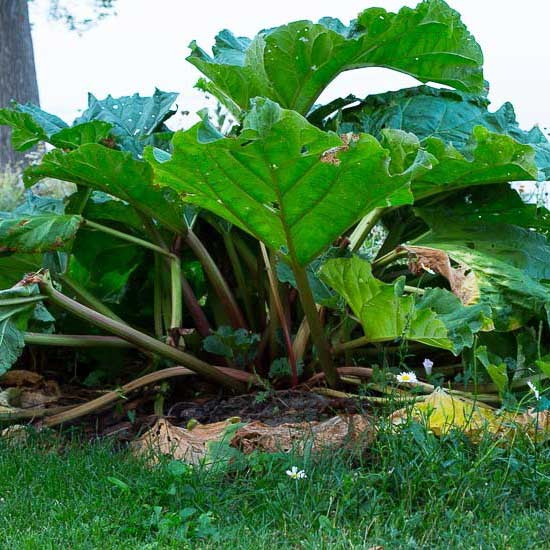
Fall is the time when plants naturally send energy to roots and hunker down for winter. This makes it the perfect time to divide most perennials. If you find plants have developed a bald spot in their centers, this is a sign they’re overcrowded and in need of dividing. To divide, choose a cool day to shear plants to the base — unless it’s an evergreen. Give evergreens a healthy pruning instead. Lift plants by working around the drip line of the root system. Once free, place two forks or hard shovels in the center and separate the plant into two. It may also be possible to divide plants simply by prying them apart with your hands, which is what I prefer. If it’s a large plant, divide it into many groups with about three to five leaders or growth points per division. Keep roots moist during the division process, and replant the healthiest of divisions in moist soil and a supplement of compost or a slow release organic fertilizer.
Rhubarb is generally divided once every five years or so and usually in fall. However, it can be also be divided in early spring. Again, you know your plant needs to be divided if it’s developed a bald spot at its center or, in the case of rhubarb, looks like it needs a fresh start (like the plant in the image above). Lift and divide the same way as other perennials, and maintain at least one growth point per division when planting.
Get Our Best Gardening Tips and Tricks
4. Beauty of Bulbs

Bulbs are not so different from seeds in that bigger bulbs are planted more deeply than smaller bulbs. The general rule of thumb is to plant them 3 times as deep as they are wide. If you have a bulb that is 2 inches across, plant it 6 inches deep. However, if your soil is heavy, plant bulbs a little closer to the surface so they have enough energy to break ground. If you’re working with sandy, light soil, bulbs can be planted more deeply. Plant in groups of 3 to 5 or more whenever possible for full spring color, and choose bulbs that are right for your climate. Work in compost or mulch along the soil surface when tucking bulbs in for winter.
5. Power of Leaves

Nature has it figured out. Falling leaves naturally restore and feed open spaces and woods, replenishing soils for next spring’s growth. Apply leaves to garden beds in a heavy layer to protect soil from coming rains, save some to add to worm bins throughout winter, and compost the rest in a pile by itself or add to an existing compost pile.
6. Plant Cover Crops
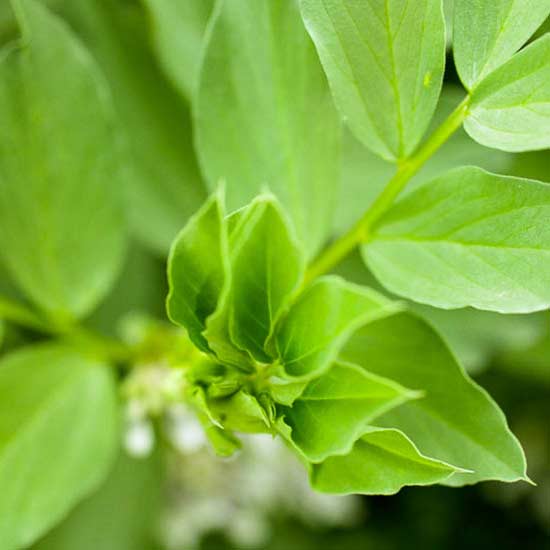
If you’ve never grown a cover crop, start with fava beans (aka broad beans). Broad beans are best grown to fix nitrogen problems in soil because the plants put back more nitrogen than they take out. In warmer climates, like Zones 9 and 10, leave a few to flower and fruit. Use the shoots and flowers in salads, and save beans for a fabulous fava bean risotto.
7. Savor Seeds

There are still seeds to be saved: wildflower seeds, beans, squash, and more. Store what you need for next season’s garden, share some with friends, and eat the edibles. Try roasting seeds with cinnamon, nutmeg, and a drizzle of maple syrup. It’s like the tastes of the season in one small bite.
More Outdoor Tips to Try This October
Fall Garden Checklist
-

Fall Tree Care
-

5 Great Outdoor Halloween Ideas
-

Spooky Halloween Porch: 3 Ideas to Steal!
-

Outdoor Halloween Decor: Witch Decorations