
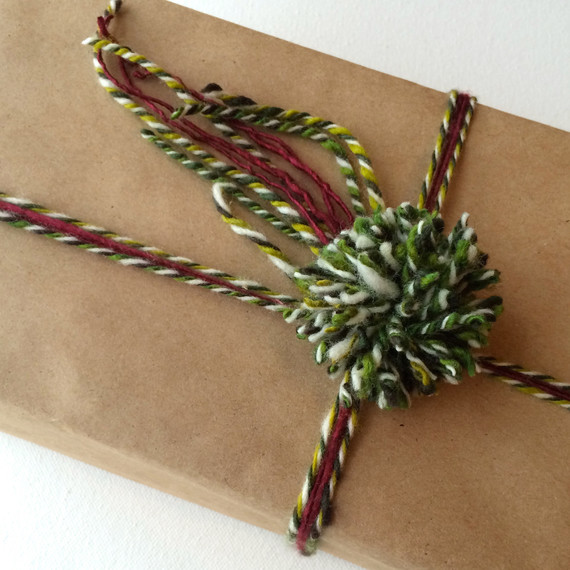
Cashmere and leather? Soft and durable. Denim and silk? Casually luxurious. In so many areas of my life I enjoy pairing something casual with something really special. The everyday object is suddenly highlighted in a new way, the luxury item is somehow more accessible, and the contrast between the two creates a beautiful and unexpected surprise. So this holiday, I used that idea to create some festive holiday gift wrap.
For this project I used little spools of handspun yarn from my shop. They are the perfect size for a craft.
The Pom-Pom
Choose a yarn, thick or thin, but with a relatively consistent size. This is not the time to use slubby yarn or crazy boucle. Just choose a nice “regularly” shaped yarn. You will need two yards of thick yarn, or four yards of a thinner yarn.
Directions:
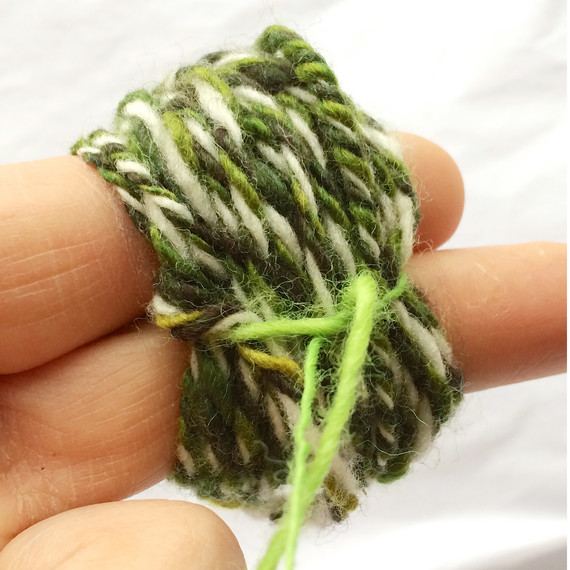
- Wrap the yarn around your index and middle fingers, leaving about 3 inches of “tail” at both ends.
- Tie a few inches of matching yarn, or similarly colored thread (if the yarn is too thick to tie tightly) in between your fingers to cinch the loops in the center.
- Tie the thread twice around itself. If it’s difficult to work the pom-pom on your fingers, you can use a large fork or even a wide-tooth comb to wrap your loops.
- Slip the loops off your fingers, and using a sharp pair of scissors, trim the binding thread close to the knot. Do not trim the tail ends — they will serve as ties to attach the pom-pom to your package.
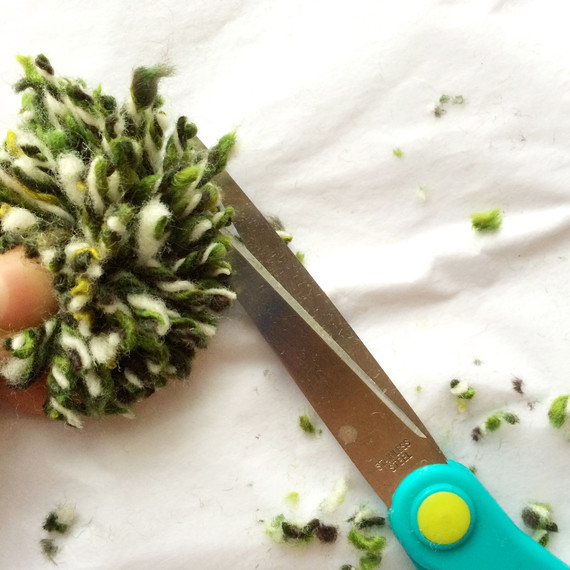
- Snip open the end loops of your pompom (on both sides) and trim the ends to shape your pompom into a fluffy ball. Then attach the pompom to your package!
The Fan
If you’ve got nice yarn, you may as well have some fun with it! Don’t limit yourself to one color of yarn; this technique looks really nice with some varying shades.
Directions:
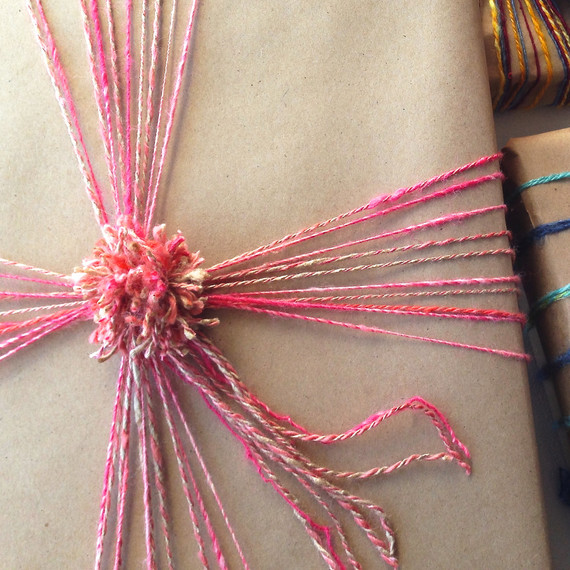
- Wrap the yarn several times vertically around the gift, then cross as you would for any gift ribbon, but on the front face of the package, and wrap again several times horizontally before tying off in a bow.
- Looking at the underside of the gift, arrange your strands of yarn so they run neatly parallel to each other. When you flip the package over, you will have a beautiful “burst” or “fan” in four directions emanating from your bow
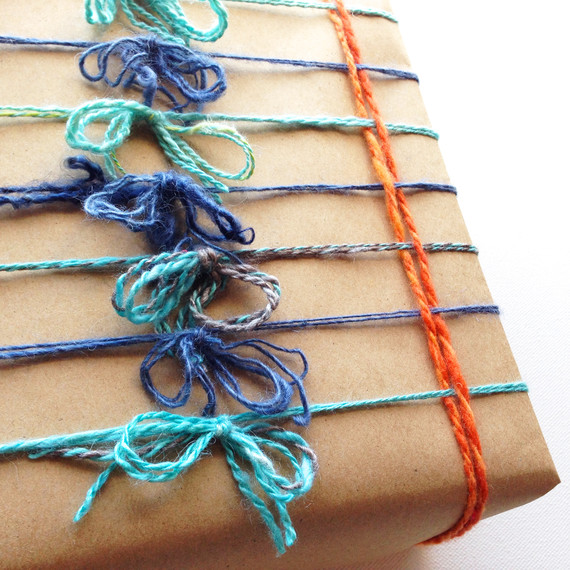
Repeating Bows
This wrapping technique is so simple and versatile. For this project it really helps to work on a mat with a grid, or just tape a yardstick or measuring tape down to your work surface. It takes no time to check that your bows are evenly lined up, and it makes an enormous difference to the look of the package.
Directions:
- Tie a bow with a single strand of yarn around one end of your package.
- Repeat every inch with a new bow all the way down the package.

Your packages will look so beautiful once they are all grouped together! If you use plain brown kraft paper, you literally have a blank canvas on which you can do anything. So don’t be shy! Let the colorful yarns play all over your gifts in new and fanciful ways. Kids will love doing this too.
Looking for a special finishing touch? Attach a sprig of holly or any winter greenery that you love.
Wishing you all a happy holiday filled with casual comfort and beautiful little luxuries!
You can shop Anna’s products in the Martha Stewart American Made Market!
SOURCE:http://www.marthastewart.com/1097226/last-minute-gift-wrap-use-some-yarn