
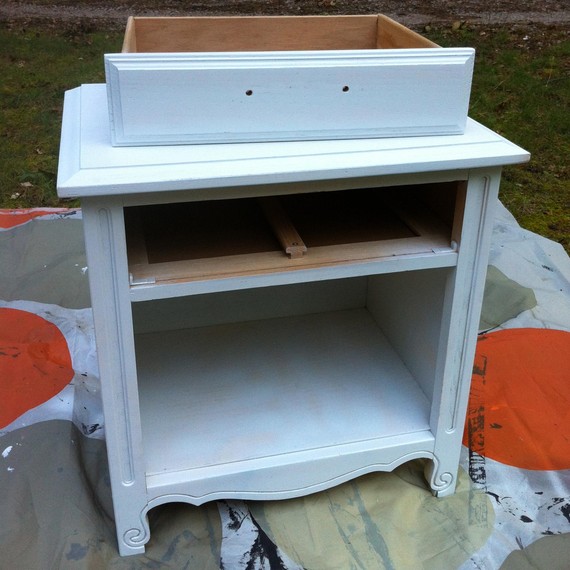
The bedside table is usually one of the last things we see before going to bed at night, and the first thing we open our eyes to when waking up (hello, snooze button). So, it should be beautiful to look at, right? I’ve had the same bedside table since I was a little girl, and frankly, I’m a little tired of looking at it. Time for a refresh! Thanks to a colorful and inspiring tutorial by Caitlin Topham of The Salty Oat, and a trip to my local Raleigh flea market.
To start, I removed the hardware, sanded the entire bedside table down, washed it with warm soapy water, and, once dry, primed it white.
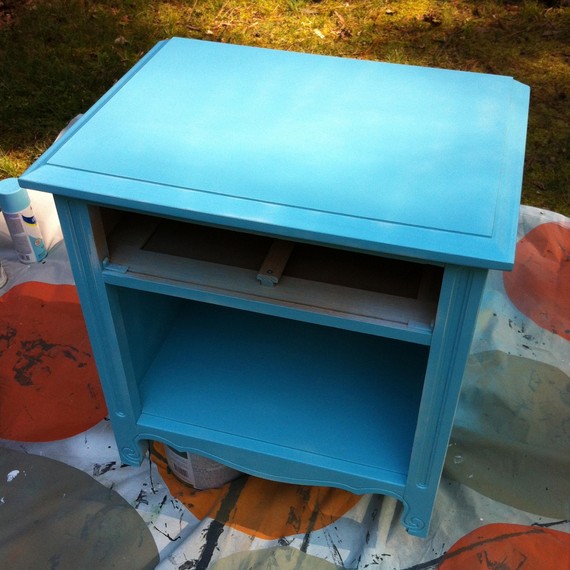
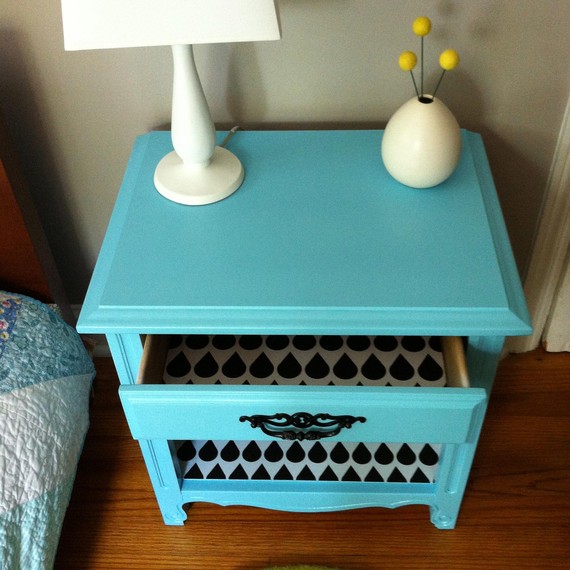
Next, I spray-painted the table using an aqua-blue spray paint I’d picked up at the hardware store, applying two to three coats in each section. I had to be careful to keep the coats light and even, to avoid having the paint run down the sides.
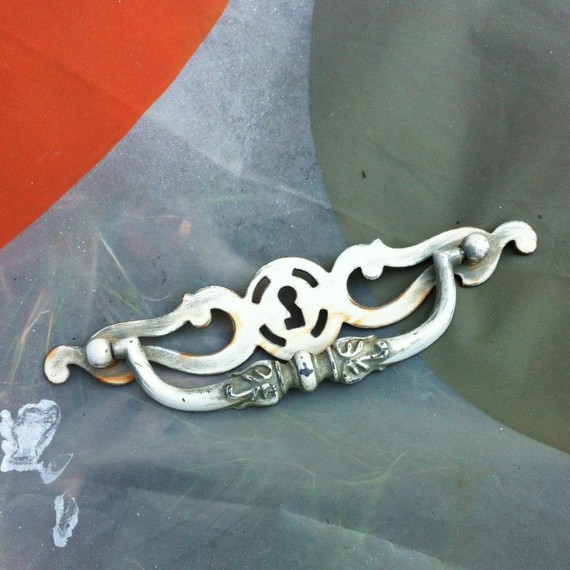
I said good-bye to the sad-looking drawer pull and spray-painted it black.
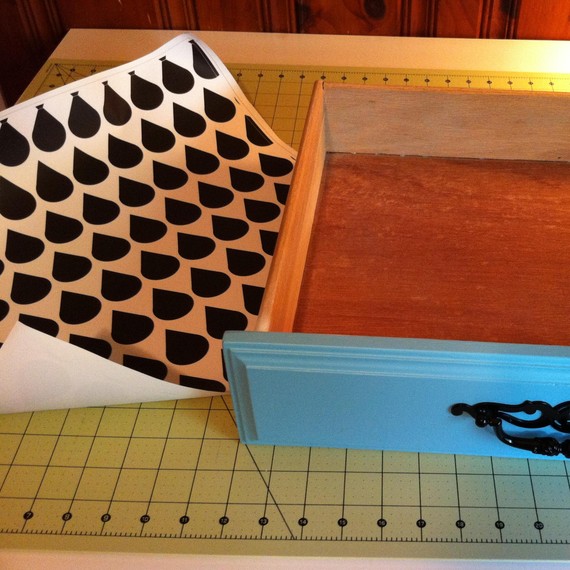
To add more personality to the piece and make it unique, I decided to line the drawer and inside shelf with Spoonflower’s peel-and-stick wallpaper. I pored over all of the choices available, and eventually settled on Ninaribena’s black-and-white raindrops. I loved the bold, graphic nature of the design and thought it would work well with the blue.
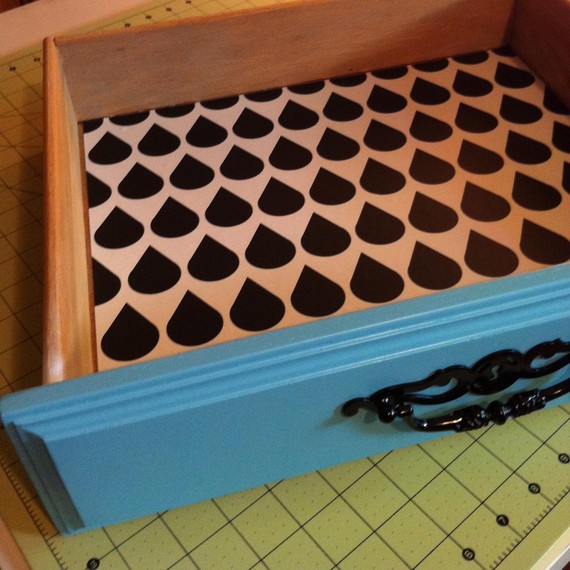
First, I cleaned out the inside of the drawer with soapy water and measured it to determine how much peel-and-stick paper I’d need. Each wallpaper panel is 24 inches wide, and is available by the foot in length. Once you order your peel-and-stick paper, it will be custom printed on demand and should arrive to you within a week. Be sure to use a very sharp utility knife or rotary cutter when trimming the paper.
Next, I took a 24-inch-by-3-foot panel of wallpaper and cut it into four rectangles. Each rectangle was sized to fit the back, sides, and bottom of the shelf. I applied one side at a time, being sure the print ran in the right direction each time. Whenever possible, I also tried to match up the raindrops along the edges to make the design as seamless as possible.
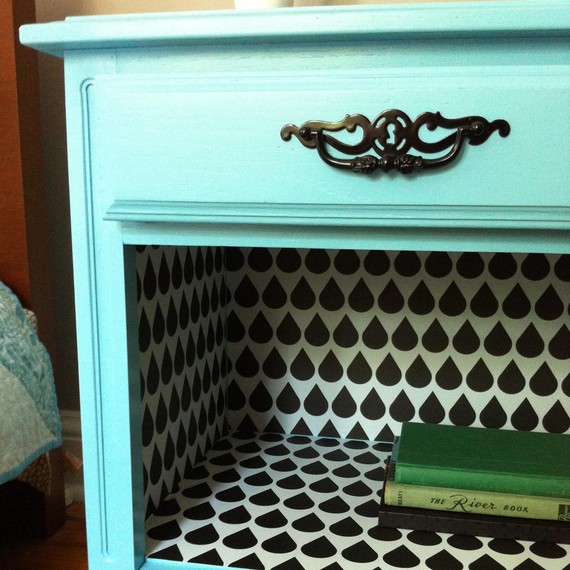
I am so, so happy with the results — I now have a completely unique piece, and love how it adds a pop of color and a bit of whimsy to the side of my bed.
Photography by Caitlin Topham.
Add a beautiful dried floral arrangement to your wall with this easy DIY project!
SOURCE:http://www.marthastewart.com/1125512/chic-bedside-table-makeover