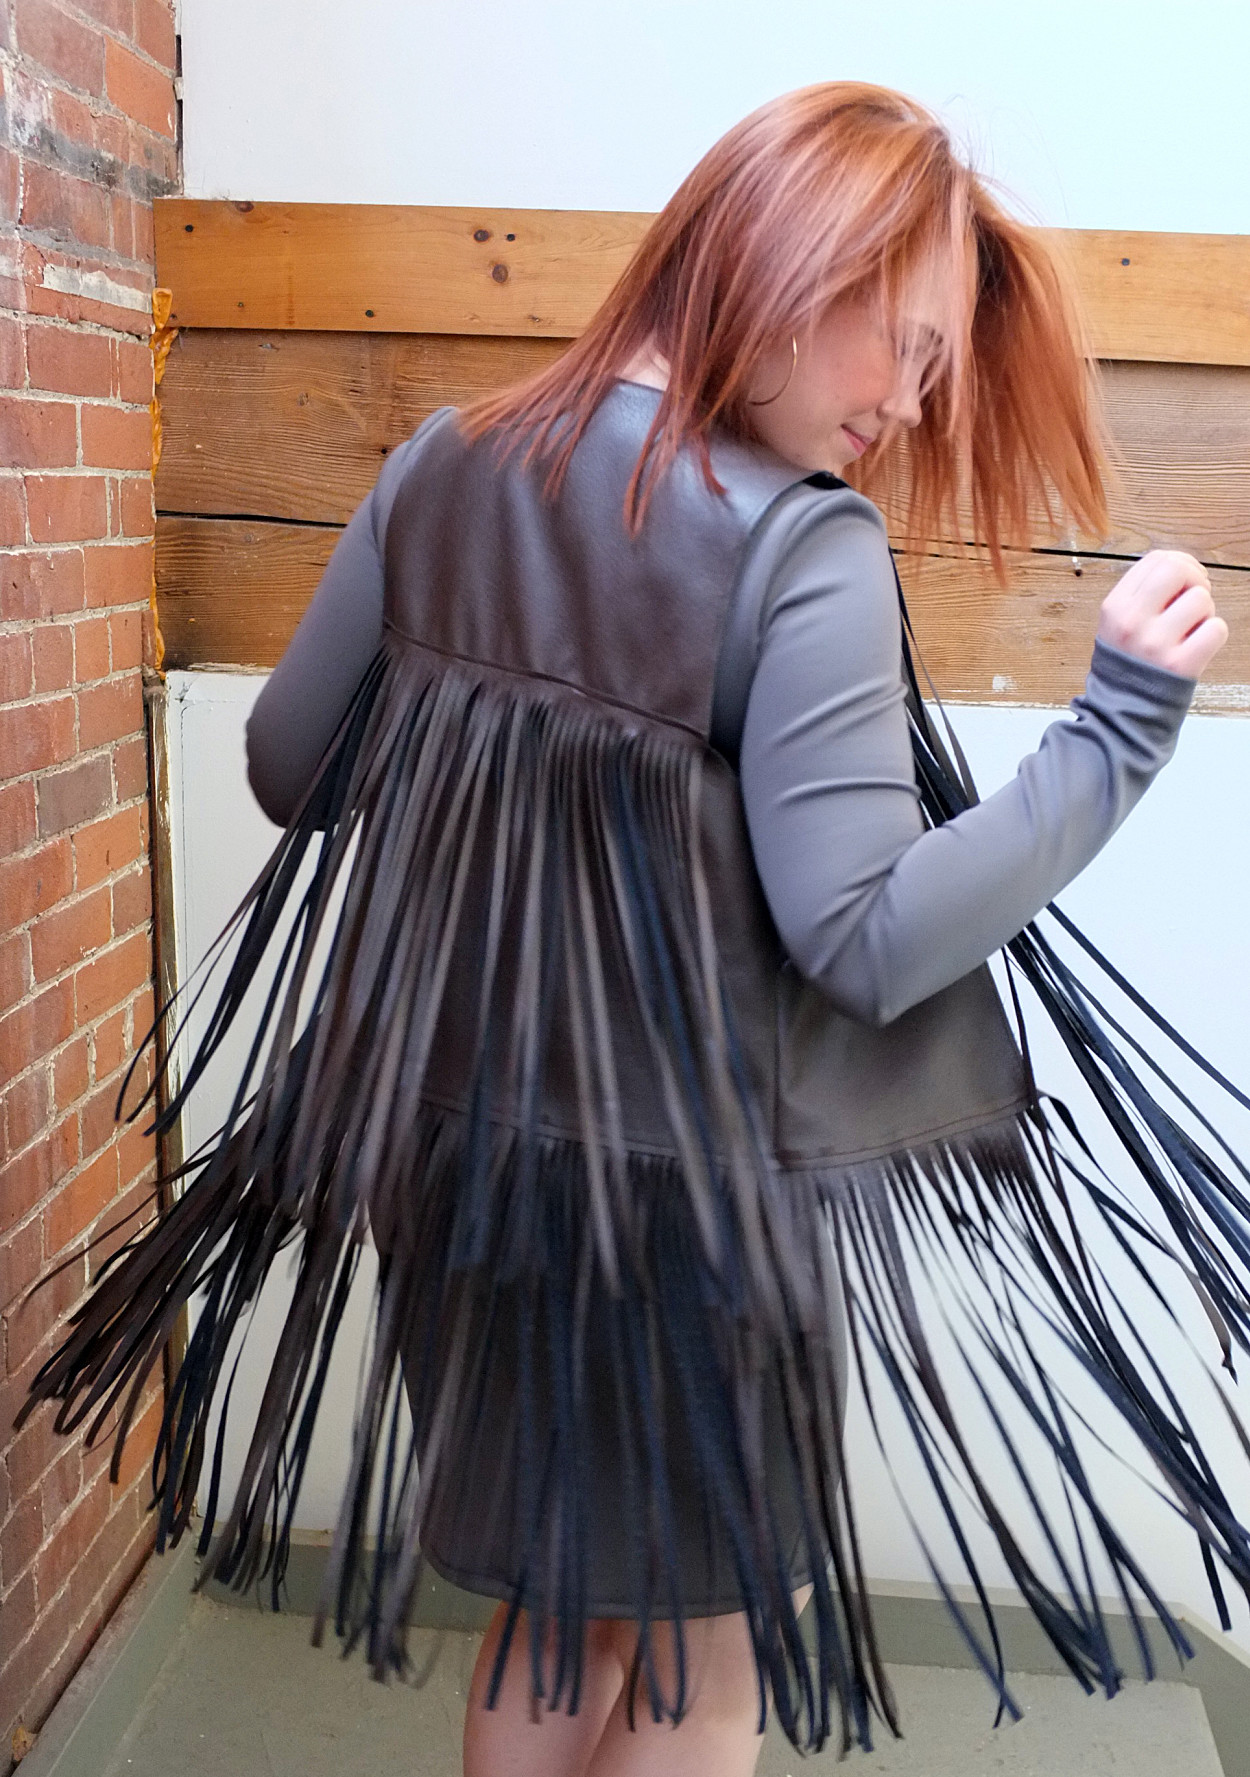
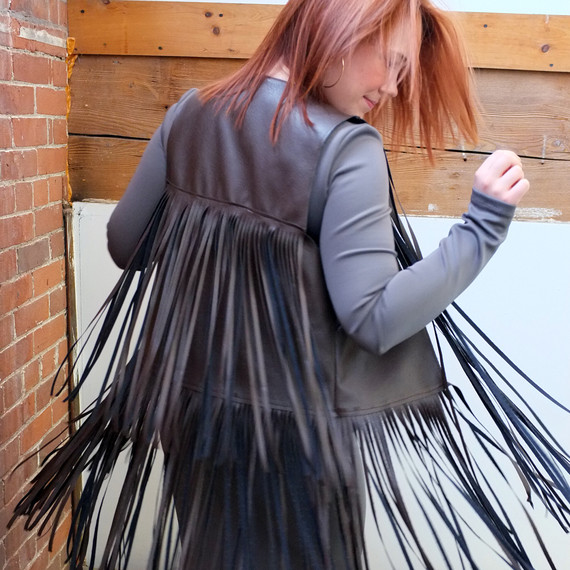
The ’70s’ wide-leg pants, floral prints, and fringed vests are back in style! If you are a crafty person, why not just learn how to sew a vest on your own? You don’t need a special sewing pattern for this project — you can easily transform any vest or jacket sewing pattern into a fringed garment. In this tutorial I used BurdaStyle’s Waistcoat Pattern 11/2012 #103 and a dark imitation-leather fabric.
Things to consider when making your own fringed vest:
- Only use pleather, leather, suede, or double-knit fabric.
- You can alter the look of your fringed vest by cutting the fringe wider or smaller, but don’t cut fringe any wider than 1 inch.
- Use a sewing pattern that has a straight silhouette and not too many design details like darts and seam lines.
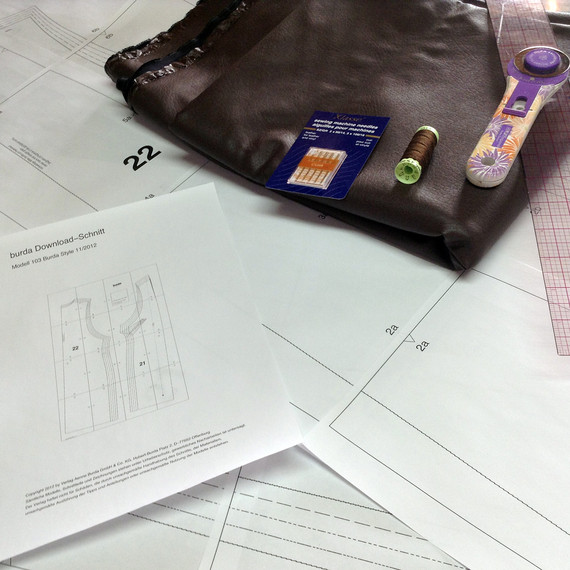
Materials
- Vest sewing pattern
- 2 yds pleather fabric
- 1 spool thick thread
- Leather sewing machine needles
- Rotary cutter and mat
Directions
Cut out the pattern pieces from the pleather fabric. For this vest, I did not include a seam allowance or finishing allowance on the armhole and neckline of the center and front opening edges. I did this because pleather doesn’t fray and does not need binding or a facing. BurdaStyle digital patterns are incredibly versatile because they do not have seam allowance included. This allows you to add the amount you need, and you don’t have to change it up if you don’t want any seam allowance (like in this case!).
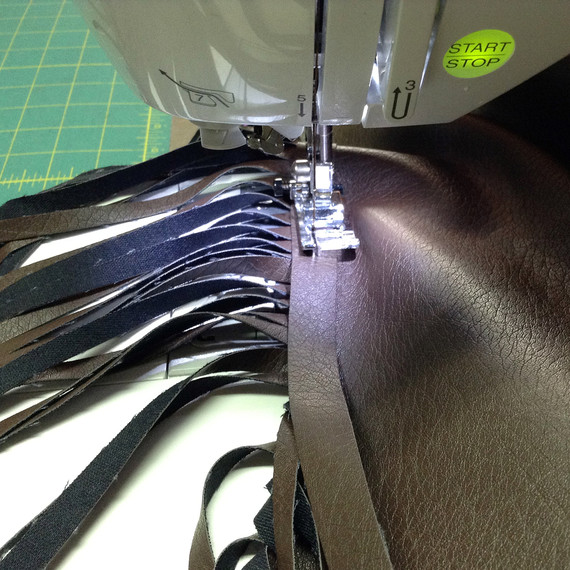
Once my pieces were cut out of the fabric, I fringed the pattern pieces! Watch the video below to see how I fringed these pieces:
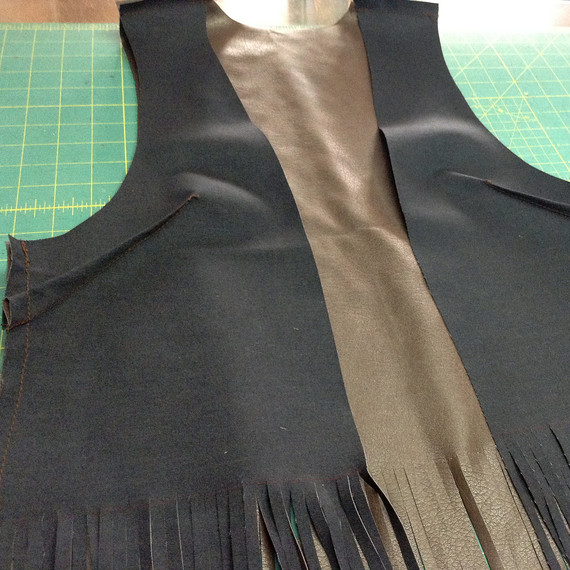
Once the front and back pieces were fringed, I sewed the pieces all together! There are two bust darts in the front pieces, so I stitched those in place first and then sewed together the shoulder and side seams (from underarm point to the top of the fringing along the side).
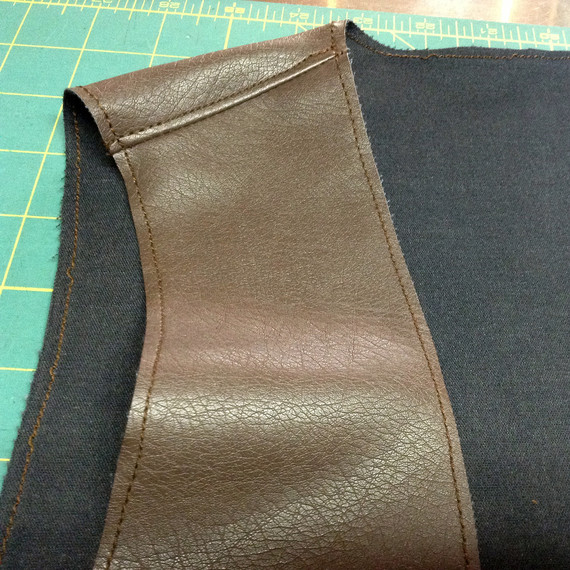
To make this vest look finished, I added a top stitch 1/4 inch away from the armhole and center front edges — this gave it a professional-looking finishing detail. In addition I top-stitched all the seam allowance at the shoulder seam to the back.
At this point, the vest was almost finished — but instead of having it just hang open when it’s on, I wanted it to have some shape — so I added a tie band across the middle. To do this, I cut a strip from my leftover pleather fabric that was about 3/8 inch wide and as long as my fabric was (about 60 inches). From the right side of the vest, I stitched the middle of the tie band into the part where my fringing started. This was at my natural waist, so when I tie the vest together it gives it a nice shape.

This is what the tie band looks like finished.
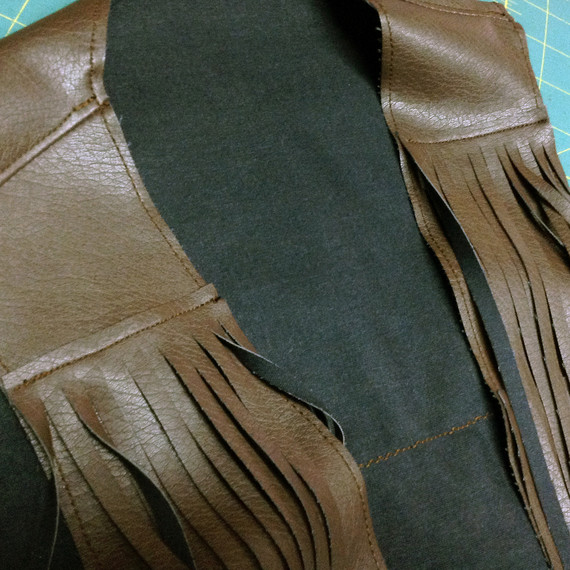
To give this look more dimension, I added some extra fringe pieces along the top edges of the vest. I measured the width of the part of the vest I wanted to add fringe to, and then I cut a piece of pleather as wide and as long as I wanted the extra fringe pieces to be. After fringing them, I top-stitched them along the right side of the fringe piece, about 1/4 inch from the top edge. This step is optional, but I think it added a nice effect.
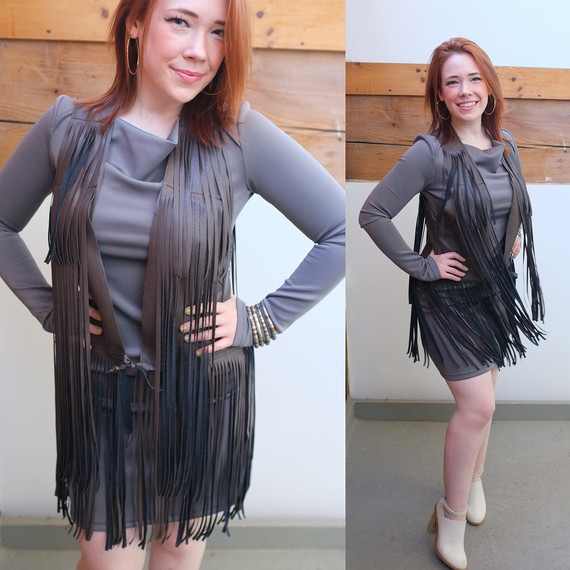
Now my fringe vest was complete! The most time consuming part of this vest was the fringing — but it’s such a chic detail. I enjoy wearing my fringe vest so much! It is a fabulous layering piece to my wardrobe, and I feel so on-trend wearing it. Good luck sewing your own, and share your comments below! Happy sewing, and I hope you enjoyed learning how to sew a vest!
SOURCE:http://www.marthastewart.com/1500132/how-to-sew-vest-fringe