
I’m always amazed and dumbfounded when I hear my fellow dads say, “I’m just not crafty” … and then show off their new roof deck. Or chicken coop. Or Baked Alaska. (Yeah, that’s pretty crafty.)
For some reason, for a lot of people, crafts bring to mind fantastical hodgepodges of construction paper, glue sticks, and glitter.
But that’s just one segment of crafting. There are so many more fun, easy projects that can bring families together.
As Father’s Day approaches, I’m heartened to hear my fellow dads say they just want to spend some serious time with the kiddos. So I’ve compiled some quick and easy crafts that will have everyone giggling for days to come.
Instructions
- Milk or cream
- Sugar
- Flavor (vanilla, anyone?)
- Ice
- Salt—lots of it
- Two Ziploc bags—one large, one small
- First, let the kids do all this. After all, Father’s Day is your day. Plus, it’s super easy and you can read the newspaper while they learn some quality measuring skills.
- Pour a half cup of milk into your small Ziploc bag. Add a tablespoon of sugar. Add some flavor.
- Seal that little bag super tight. Then, place the little bag into your big bag.
- Fill the big bag with ice and salt so that it surrounds the little bag. Seal the big bag and shake like crazy. Ten minutes usually does the trick.
- Use a dishtowel to cover the bags if your hands get cold. Correction: If your kid’s hands get cold. You should be drinking coffee at this point and letting the kid take charge.
- Popsicle or craft sticks
- Dental floss
- Q-tips
- Serrated knife
- With the knife, carve a tiny notch on each side of both ends of the Popsicle stick. This is where you will later tie dental floss. The notches keep the floss from slipping down.
- After you or your kids carve the tiny notches, soak the stick for about 20 minutes to a half hour to soften the wood.
- Then, bend gently into a bow shape. You know what that looks like. But again, do it gently. Once you’re happy with the shape—it doesn’t have to be perfect, as the next step will lock it in place—take a strand of dental floss in a knot around one end, being sure the floss goes into the notches you carved.
- Then, run the floss to the other side and tie the other end around your other notches. At this point, you should have a miniature bow, with the dental floss creating a tight string.
- Next, cut off the very ends of a few Q-tips to create mini-arrows. After that, have at it. Make some targets and have fun!
- A saw
- Some duct tape (for decoration, but you can use paint or stain or anything else you’d like)
- Spare plywood
- Spare PVC pipe or large wooden dowel or post
- Cut a rectangle of plywood—shorter than a skateboard and a little wider. It doesn’t have to be exact—just something you can stand on. Tip: The shorter the length, the harder it will be to balance. So I like to start long, especially with younger kids, and then cut to size after a few tests.
- Next, take your pipe or wooden dowel. It should be the diameter of, say, a soda can, and it should be able to support your weight. I used an old fence post and it worked great. Cut a section of this as long as your standing board is wide.
- Slide the pipe under the board and see if you can stand on the board so that both ends are balanced in the air.
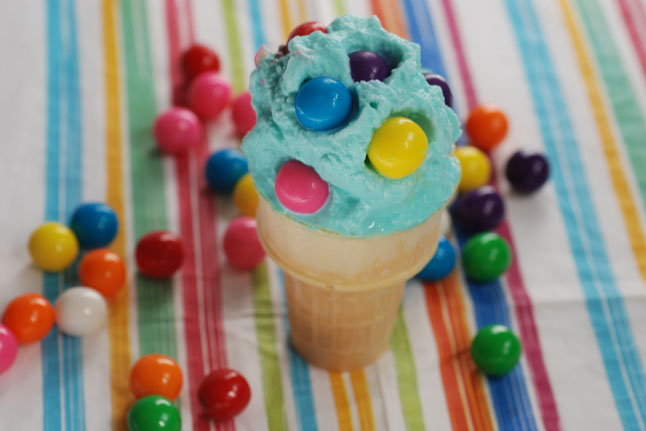
1. Ol’ Fashioned Homemade Ice Cream
You probably already have everything you need in the pantry and refrigerator. Trust me, try this for breakfast on your special day and it will be a Father’s Day everyone remembers for a long, long time.
Materials:
Instructions:
And that is it. It’s really that easy. Now all you have to do is sit back and taste the sweet deliciousness that is ice cream tinged with salt. Mmm.
2. Bow and Arrow Kit
Between your art bin and your medicine cabinet, you can create a miniature bow and arrow set that will have the kids giggling like crazy.
Materials:
Instructions:
3. Balance Board
Yes, it requires a saw and some spare wood. And yes, this is something the kids should do. I’m a big proponent of teaching tool safety and then letting kids take the lead. So spend some time teaching some serious life lessons and then try out this great craft together. If you’re anything like me, you’ll find yourself trying to master the balance board long after the kids have gone to bed.
Materials:
Instructions:
Yes, that’s it. You’re done. It’s really that easy. Now, you can paint it if you’d like, but then you have to wait for the paint to dry. Or you can just shellac the whole thing in colored duct tape. Again, let the kids take the lead.
Happy Father’s Day!