
The Christmas tree that we set up in our living room every year is definitely our kids’ pride and joy. While they enjoy all things associated with this annual event (such as stretching the connected stringed lights to see how far across the house they will go, or using the tree skirt as a holiday superhero cape), what they enjoy most is putting up the ornaments they’ve made themselves since they were 2 or 3 years old. And since we make new ones every year, they especially get a kick out of reminiscing how each ornament represents different memories and themes that we’ve come to celebrate on our tree over the years.
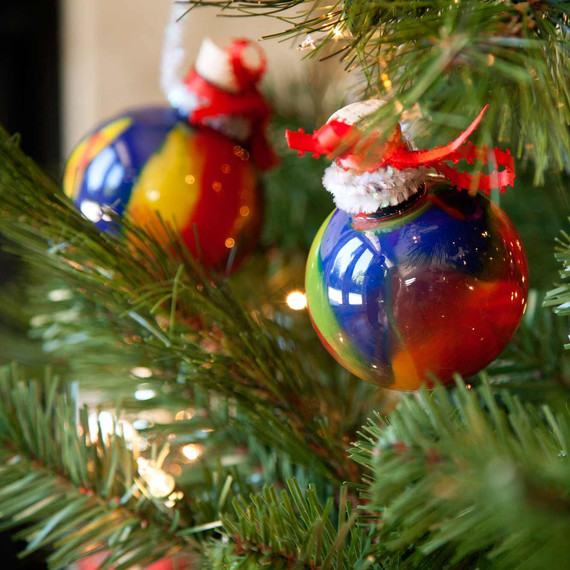
These DIY swirly ornaments are a great way to get your own tradition started or to give to someone else to start with their own family. My kids had a blast squeezing paint into the clear plastic casings and making some pretty cool and colorful designs. Each swirly ornament makes itself as unique and beautiful as the tree it’s on and the family it belongs to.
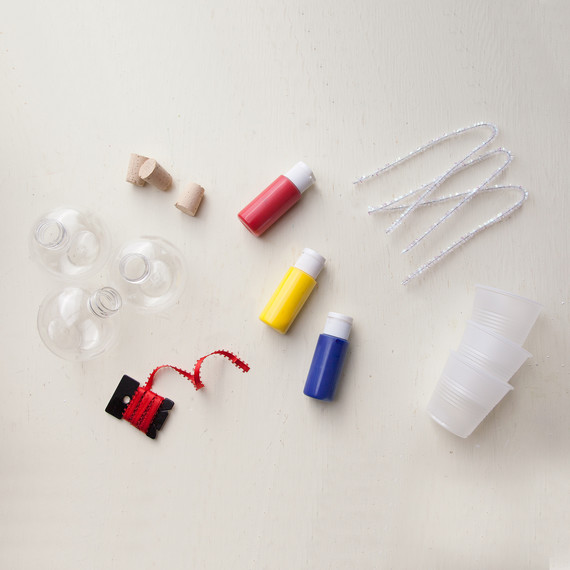
Materials:
- 3 clear ornaments
- 3 corks
- 3 colors tempera paint (red, yellow, blue)
- 3 plastic cups
- 3 tinsel pipe cleaners
- 1 foot ribbon
Step 1:
Gather all of your materials. Feel free to use any type of ribbon or pipe cleaners that you’d like.
Step 2:
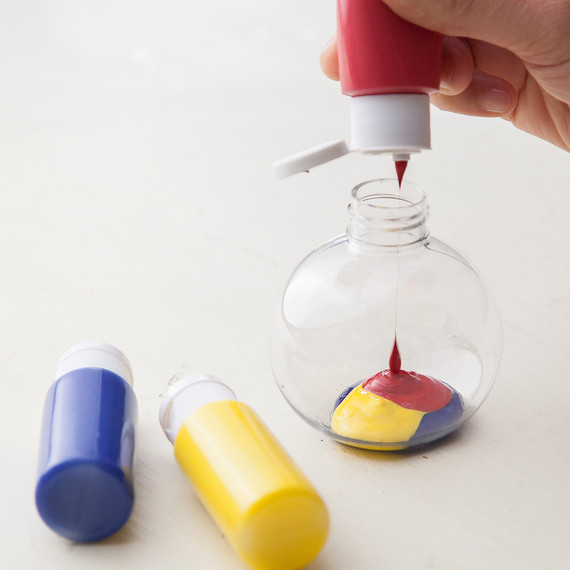
Squeeze different colors of paint into each ornament. We used a plastic circular jar, but any clear ornament will do.
Step 3:
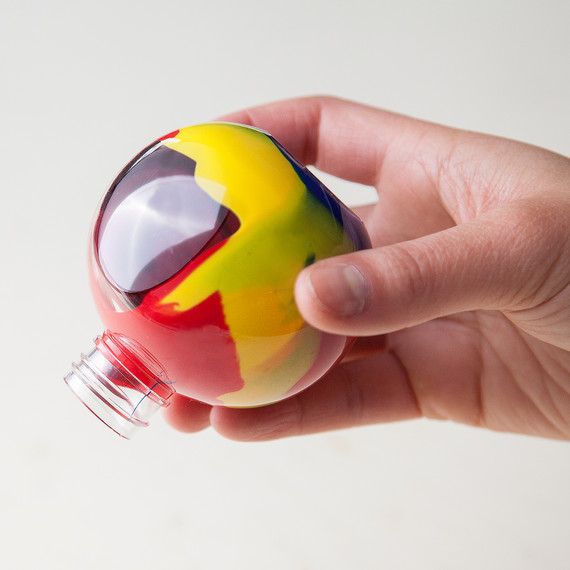
Slowly tip the ornament back and forth to mix the colors together. Do this until the entire inner surface of the ornament is covered with paint. Add more paint if needed.
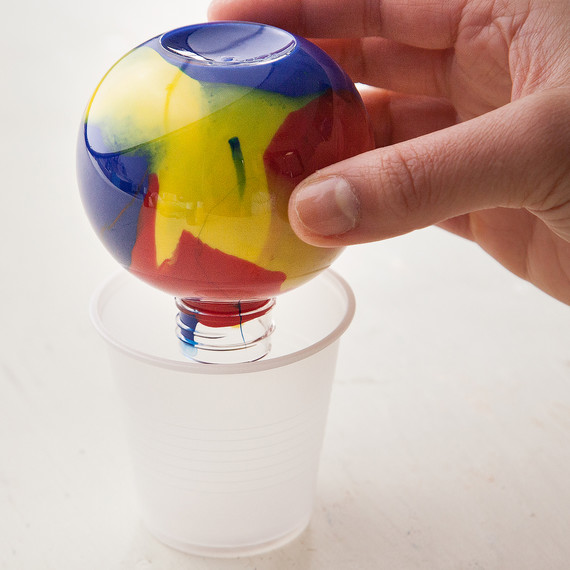
Step 4:
Set the ornament upside down into a plastic cup to allow the excess paint to drip out. Leave for about 15 minutes. Then remove the ornament from the cup and place it right side up. Leave overnight to dry.
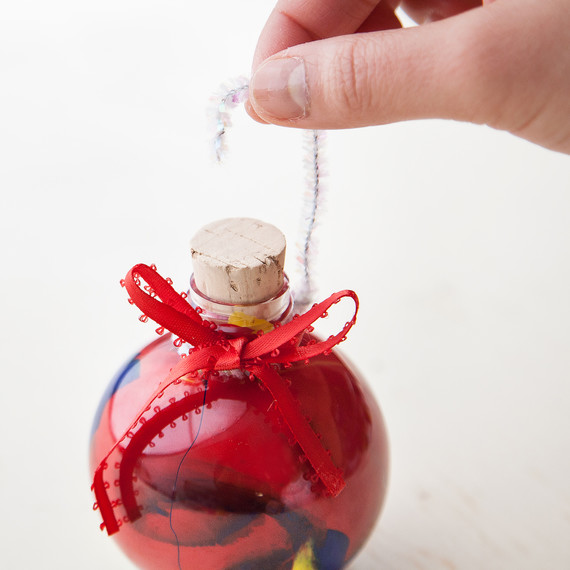
Step 5:
Place a cork into the top of the ornament, or use the original topper fixture that comes with your ornament. Feel free to use embellishments to add some finishing touches. You can wrap a tinsel pipe cleaner around the neck of the ornament to create a hook, then tie a knot with the ribbon.
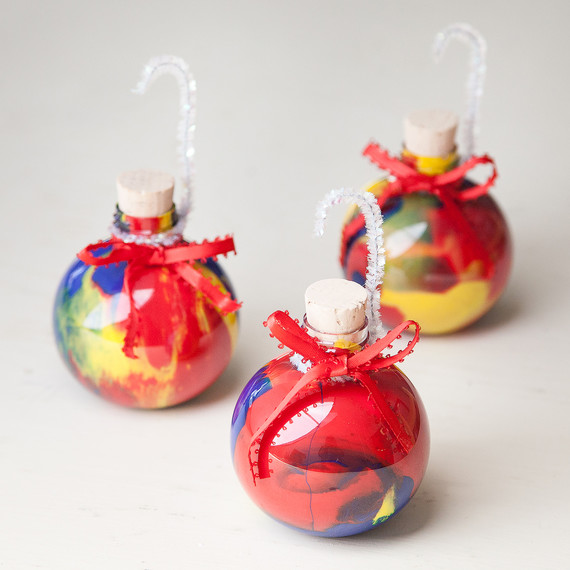
Your DIY swirly ornaments are complete!
Like this project? Find more like this at Kiwi Crate!
SOURCE:http://www.marthastewart.com/1095096/diy-swirly-christmas-ornaments