
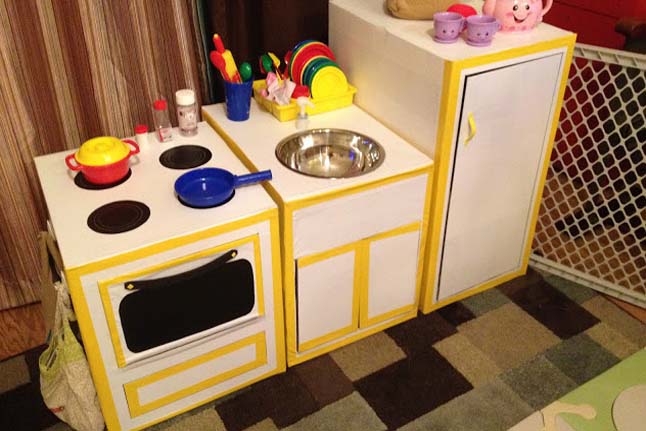
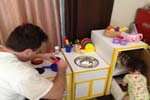
A few months ago, my daughter received a hand-me-down kitchen playset full of dishes, pots, and pans. She loved playing with them, and sometimes we’d set up a box in the kitchen so she could “cook” with me. I started thinking about making her a little kitchen out of the cardboard boxes we had. So with a free weekend, a plan, and some imagination, we created one for her. Now you can too!
Materials:
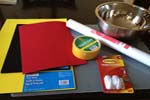
- cardboard boxes of different sizes
- contact paper
- marker
- scissors
- strong tape
- foam sheets, tape or CDs (for stove burners)
- mixing bowl
- hooks or hangers
- glue
- pump from a liquid soap dispenser (optional, if you want a faucet)
- foil
Instructions
 Before covering your boxes with the contact paper, decide which side will be the front and the back (where your under-sink, refrigerator, and oven door openings will be). Draw them with a black marker so that when you cover the box with contact paper, you can see the lines.
- To make the hinges of the door openings, score the inside of the box where these will be. Then cover your boxes with contact paper.
 We used clear packing tape to keep things in place. Once covered, start cutting your door openings. If you scored the hinge side of the door from the inside, your doors should open easily.
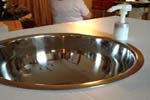
 - Then measure and cut holes in the top of one box for the sink and the “faucet.” To secure the faucet, cut a hole in the bottom of the
 pump dispenser and insert a screw horizontally so it will stay in place once installed (the screw will be on the underside of the sink top). For the sink, trace around the bowl and cut the circle out.
 - Glue the rim of the mixing bowl to the hole in the box. Remember to put the glue on the rim, not on the box.
 NOTE: If your “sink” isn’t meant to be permanent, you can just place the bowl in the hole.
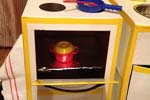
 - Cut foam sheets, or use CDs or concentric circles of colored tape for the stove burners; glue them to the top of the stove. For the oven rack, make brackets out of bent cardboard and glue them to the insides of the oven walls. Then cover a sheet of cardboard with foil and glue the piece to the brackets.
- Lastly, secure two hooks onto or poke two hangers through the side of the oven to hold grocery bags, dish towels, or a purse.
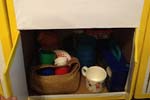
My daughter had a ton of kitchen stuff passed down to her, so we just stocked up the kitchen cupboard with her extra dishes and cooking equipment. Have fun with your little chef!
SOURCE:http://www.pbs.org/parents/crafts-for-kids/cardboard-kitchen/