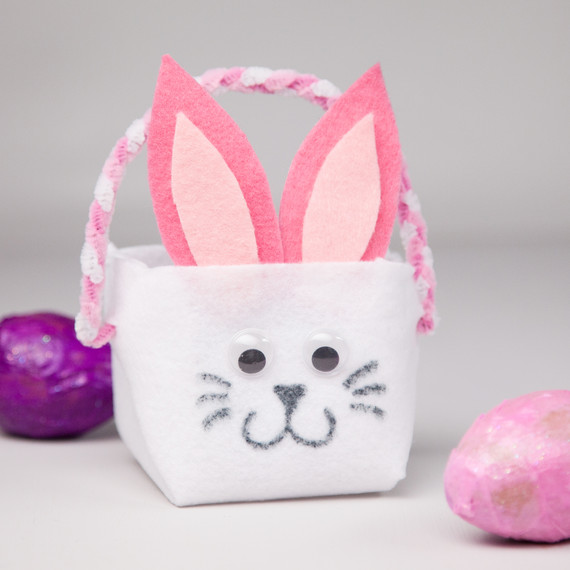
Spring has sprung, the flowers are blossoming, and my kids can’t wait to take part in an Easter egg hunt. This DIY Bunny Basket is a great craft to get the family together and create something unique this Easter. And the best part: This DIY requires no sewing so it is safe and simple enough for the kids to do entirely on their own.
This project enhances your children’s fine motor skills as they braid the pipe cleaners and carefully place all the sides of the basket together before stapling them. Invite the kids to let their imaginations runs wild and decorate their basket with glitter, buttons, or stickers. Watch their faces light up as they search the yard for eggs and collect them in their bunny basket. My kids were thrilled when they got to put their finished bunny basket to use. Add another layer of learning and ask your kids to count their Easter eggs after the hunt. How many blue or yellow eggs do they have? How many eggs do they have in total? Is there a color of egg that appears more often than others?
These bunny baskets also make a great table centerpiece for your Easter family meal. My kids loved seeing their creations in the middle of the table as we came together with the extended family to celebrate this hoppy holiday!
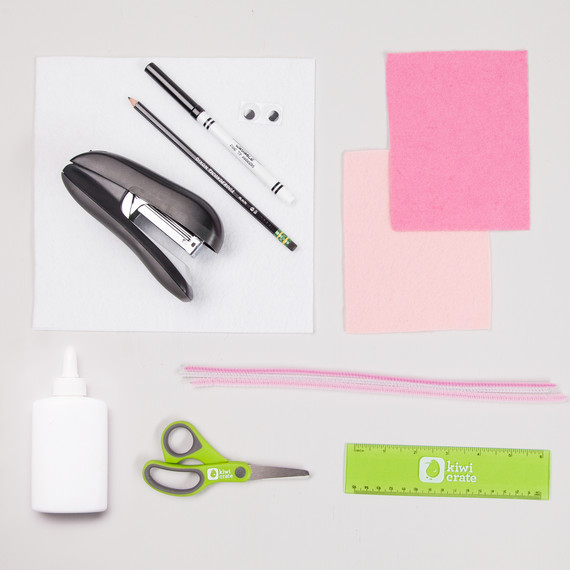
Materials:
– 1 stiffened white felt sheet (9 x 9 inches)
– Scissors
– Pencil
– Ruler
– Stapler
– 3 pipe cleaners
– One pair of googly eyes
– A black marker
– 2 shades of pink felt (any size)
– Craft glue
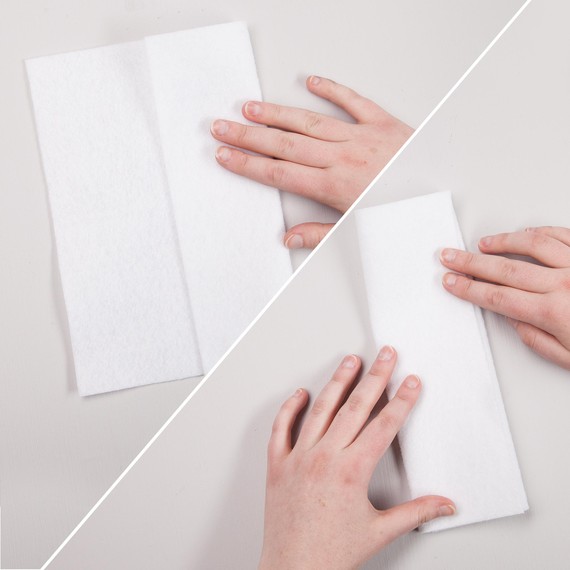
Step 1:
Fold the white felt sheet into thirds and press firmly along the creases.
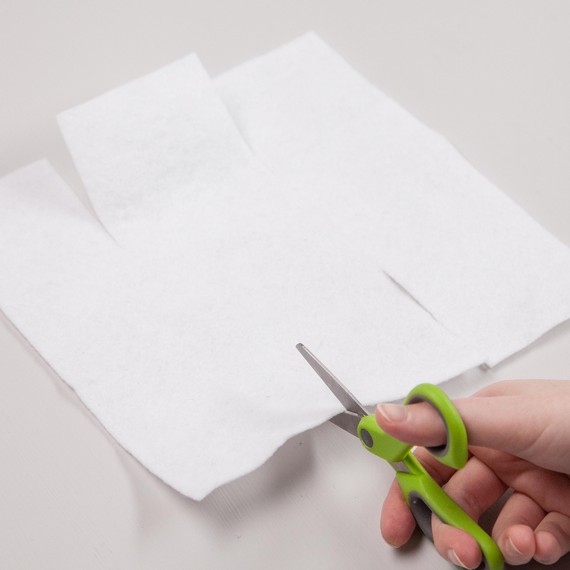
Step 2:
Following the creases, cut two 3-inch lines on each end of the felt. If it is difficult to see the lines, trace the lines with a pencil and ruler before cutting to make them easier to follow.
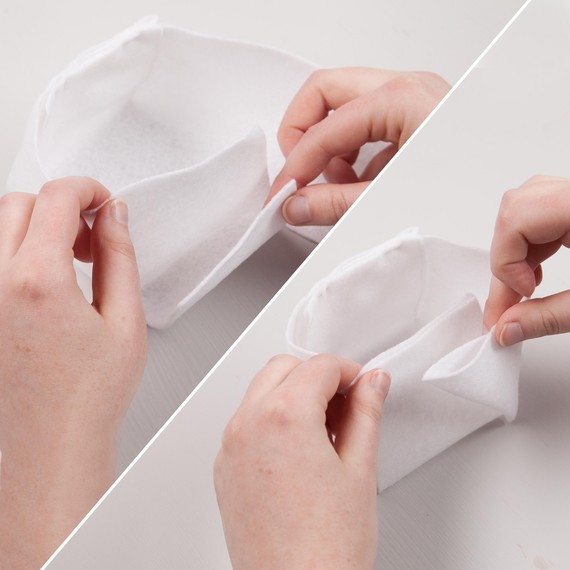
Step 3:
The felt sheet should now have 3 flaps on each end. Start with one end. Pull the leftmost flap in toward the middle. That flap should now be in front of you horizontally. Pull the middle flap up to meet the leftmost flap. Fold in the left, inner corner of the rightmost flap so that you are forming a diagonal. Then pull the folded tab toward the middle to meet the other flaps.
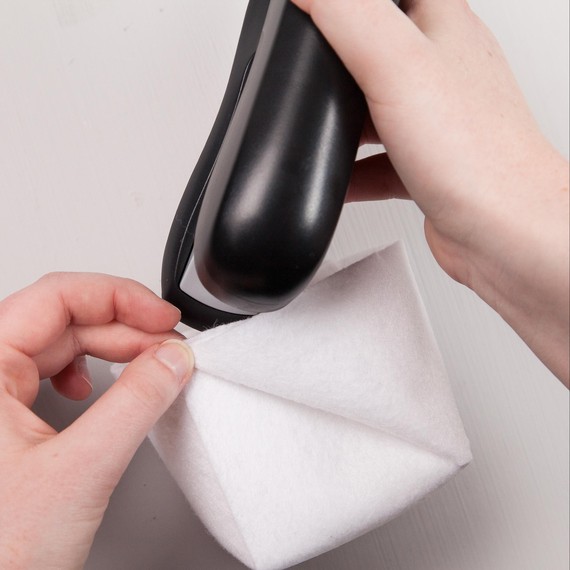
Step 4:
Staple the three flaps together. Repeat this process for the other side.

Step 5:
Time to make the handle! Take 3 pipe cleaners and braid them together. If braiding is too hard for little hands, twisting the pipe cleaners works fine too.

Step 6:
Cut a ¼-inch hole on one of the shorter sides of the felt. Insert the end of the handle in the hole and fold up the ends to secure it. Repeat this process for the other side.
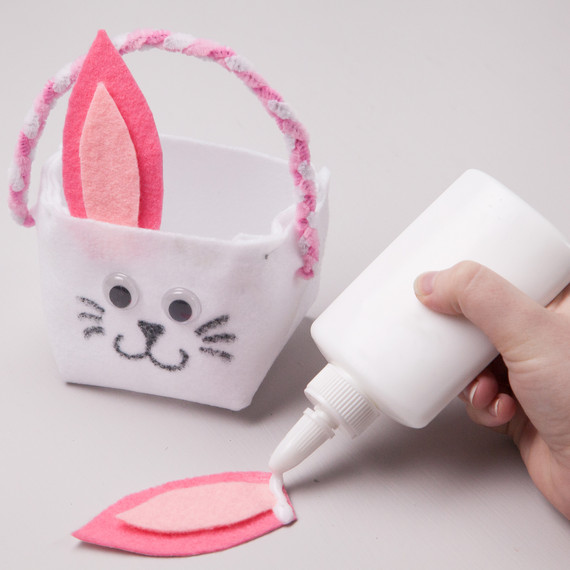
Step 7:
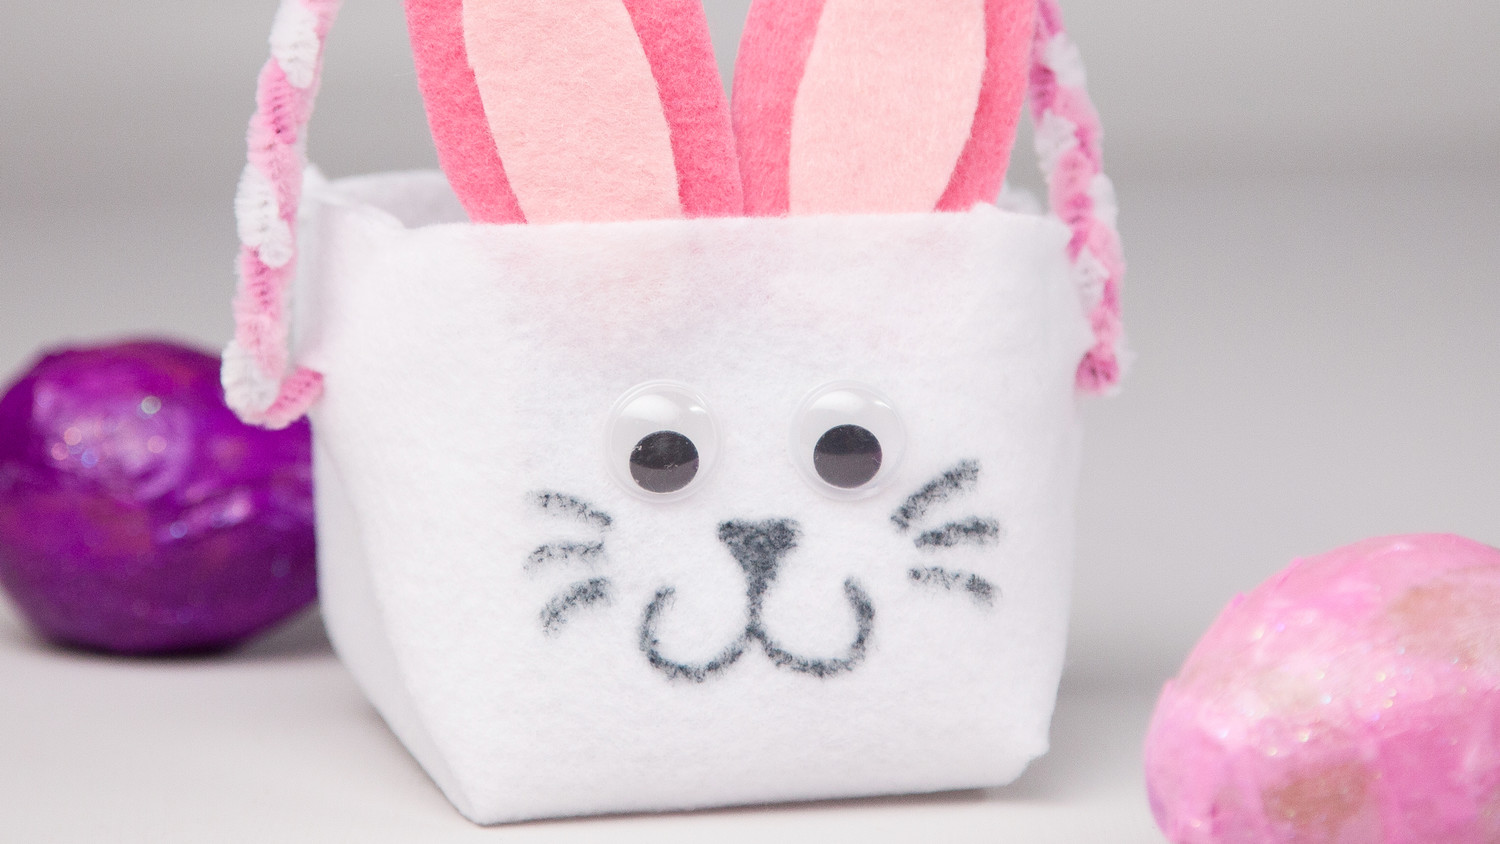
Now you have made your basket! Cut ears out of the pink felt (see photo), and decorate your basket by adding the ears and googly eyes, and drawing a nose and whiskers to create a bunny.
Do your kids love learning and crafting? Let Kiwi Crate help by providing award-winning projects directly to your door! Every crate is filled with all the supplies and inspirations for two to three fun, hands-on activities plus a 16-page magazine to extend the discovery and fun even further.
SOURCE:http://www.marthastewart.com/1107184/no-sew-bunny-easter-basket