
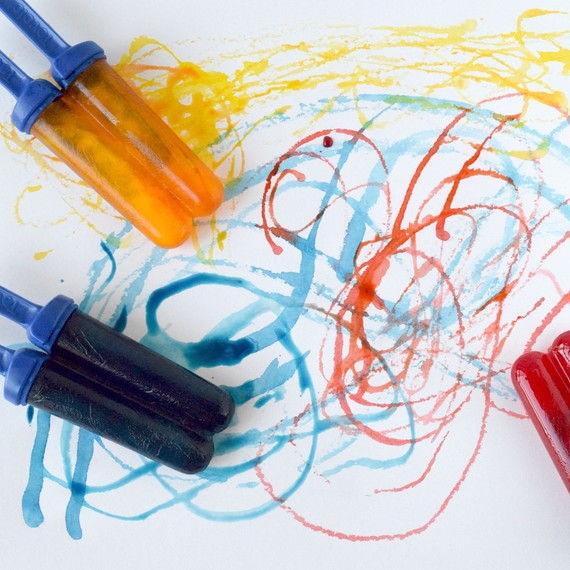
Popsicle Paint
Who doesn’t love a good Popsicle on a hot summer day? Popsicle molds, water, and food coloring can also make “paintsicles” — an easy art project that kids of all ages will want to try. Think watercolors, but way cooler. As the paintsicles melt, that’s when the magic begins. “The more food coloring you add, the more vibrant the colors will be,” says Anjali Varma, who counts this among her favorite art-themed projects at her Kidville Bethesda facility.
Tip: Messy means more fun for kids!
“Half of the fun for kids is getting messy! Set up your project in an area of your home that is easy to clean and where you are not worried about the mess. Newspaper and flattened garbage bags can be lifesavers too!” says Varma, who shares more tips at The Modern Mompreneur.
Another tip: Perfect is overrated.
“As parents, our instinct is to try to ensure that everything is perfect and turns out ‘just right’,” says Varma. “Focus on the process and spending quality time together rather than the outcome. Whatever your child creates will be a masterpiece in your eyes!” she adds.
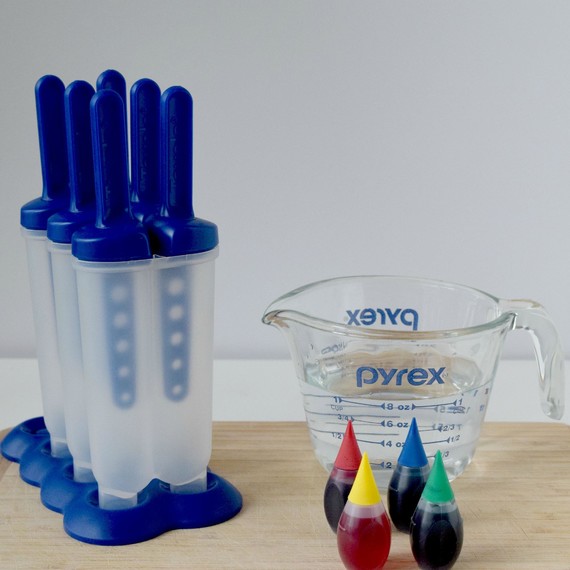
Materials
– Popsicle molds
– Water
– Assorted food coloring
– Heavyweight paper or card stock
Directions
1. Fill Popsicle molds with water, stopping about a 1/2 inch from the top to allow for expansion while freezing.
2. Add 10 to 20 drops of desired food coloring to each mold. Note: This is a great opportunity to teach kids what happens when you mix colors.
3. Place molds in the freezer overnight.
4. To remove paintsicles from molds, run them under cold water for a few seconds to loosen and then gently pull them out.
5. Before the kids start painting, remember to protect your workspace, since in true Popsicle form, things can get pretty messy before you know it.
6. Lay finished artwork flat to dry.
7. Refreeze any remaining paintsicles to use again later.
Don’t know how to show off their paintings? Get some great ideas for displaying your child’s artwork in your home.
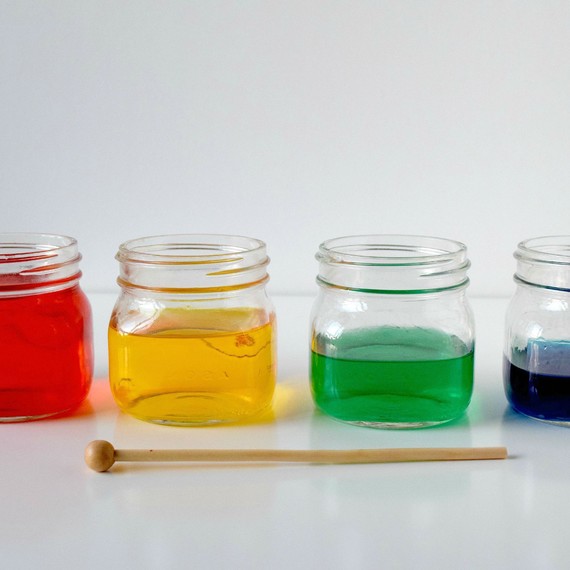
Colorful Glass Jar Xylophone
Food coloring comes in handy again with this super-easy music-appreciation and science-themed project found in Martha Stewart’s Favorite Crafts for Kids. It takes the phrase “making beautiful music” to an easy, child-friendly level as kids have fun experimenting with varying levels of colored water to create different notes.
Materials
– 4 to 5 glass jars
– Water
– Assorted food coloring
– Drumstick or mallet
Directions
1. Pour varying levels of water into the glass jars.
2. Add food coloring to each jar as desired.
3. Use the mallet to play tunes on your new zany xylophone.
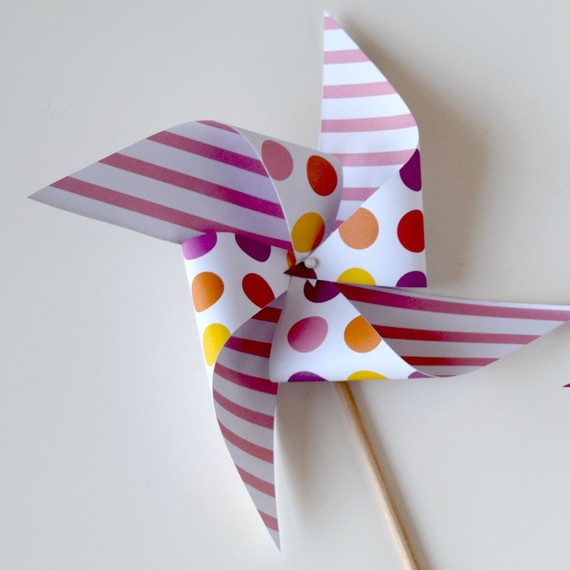
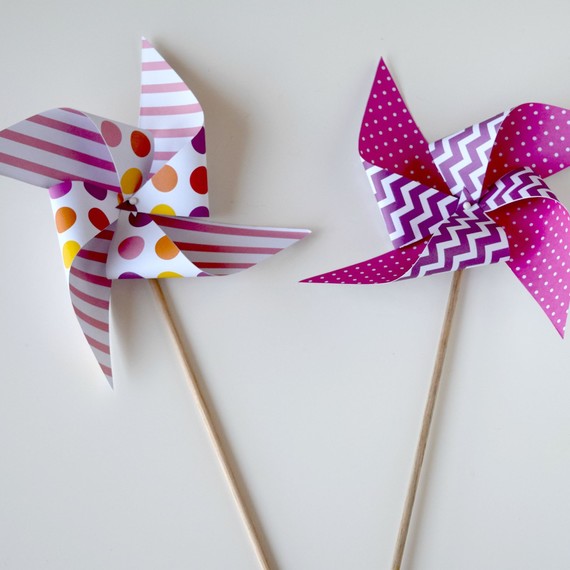
Pretty Paper Pinwheels
My 2-year-old daughter fell in love with pinwheels when we started our toddler garden last summer, so this summer, I decided to make our own!
You can use two sides of coordinating prints or keep it simple with just one sheet. Since there are sharp pins involved, I recommend adult supervision at all times, even after assembling. You can also opt to use your beatitful pinwheels for decoration only. In that case, follow the directions below, but use a few dabs of hot glue instead of pins to secure the folds in the middle and the pinwheel to the dowel stick. Then glue the bead to the center for a nice accent.
Materials
- 1 to 2 sheets of 6″ x 6″ lightweight paper in coordinating prints
– 1 pushpin
– 1 map pin
– 1 small bead (8 mm diameter)
– 1 thin dowel rod (12 to 18 inches)
– Mounting spray (optional)
– Ruler
– Scissors
– Circle hand punch (1/8″)
Directions
First, cut and fold:
1. Cut dowel rod to suggested length (12 to 18 inches). Soak one end in a cup of water for 15 minutes or until ready to use.
2. Use mounting spray to glue your paper together if using two sheets.
3. Use ruler and scissors to draw and cut a 6-by-6-inch square piece from the paper.
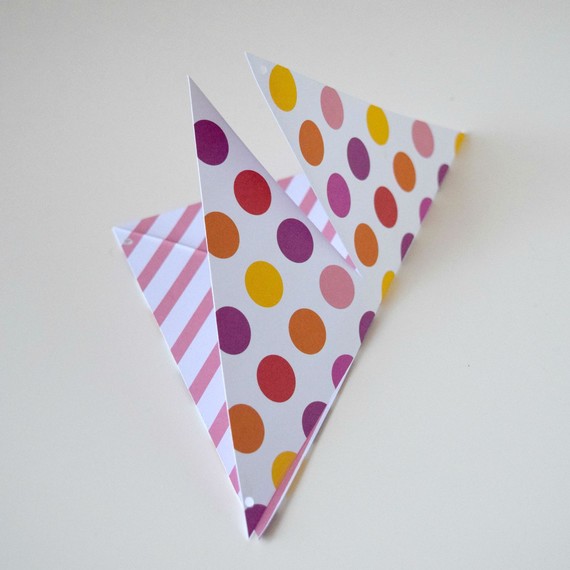
4. Fold the square in half diagonally to make a triangle. Then fold it again to to make a smaller triangle.
5. Unfold and use scissors to cut along the fold lines, stopping about 1/4 inch before you get to the center.
6. Use hole punch to make a hole in the top right corner of each side of the square.
Then assemble:
1. Bring every other point to the center so that the holes overlap.
2. Hold the points in place and insert the push pin through the holes.
3. While holding the points in place, remove the pushpin and insert the map pin (the pushpin hole is slightly larger, which allows the map pin to spin).
4. Thread the bead onto the pin behind the wheel and push the pin into the wet dowel rod, about 1/2 inch from the top.
5. Give it a few blows to test it out, and adjust pin if necessary.
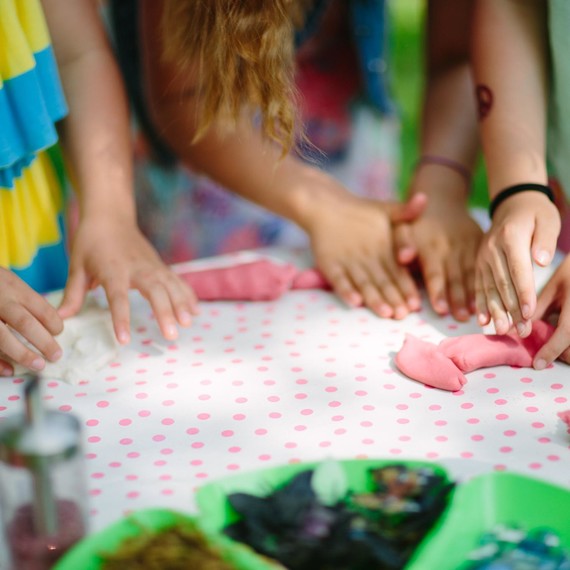
Crafty Cupcakes
No baking is required to make these crafty cupcakes featuring safe, earth-friendly modeling dough by Happy Lucky Kids! Use a variety of cupcake toppers that will allow your kids to get creative. “Your kids will love making new cupcake creations again and again,” says Heidi Drake, owner of Happy Lucky Kids.
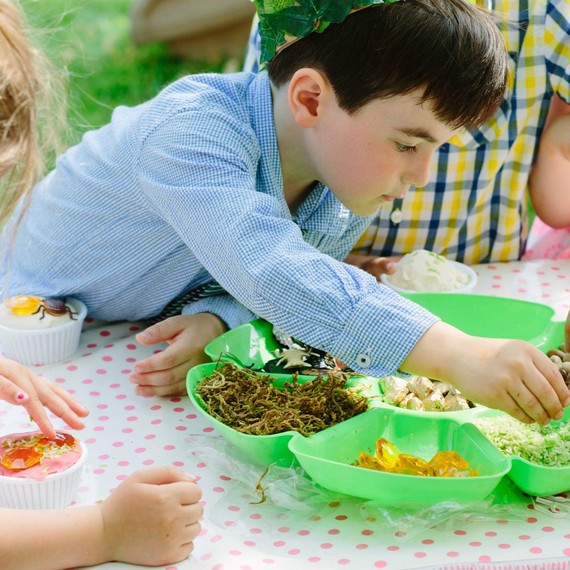
Try incorporating a theme to add to the fun! In the featured images, Drake and Jodi Weslow of Sweet Bee Studio provided moss, pebbles, faux jewels, and fairy dust for a fairy-garden-themed project. Note: avoid using small pieces for children under 3 years old.
Materials
– Modeling dough (click here to learn how to make your own)
– Assorted materials for cupcake toppers
– Hard cupcake molds
Directions
1. Press modeling dough into molds. Or, just roughly shape into cupcake shape by hand.
2. Add cupcake toppers as desired.
Looking for more kids’ craft inspiration? Watch the video below!
SOURCE:http://www.marthastewart.com/1123464/fun-weekend-kids-projects