
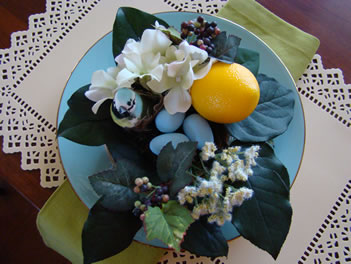
Spring is the time of new beginnings and these lovely floral nests are the perfect accessory to your spring table settings.
Ok, you know how there are some projects that you really feel good about? Well this is one of them. I would LOVE for you to make a half dozen of these and use them on your dining table or in vignettes around your home. I only bought enough material to create one and now I’m kicking myself. If you see me at JoAnn’s anytime soon, I’m looking for the materials to make some more nests!!
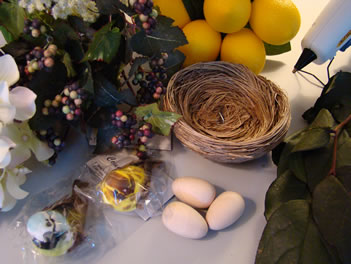
Materials List:
- 4” Nest
- Leaves
- Small lemons
- Spring floral & berries
- Reindeer moss
- Small bird to fit in nest
- Small wooden eggs to paint or
finished eggs to fit in nest - Craft paint for wooden eggs
- Hot glue gun
Tip:
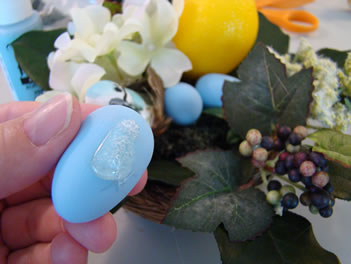
You may notice that I have both a blue and a yellow bird as an option. Once I painted the eggs Robin’s Egg Blue, the blue bird was a must. Keep this in mind when you are choosing your bird and your craft paint!
Instructions:
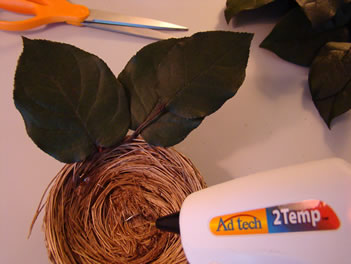
1. Begin by cutting down the leaf stems and outlining the nest edge with a collection of deep green leaves. Insert the stem of the leaves in the nest if you can and hold them in place with the hot glue.
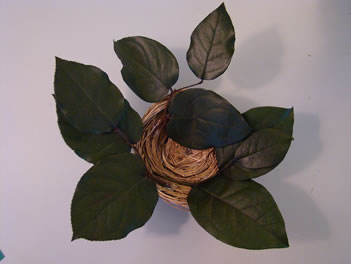
2. I added about three sprigs of leaves around the edge of the nest and decided to leave room for other floral and my lemon as well.
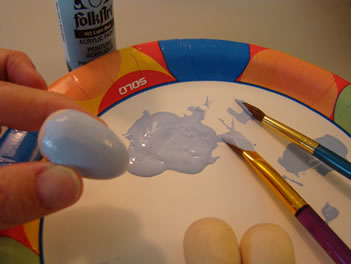
3. While the hot glue was setting on the leaves, I picked up the tiny wooden eggs and started the painting process. Do one light layer and set the egg on the paper plate. It will dry in minutes, and you can do a second coat. Touch up the spots on your third pass and you’ll be finished.
4. Next, start adding the color to the nest. You can see I placed the lemon first and did a lot of hot gluing to keep it in place. I held it for a minute or two until the glue cooled. Next came a few stems of Hydrangea.
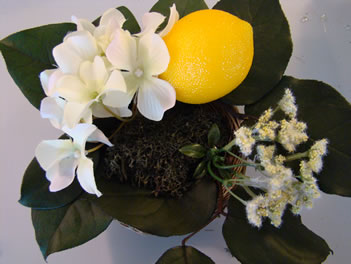
5. On the opposite side I glued on some Queen Anne’s Lace. Notice all my floral stems are in white, making the bright yellow lemon really pop! Notice too that in the center of the nest I added a clump of reindeer moss. This is because the nest was a bit too deep for my bird and eggs. They would have been lost under all the flowers. Plus, the reindeer moss nicely covered up the glued in stems. Just put a dab or two of hot glue on the bottom of the nest and press the reindeer moss in place.
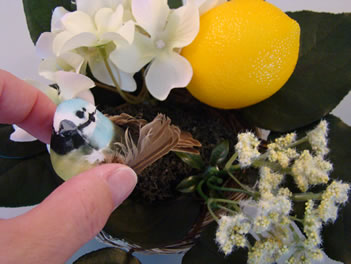
6. Before I added any more floral I wanted to make sure I left enough room for the bird and eggs. So, I gently set them all in place and when I was satisfied with the arrangement, I glued them down.
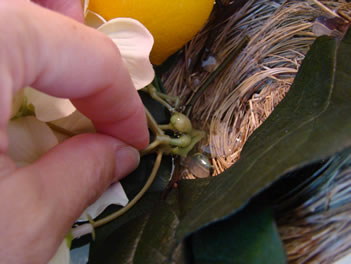
7. At some point in the gluing process I remembered I had some berries to add. You see them there next to the Queen Anne’s Lace. The bird and egg still fit nicely and the nest was complete!
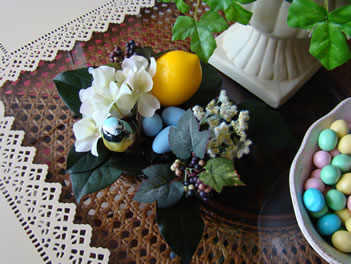
These nests look wonderful anywhere you place them. Add them to a centerpiece grouping; put them on nightstands, side tables, vanities, anywhere you want a little touch of Spring!
Shari